
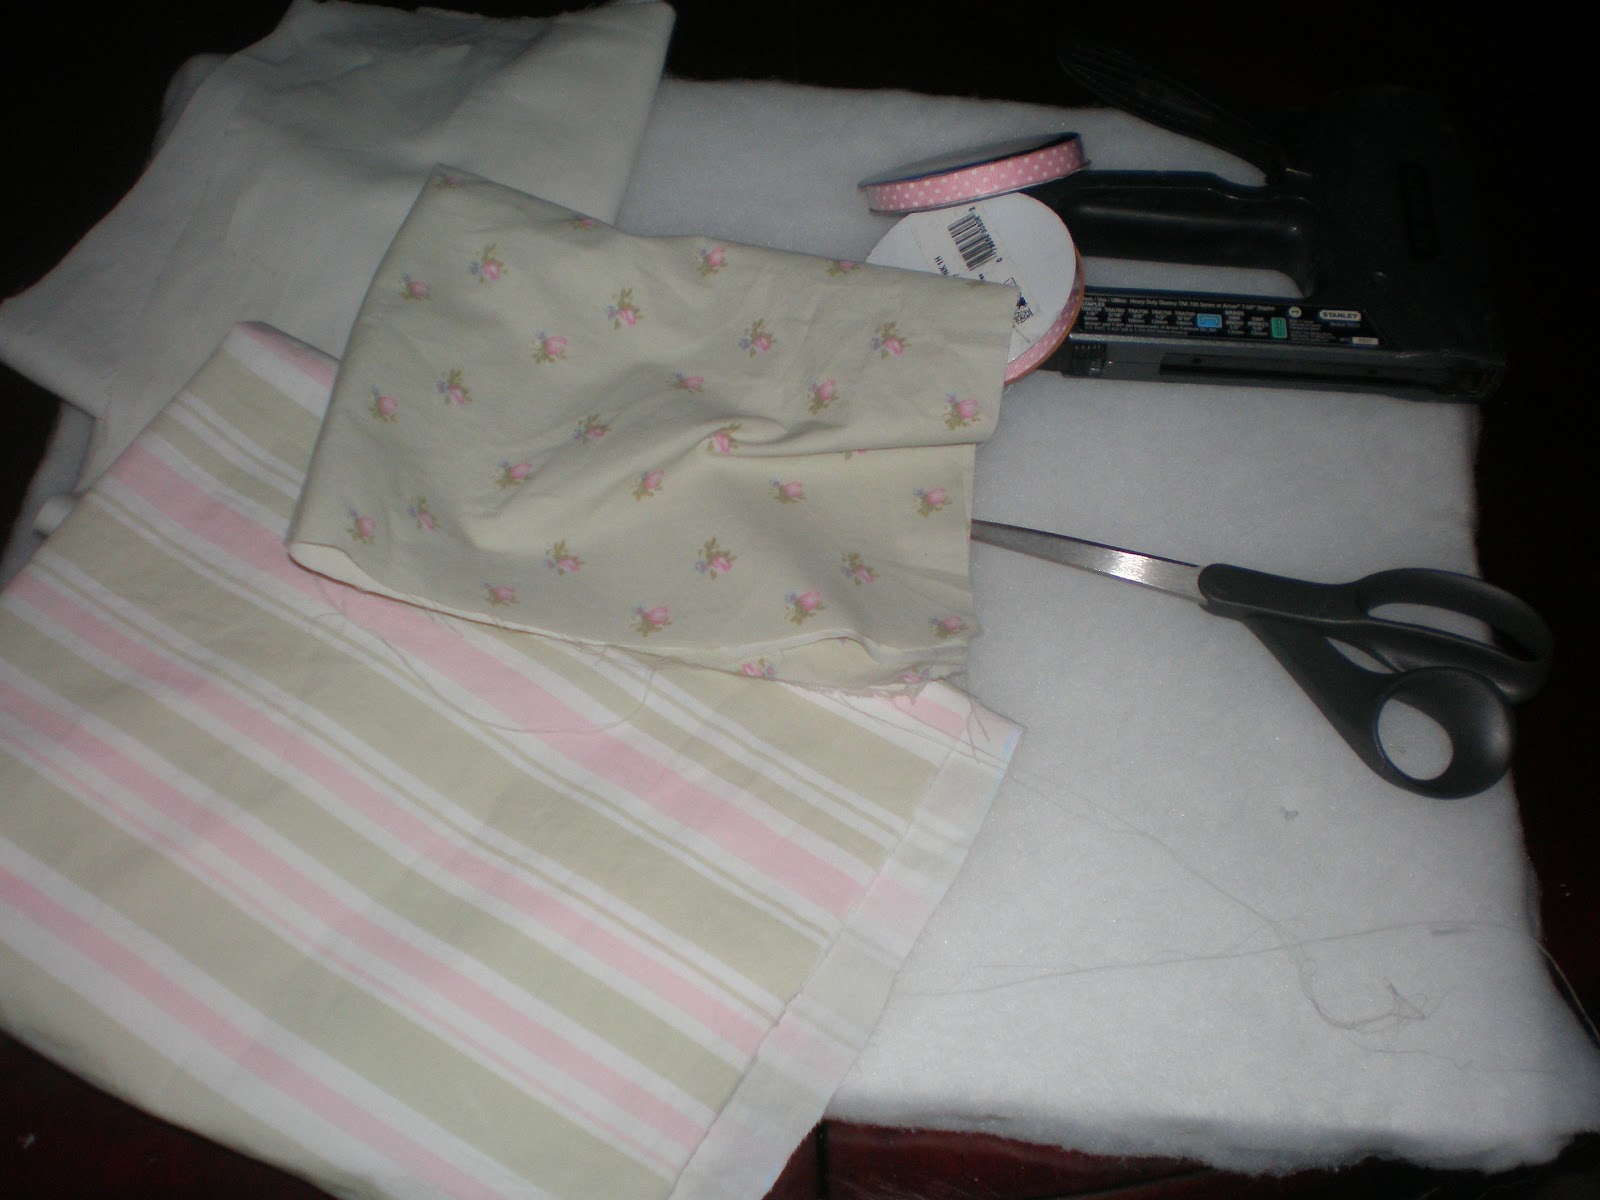
I started with a canvas, like a painter would use. I had batting, fabric, fabric scissors, a needle and thread, ribbon, buttons, and a loaded staple gun.

I cut the batting to size and stapled it on the canvas.

I then wrapped the covered canvas with the fabric. I stapled it to the wooden part of the canvas.

I laid out the ribbon and stapled it to the wooden part of the canvas. (The staple gun got a workout.)

I took a coordinating fabric and covered buttons with it. I bought these buttons at Walmart but I think you can find them at almost all craft stores. They really help put the finishing touches on a project.

I cut strips of ribbon to make bows at the places the ribbon intersected. I made the bows by looping and sewing so the dotted ribbon would show.

I sewed the bows down. The makes a little indention in the board to give it a "puckered" effect.

I then sewed a button in the center of each ribbon.

This is the finished board. GraciAnn loves it. It's a great place for her to hang things she wants to display without hurting her walls. It looks fantastic on her light pink walls and was a simple project to make!

I love it. I am going to have to try to make one for my daughter.
ReplyDeleteI am a new follower. I hope you will follow me back.
Nancy
www.findingblessingsineverydaylife.blogspot.com
I just linked to this tutorial on my blog!
ReplyDeletehttp://mygreenbraecottage.blogspot.com/2011/02/ribbon-and-more-memory-boards-linky.html
Wow! This looks great! Awesome tutorial; I can't wait to try my own (and not have to buy it in the store). I would love for you to link up to my Ten Buck Tuesday link parties!
ReplyDeletewww.youngnester.blogspot.com
I am a new follower :)