Welcome!
Thanks for visiting! Please leave us a comment as we love your feedback.
See where we are partying at the bottom and on the sidebar.

Wednesday, January 12, 2011

Transform an old frame into a Chalkboard Frame!

I've been wanting a chalkboard of some kind in our house for ages.  I didn't want to buy one.  After all, using chalkboard paint is very popular these days.

I took an old large picture frame that I had actually put in the yard sale last year.  Thankfully, it didn't sell because now I needed it.  Sorry, I don't have a before picture.  I was spray painting and too lazy to go upstairs for the camera.

I started by painting the glass (big fail).  I had read some where to paint the glass, but then once I wrote on it, the paint rubbed off.  The words on the board should be "Craft, Craft, Crap!"
The paint rubbed off on multiple places.  Oh well.  Now, time for attempt #2.

I took the backing of the frame and painted on three coats of chalkboard paint.  I did two coats in one direction and one in the other direction.  This helped to hide any lines.  I got my paint from Walmart in their paint section.  Don't buy it from the craft section!  It is about a fourth of the size and more expensive.  The one I bought was around $6. Here is a picture of the paint I used:
Once you've allowed the the board to dry, you need to rub chalk all over it. Then wipe it off.


Then put your board in the framing and voila!  You now have a great chalkboard to use for anything in your house!  I considered putting some vinyl on it, such as, "To Do."  I am not sold on it though.  I would like to keep the frame for writing anything on.  I can't wait to start writing special things on my board, even if it is just my to do list.
Happy Crafting!

Related Posts Plugin for WordPress, Blogger...

Tuesday, January 11, 2011

Homemade Bath Finger-paints!

Necessity is the MOTHER of invention!

I have no doubt why the word "Mother" is used in this proverb.  Mothers can invent whatever they want if they need it!  That is exactly what I did tonight.
My invention!
The boys got an adorable bath set for Christmas.  It had sponges, water musical toys, crayons and finger-paints.  The boys loved the finger-paints and used it up in a matter of days.  Well, this Momma was not going to spend the money on more bath finger-paint.  It was WAY too expensive.  Plus, the geniuses who made the finger-paints put soap in it that burns kids' eyes.  I know this from experience as the cheer delight changed quickly to "I have soap it my eyes, it BURNS!"

I was on a mission.  I looked up homemade bath finger-paints but all the recipes used dish-washing soap.  Am I the only one with kids who whine about soap in their eyes?  That is when I came up with my own recipe.  I think my boys were just a wee bit excited about the prospect of more bath paints.

Homemade Bath Finger-Paint

Here is what you need:
  • Tear-free Baby Wash & Shampoo (buy the cheap stuff)
  • Cornstarch
  • Spoons and/or spatula
  • Small funnel
  • Containers (I used the same ones that my originals came in)
  • Mixing bowl
  • Smaller bowls for mixing in color
  • Measuring cups and spoons
  • Food Coloring (I did not like the Walmart brand, I still have it all over my hands)
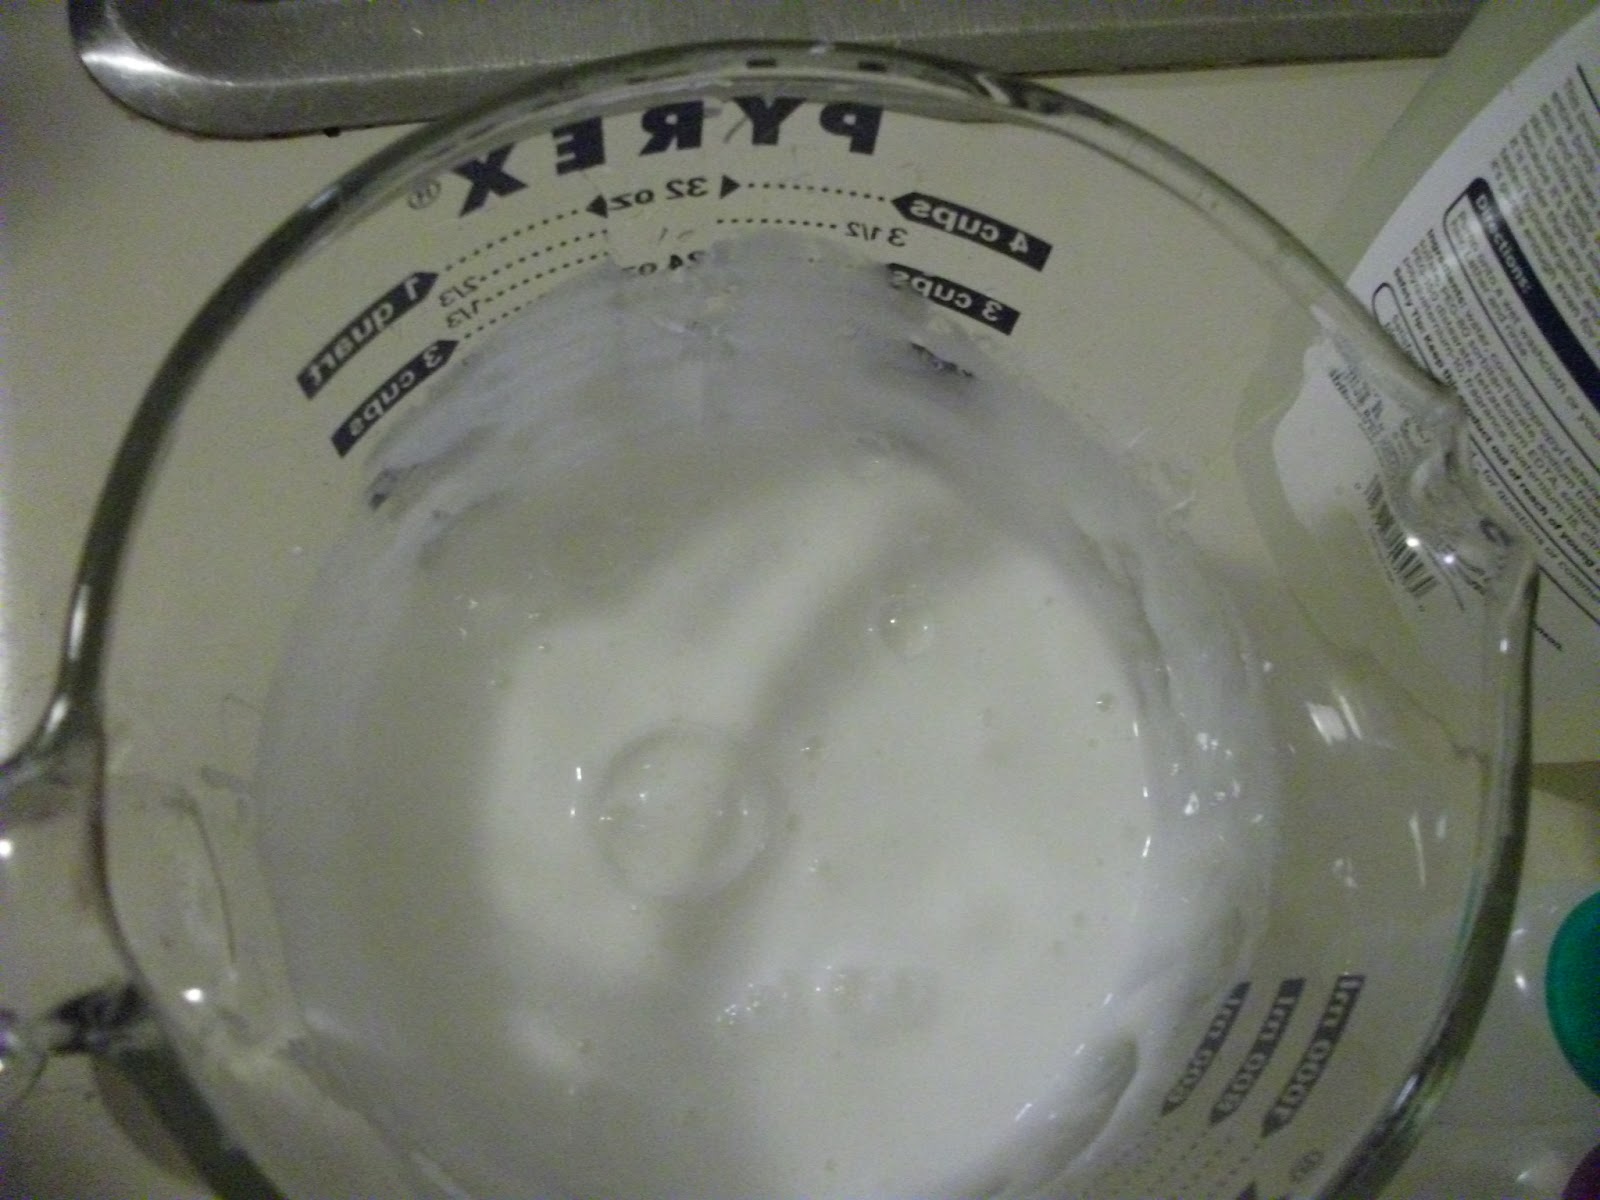
In mixing bowl, combine 1/3 cup baby wash and 1 tablespoon cornstarch.  Mix well.  Add more cornstarch if you prefer a thicker consistency.
My boys helping me make their paints!
Your mixture will be white.
Separate portions of the mixture into smaller containers.  Add food coloring to each small bowl until you reach your desired color.
The purple needs to be darker!
I used a funnel to put the paints into each container.  Then I got impatient (big surprise) and just used the spoon or spatula to pour it in.
Here are my finished bath paints.  The kids loved them and don't worry it didn't stain their bodies or the bathtub!  Let your kids paint away and then with a little spray of water, it is gone!
Make some for your kids tonight!  They will think you are amazing!  Don't worry, I already think you are!  This would also be an awesome birthday gift!

Related Posts Plugin for WordPress, Blogger...

Monday, January 10, 2011

I've Got a Project....

...I've been working on...

...I'm not finished.  It's a copycat craft and I LOVE it!
.
Here's a sneak peek.....

Fingers crossed and children willing you'll get to see the finished project tomorrow!

We've had an exciting day!  Last night, the snow started falling and falling and falling.  We had about six inches and we're in the "South"!  Our entire area was pretty much shut down.  So, we had a long weekend and a lot of snow to play in.

We played!

So sorry about the sideways shots!
...and played

Mariella venturing out...

...and sat...

...and marched, or so it looks...

...and sunk, poor Sid!

....and GraciAnn made snow angels...

...and got pulled on the sled...
(This is when you wish you had a sloped yard.)

...and shared the sled...

Daddy's turn to pull!

...and cuddled...

...and had a fantastic day!

So, now you see why my project is not finished.  It's worth waiting for.
.
Related Posts Plugin for WordPress, Blogger...

Atlanta Snow Day & Weekly Menu Plans

Well, it snowed in Georgia!  That is not a common occurrence here!   This is the second time in two months though.  We got about 4 inches where we live, but in some nearby areas they got closer to 8 inches!  We are supposed to get about an inch of ice on top of this!

For those of you not familiar with Southerners, snow and ice like this is debilitating!  We are in a state of emergency and no one should be on the roads at all.  Why, you ask?  We heard on the news this morning that Georgia has about 15 salt trucks, yep for the entire state!  Our family is used to this as we grew up in Kentucky and lived in Northern Ohio for a few years.

We welcomed the snow today.  It is a reminder that we need to slow down and just enjoy time together.  My husband took the kids out to play (for all of 15 minutes before they started whining about being cold).  I wanted to share some pictures with you.  Evan got tired of being cold and preferred watching the fun from the front door.


We are enjoying being snowed in.  Now for our menu plans for this week!

Shannon is being so good and is having a healthy eating month.  She is working hard to eat healthy foods and is hopeful this will last longer than this month.  I am very proud of her! Plus, her menu is diverse!  Leave a comment if you would like a recipe for any of the items.

Shannon's menu plan
Sunday-Chicken Chili
Monday-Beef Stew
Tuesday-Steak Salad
Wednesday-Grilled Chicken and Veggies on the grill
Thursday-Coconut Curry Shrimp
Friday-Taco Night
Saturday-Baked Tilapia-Thai Style

I, on the other hand, am sticking to my normal foods.  I have a wedding to prepare for in April, but I am not in the mood to diet yet.  One day soon! You may notice some repeats from last week.  We got sick and hit up some Chinese soups so I moved meals to this week. Some of my meals have links to the recipes.  If there is recipe you would like, just leave me a comment.  I will also be adding the recipes from last week that were requested. 

Jill's Menu Plan
Monday-Italian Chicken, broccoli, mashed potatoes
Tuesday-My Crockpot BBQ pork on buns, green beans
Wednesday-leftovers (husband is gone on Wednesday nights)
Thursday-Wayne's Beef Macaroni and Cheese
Friday-Honey Teriyaki (KC Masterpiece marinade)Grilled Chicken, rice, oriental vegetables
Saturday-Baked Ziti, salad, french rolls
Sunday-Ham slice, peas and macaroni & cheese

 Have a great week and stay warm!

Related Posts Plugin for WordPress, Blogger...

Sunday, January 9, 2011

A new blog to share with you

A new blog called "Sweet November" is offering free advertising.  We have jumped in on the fun! You will see our button on their page.  Go check the blog out and let us know what you think!  Here is the info on the free advertising:


Related Posts Plugin for WordPress, Blogger...

I DID IT!- I finished the boards-A Tutorial, kind of...

This is how my morning started.  I had 8 boards that needed sanding, holes drilled, wire put on, vinyl added, and ribbon...I had a goal.  They'd be done today.  I think I can..

The boards are stacked and ready to go to the belt sander in the garage. I sand the edges where the paper is attached to the board. It blends so nicely.  The belt sander makes this part go quickly.  If you aren't blessed with a belt sander, a piece of sandpaper will do the trick!

To get holes that are perfectly spaced, I use a wooden square and drill in the lower corner of the square.

See the hole?  It's pretty small. I use a small drill bit because the wire is thin and I don't want big holes.

8 boards, 2 holes per board, let's see, 16 holes later I'm ready to add wire.  Here's what I need: wire, wire cutters, and an object to wrap the ends of the wire around to give it a curly look.  I use a pen.

I thread the wire from back to front.

I then wrap it around the top and go back through again. This gives stability. The wire I'm using this time isn't heavy wire so the double wrap is necessary.

I added a white bead. It reminded me of a cotton tail.  Perfect for my Easter board.

I wrapped the wire around the pen and pulled the pen away.  That's how I got the curl.

Wire wrapped around pen.

This is what the wire looks like when the pen is removed.  You can arrange it however. 

I added beads to this wire to match the candles.

The wires are in.  Now it's time to add vinyl.  Here's a "Santa" board I made for my friend, Jessica. The vinyl is cut out and ready to be applied.  As you can see, pull away any vinyl you don't want on your board.  What's left on the paper should be exactly what you want on the board.

Put transfer tape on the vinyl and rub it to get the vinyl to adhere.  Transfer tape is necessary.  It makes transferring the vinyl so much easier and keeps things straight. You can use a piece of transfer tape over and over. I usually can get about four uses out of each piece.

Peel the paper away from the vinyl.  This is what the letters look like on the transfer tape.

Position the tape on the board and rub it well. 

Pull the tape away and you're left with the vinyl, on the board. YEAH!

After vinyl, I added ribbons. Woops, forgot to take pictures of that!
Here's the finished Santa board.

Here's the finished birthday board.

I really like using different fonts for the vinyl.

Here's the finished Easter board.  It says, "Hoppy Easter".

Here's one of the finished Valentine's Day boards.  I made two identical.... craft sharing, remember! (I hope you like it Jill!)

Here's a not so great picture of our St. Patrick's Day board.  I added a washer to the ribbon. It reminds me of a Leprechaun's hat and it's gold.


There you have it. I completed 6 photo boards.  I also finished the board part of the subway art boards. Jill is going to add the vinyl. You'll get to see them in a future post where we show all the prizes won in our 12 days of Christmas giveaways. 8 boards complete!

So, I wanted to finish these early and have a relaxing evening. I finished at 10:15 pm.  Well, they're done. I  met my goal and I'm ready for bed!  There are so many benefits to "assembly line crafting"; however, I'm usually sick of the project once I've finished it. I'm glad to see these boards behind me.  I'm also glad that I've got a jump start on St. Patrick's Day and Easter.  Wow!  I'm actually ahead in something.

Please check our linky parties to see all the places we are linking up to today!

Related Posts Plugin for WordPress, Blogger...
Ebates Coupons and Cash Back