Welcome!
Thanks for visiting! Please leave us a comment as we love your feedback.
See where we are partying at the bottom and on the sidebar.

Friday, January 14, 2011

From Blah To TaDa... with just a little vinyl!

I love all things personalized!
Well, almost all.  I just think it makes otherwise boring things, special.  Here are a few things I personalized, with vinyl.

These were the crates I loaded with gifts for GraciAnn's teachers' Christmas presents.

These are pushcarts, we got from IKEA for the girls.

A little side bling.

...and the front view. We've learned it works best to by two identical items and put their names on them. Mariella, not quite two, recognizes her name and knows it's best to stay away from her sister's!

This is GraciAnn's trashcan for her room.  I purchased it at IKEA too. It has a flap lid and was about $8. 
Before:
This was last night's project.  The bin on the left is a trashcan I picked up at Publix for $2.  The one on the right we use as a hamper. I got it at IKEA for about $3 or $4. These go in the girls' bathroom. 

The hamper front  "After".  The teacher in me wants to provide a print rich environment for my kids, so I wanted to clearly label the hamper with what we put in it: laundry.  I decided to do a plain font.

Side view of laundry hamper.

...and other side.

The finished trashcan.

Side view of finished trashcan.

Other side of trashcan.

Vinyl colors, up close.

I chose 3 different colors of vinyl.  All coordinate well with the bathroom. I used my Silhouette to cut the vinyl out.  I was pretty random about how I stuck the flowers and leaves on. Voila... an hour later, I was finished. So, for less than $10, we have a laundry hamper and a trashcan that match perfectly!  This morning, when GraciAnn saw them, she said, "I love the trashcan and laundry basket you made, Mommy. They are beautiful!"  Well, maybe not beautiful but darn cute in my book!

Related Posts Plugin for WordPress, Blogger...

Sourdough Cinnamon Rolls

For all of you who have enjoyed the Sourdough Starter & Recipe, I have another use of the starter for you.  How about some delicious Sourdough Cinnamon Rolls?


Here is the recipe and instructions:

Sourdough Cinnamon Rolls

Using your 1 cup of sourdough starter, make the dough per the directions for making sourdough bread.  Allow it to rise and then continue with this recipe.  Here is a picture of the dough that has risen:

Prepare the Cinnamon Filling.  Mix well.
1 cup sugar
4 tablespoons Cinnamon
8 tablespoons melted butter 

Turn dough onto floured surface and roll into a rectangle. Spread cinnamon filling over dough till covered. 
Roll up the dough.
 Cut into pieces about 1 1/2 to 2 1/2 inches and place into 1-2 greased 9x13 pans. (depends on how thick you cut them.) Place in pans side by side but not touching.
As you can see, I should have rolled my dough tighter.  There are some big cinnamon filling areas.

Place in a warm spot to rise with a towel over it or plastic wrap. Let rise overnight or for at least 2-3 hours.  The rolls should double in size. Bake for 20-25 minutes in a 375-degree oven. As soon as rolls come out of oven brush tops with butter. 
Prepare icing:
2 cups powdered sugar
1 tsp. vanilla
Milk to desired thickness

Mix sugar, vanilla and liquid to form a thick syrup. Can thin by placing in the microwave.  (The next time I make this I will probably attempt a cream cheese frosting and compare how I like it.  Who doesn't love cream cheese frosting!) Drizzle over rolls. 
 Put one (to start with at least) on your plate and enjoy!

I made these these the morning of our big snow here in Atlanta.  It made being snowed in that much more enjoyable!

I would love to hear from those of you who have attempted the starter and bread!  I think it is very simple and easy if you have the patience.  After you feed your starter again, try this recipe out!  My next use of my starter will be pizza dough.  I'll let you know what my family thinks!

Enjoy!


Related Posts Plugin for WordPress, Blogger...

Wednesday, January 12, 2011

Transform an old frame into a Chalkboard Frame!

I've been wanting a chalkboard of some kind in our house for ages.  I didn't want to buy one.  After all, using chalkboard paint is very popular these days.

I took an old large picture frame that I had actually put in the yard sale last year.  Thankfully, it didn't sell because now I needed it.  Sorry, I don't have a before picture.  I was spray painting and too lazy to go upstairs for the camera.

I started by painting the glass (big fail).  I had read some where to paint the glass, but then once I wrote on it, the paint rubbed off.  The words on the board should be "Craft, Craft, Crap!"
The paint rubbed off on multiple places.  Oh well.  Now, time for attempt #2.

I took the backing of the frame and painted on three coats of chalkboard paint.  I did two coats in one direction and one in the other direction.  This helped to hide any lines.  I got my paint from Walmart in their paint section.  Don't buy it from the craft section!  It is about a fourth of the size and more expensive.  The one I bought was around $6. Here is a picture of the paint I used:
Once you've allowed the the board to dry, you need to rub chalk all over it. Then wipe it off.


Then put your board in the framing and voila!  You now have a great chalkboard to use for anything in your house!  I considered putting some vinyl on it, such as, "To Do."  I am not sold on it though.  I would like to keep the frame for writing anything on.  I can't wait to start writing special things on my board, even if it is just my to do list.
Happy Crafting!

Related Posts Plugin for WordPress, Blogger...

Tuesday, January 11, 2011

Homemade Bath Finger-paints!

Necessity is the MOTHER of invention!

I have no doubt why the word "Mother" is used in this proverb.  Mothers can invent whatever they want if they need it!  That is exactly what I did tonight.
My invention!
The boys got an adorable bath set for Christmas.  It had sponges, water musical toys, crayons and finger-paints.  The boys loved the finger-paints and used it up in a matter of days.  Well, this Momma was not going to spend the money on more bath finger-paint.  It was WAY too expensive.  Plus, the geniuses who made the finger-paints put soap in it that burns kids' eyes.  I know this from experience as the cheer delight changed quickly to "I have soap it my eyes, it BURNS!"

I was on a mission.  I looked up homemade bath finger-paints but all the recipes used dish-washing soap.  Am I the only one with kids who whine about soap in their eyes?  That is when I came up with my own recipe.  I think my boys were just a wee bit excited about the prospect of more bath paints.

Homemade Bath Finger-Paint

Here is what you need:
  • Tear-free Baby Wash & Shampoo (buy the cheap stuff)
  • Cornstarch
  • Spoons and/or spatula
  • Small funnel
  • Containers (I used the same ones that my originals came in)
  • Mixing bowl
  • Smaller bowls for mixing in color
  • Measuring cups and spoons
  • Food Coloring (I did not like the Walmart brand, I still have it all over my hands)
In mixing bowl, combine 1/3 cup baby wash and 1 tablespoon cornstarch.  Mix well.  Add more cornstarch if you prefer a thicker consistency.
My boys helping me make their paints!
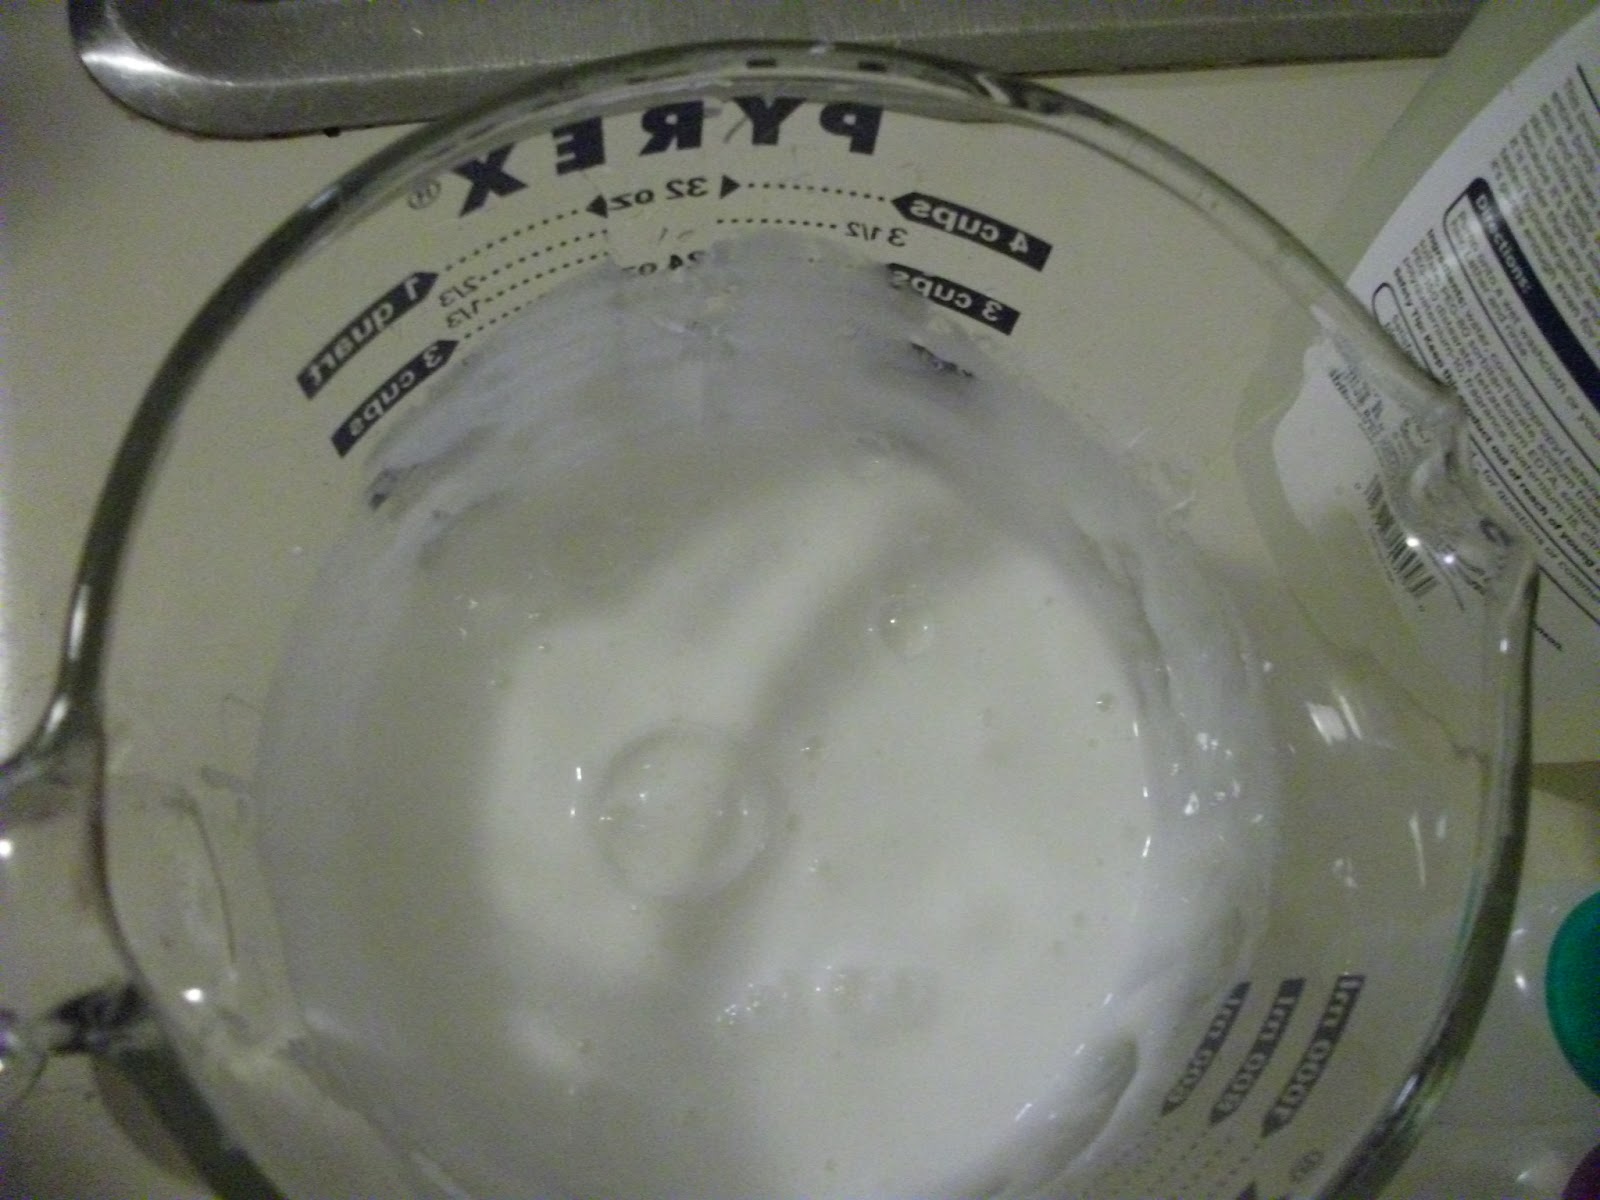
Your mixture will be white.
Separate portions of the mixture into smaller containers.  Add food coloring to each small bowl until you reach your desired color.
The purple needs to be darker!
I used a funnel to put the paints into each container.  Then I got impatient (big surprise) and just used the spoon or spatula to pour it in.
Here are my finished bath paints.  The kids loved them and don't worry it didn't stain their bodies or the bathtub!  Let your kids paint away and then with a little spray of water, it is gone!
Make some for your kids tonight!  They will think you are amazing!  Don't worry, I already think you are!  This would also be an awesome birthday gift!

Related Posts Plugin for WordPress, Blogger...

Monday, January 10, 2011

I've Got a Project....

...I've been working on...

...I'm not finished.  It's a copycat craft and I LOVE it!
.
Here's a sneak peek.....

Fingers crossed and children willing you'll get to see the finished project tomorrow!

We've had an exciting day!  Last night, the snow started falling and falling and falling.  We had about six inches and we're in the "South"!  Our entire area was pretty much shut down.  So, we had a long weekend and a lot of snow to play in.

We played!

So sorry about the sideways shots!
...and played

Mariella venturing out...

...and sat...

...and marched, or so it looks...

...and sunk, poor Sid!

....and GraciAnn made snow angels...

...and got pulled on the sled...
(This is when you wish you had a sloped yard.)

...and shared the sled...

Daddy's turn to pull!

...and cuddled...

...and had a fantastic day!

So, now you see why my project is not finished.  It's worth waiting for.
.
Related Posts Plugin for WordPress, Blogger...
Ebates Coupons and Cash Back