Welcome!
Thanks for visiting! Please leave us a comment as we love your feedback.
See where we are partying at the bottom and on the sidebar.

Wednesday, January 19, 2011

Easy, Inexpensive, and Attractive Decorating-What could be better?

Have you ever had something in your house that you just didn't know what to do with? I have and I think I found a great solution.  I am going to use it as a year-round, holiday decoration, with very little effort to change from one holiday to the next.

Okay, turn your computer 45 degrees to get the real picture!  At some point I'll remember not to take sideways pictures.  I started with two of these on either side of a mirror that hangs over our couch.  BORING!

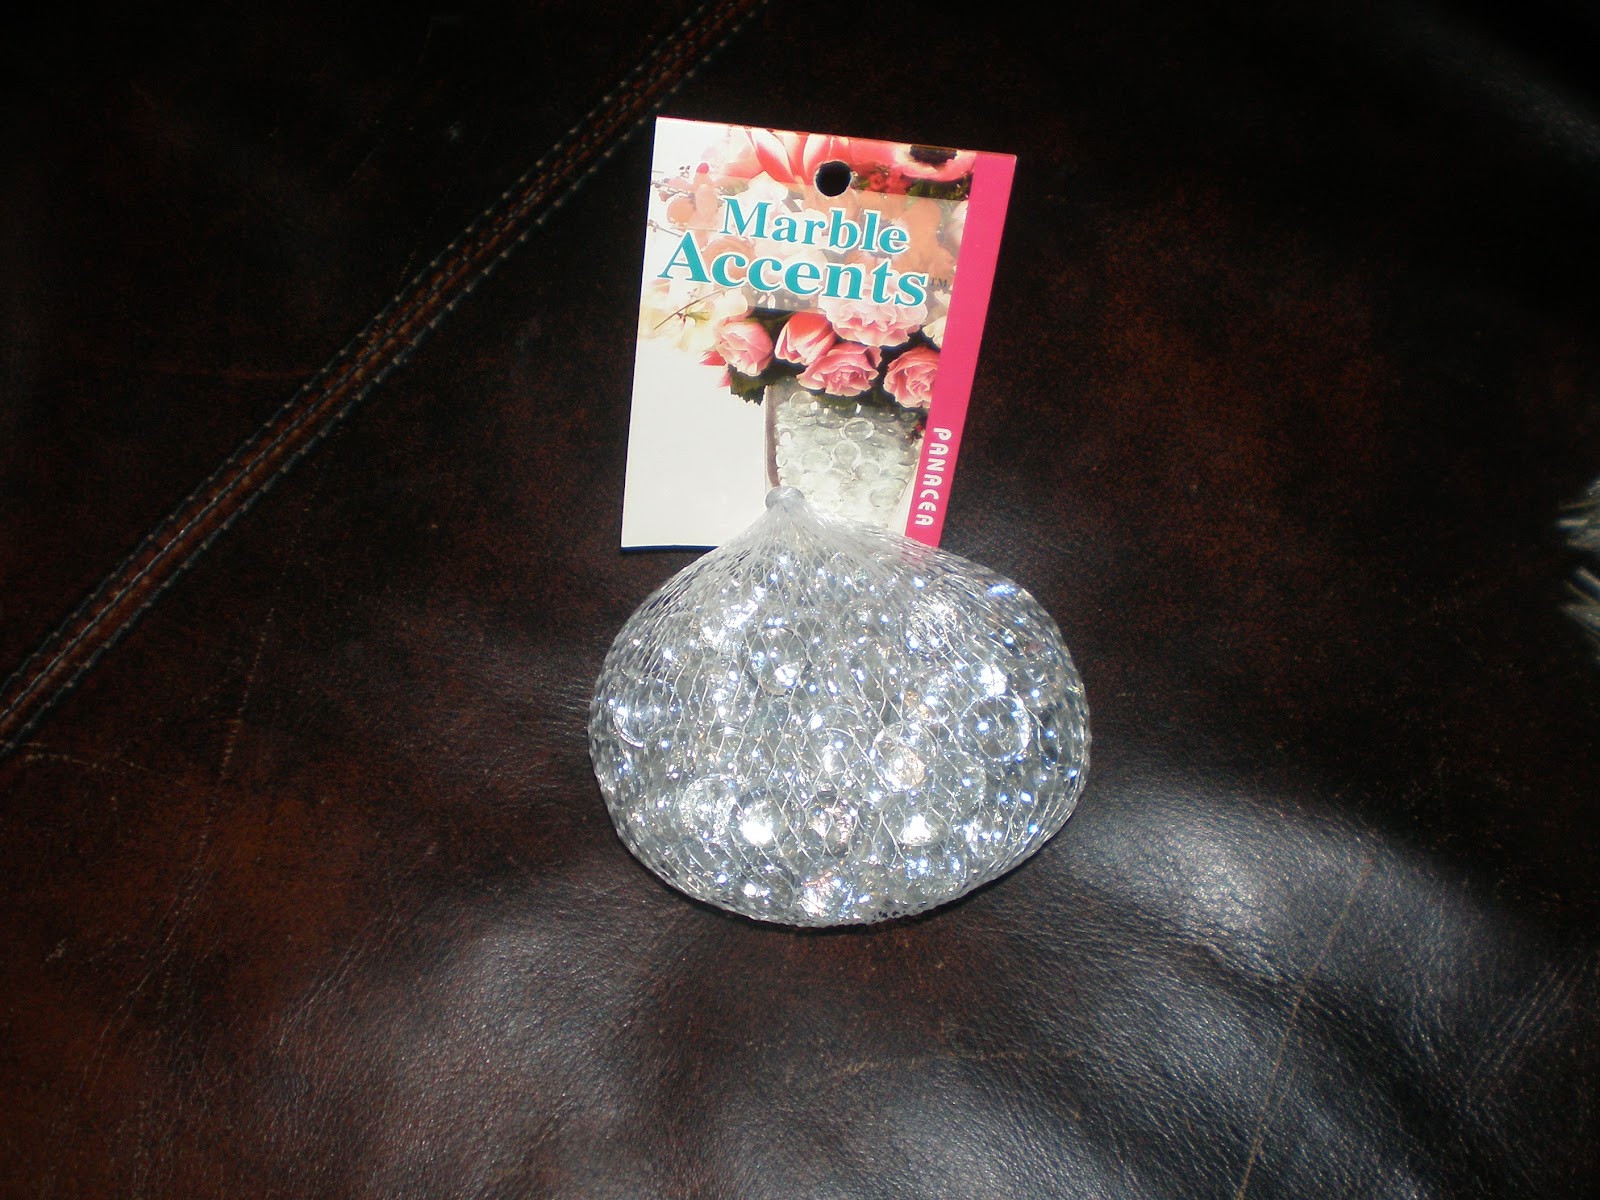
I bought 2 packs of these clear stones for $2.49 each from JoAnn fabrics. I thought about doing colored stones and changing them with each holiday, but that didn't seem so "easy".

I poured one pack in each vase.  It was the perfect amount.

I made two of the felt flowers I gave a tutorial on http://www.oursevendwarfs.com/2011/01/valentines-day-craft-i-created-no.html. Because I wanted them larger, I made each of the nine circles 3.5". If I were to do it again, I think I would have increased them to 4" circles for more of a pop!

Here's the finished project.  For St. Patrick's day, expect the flowers to transform into something green.  I think you may find some neat Easter eggs there for Easter... oh the possibilities of what can top those little glass stones.....

Related Posts Plugin for WordPress, Blogger...

Upcoming Giveaways

We love all our followers!  Thank you for your comments and interest in all we are making.  As a thank you, we want to do some giveaways! 

We need your help though!  For every time we reach 100, we will do a giveaway.  We are almost there for our email subscribers and for our Facebook followers.  Help us get the word out for our blog, by sharing our website with your friends.

Please tell them to subscribe in any of these (or all) ways:  email subscriber, blog follower, Facebook "like",  or twitter follower.  If a friend (or friends) of yours does this, come back and leave a comment with their first name and last initial.  You can have one entry for each person who signs up.  Remind your friends to verify their email address when they subscribe for our newsletter.

As a HUGE thank you, we will choose a winner from the comments of those who helped publicize our blog!  The giveaway item is a secret, but we promise it will be good!

Related Posts Plugin for WordPress, Blogger...

We've been featured!

We want to thank some amazing blogs who recently featured us!  Go visit them and share some blog love! Thanks again!


I’ve Been Featured at Its So Very Cheri


Today's Top 20


Related Posts Plugin for WordPress, Blogger...

Tuesday, January 18, 2011

Mirror, Mirror, on the Wall, how can I make you the cutest one of all?

If you're like me, plain just won't do.  Especially when it comes to decorating for my girls.  On a recent trip to IKEA, I found a mirror I saw so much promise in.  So, with a little money (maybe $5?) and even less effort, I created a beautiful mirror, for my youngest beauty!

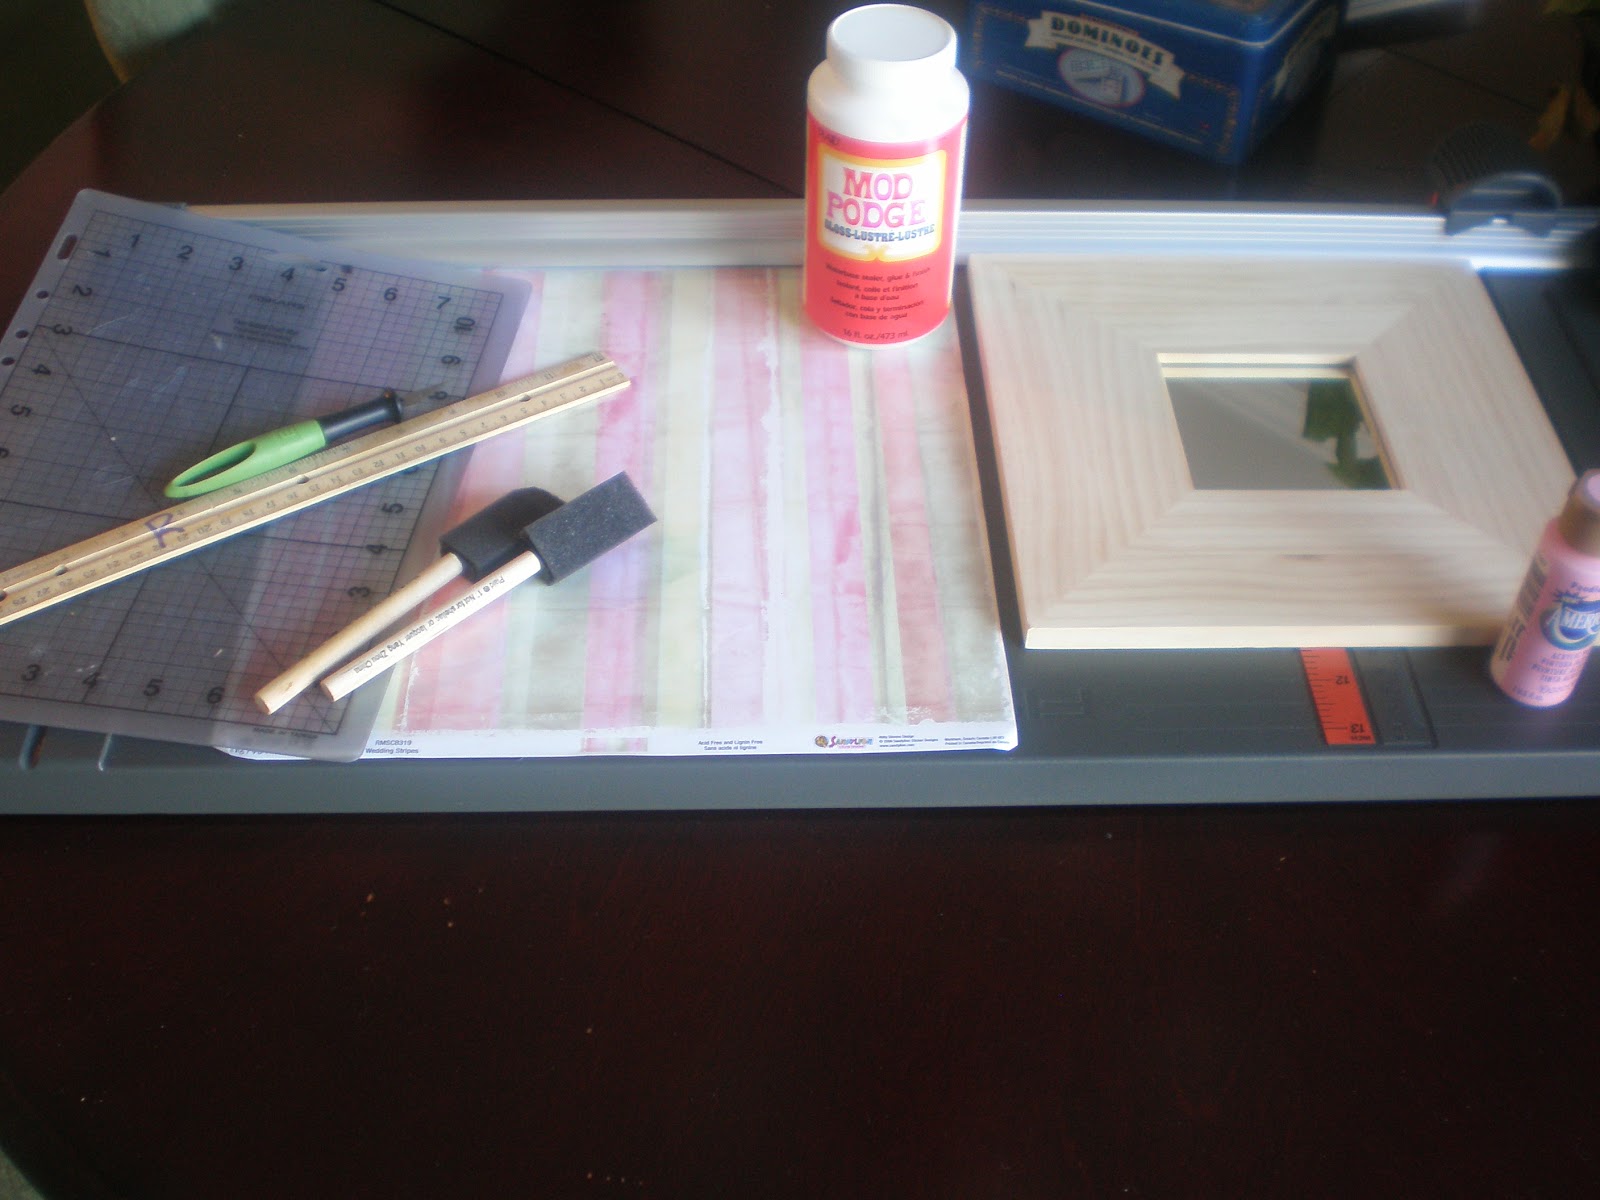
I gathered my supplies, 2 paintbrushes, Mod Podge, paint, 1 piece of printed paper, the mirror, paper cutter, an exacto knife, a cutting mat, and a ruler.

First, I painted the sides and an inch border on the frame of the mirror.

Then I cut the paper to size (10x10").  I carefully measured the square, for the mirror, and cut it out with an exacto knife.

I Mod Podged the paper on. I forgot to take a picture.  Woops.  Just remember a smooth coat of Mod Podge.  Make sure you completely cover the surface to be Mod Podged.  Not too much, but not skimpy either.  The area should look white.  Carefully place your paper on top of the Mod Podged surface and rub the paper on to the surface.  You can use a rolling pin, if you'd like.  I did this one with my fingers.  The thicker the paper, the less bubbles.  The smaller the area being Mod Podged, the fewer bubbles.  No matter how many times I've done this, I still get a few bubbles sometimes.  Let the Mod Podge dry before doing the top coat!  I let this dry about 30 minutes.

This is before I put the top layer of Mod Podge on. There are very few bubbles, or creases in this project!

I Mod Podged the top.  I used glossy Mod Podge for this project.

In about 30 minutes, it's dry!

I wanted to add a fabric rosette to the mirror.  I used a piece of fabric that coordinates with Mariella's bedding.  It's about 22x4".  The only other things I needed were thread, a needle, and scissors.

I folded the fabric in half (right side up).

I hemmed the ends.

I stitched the entire length of the fabric.

...and stitched... and gathered as I was stitching.

I gathered it tightly and then began to roll it together.

I stitched the back to keep the flower together.

Tada!  This is the finished flower.

I stapled a ribbon to the back as a decorative hanger.

I hot glued the fabric flower in place. 

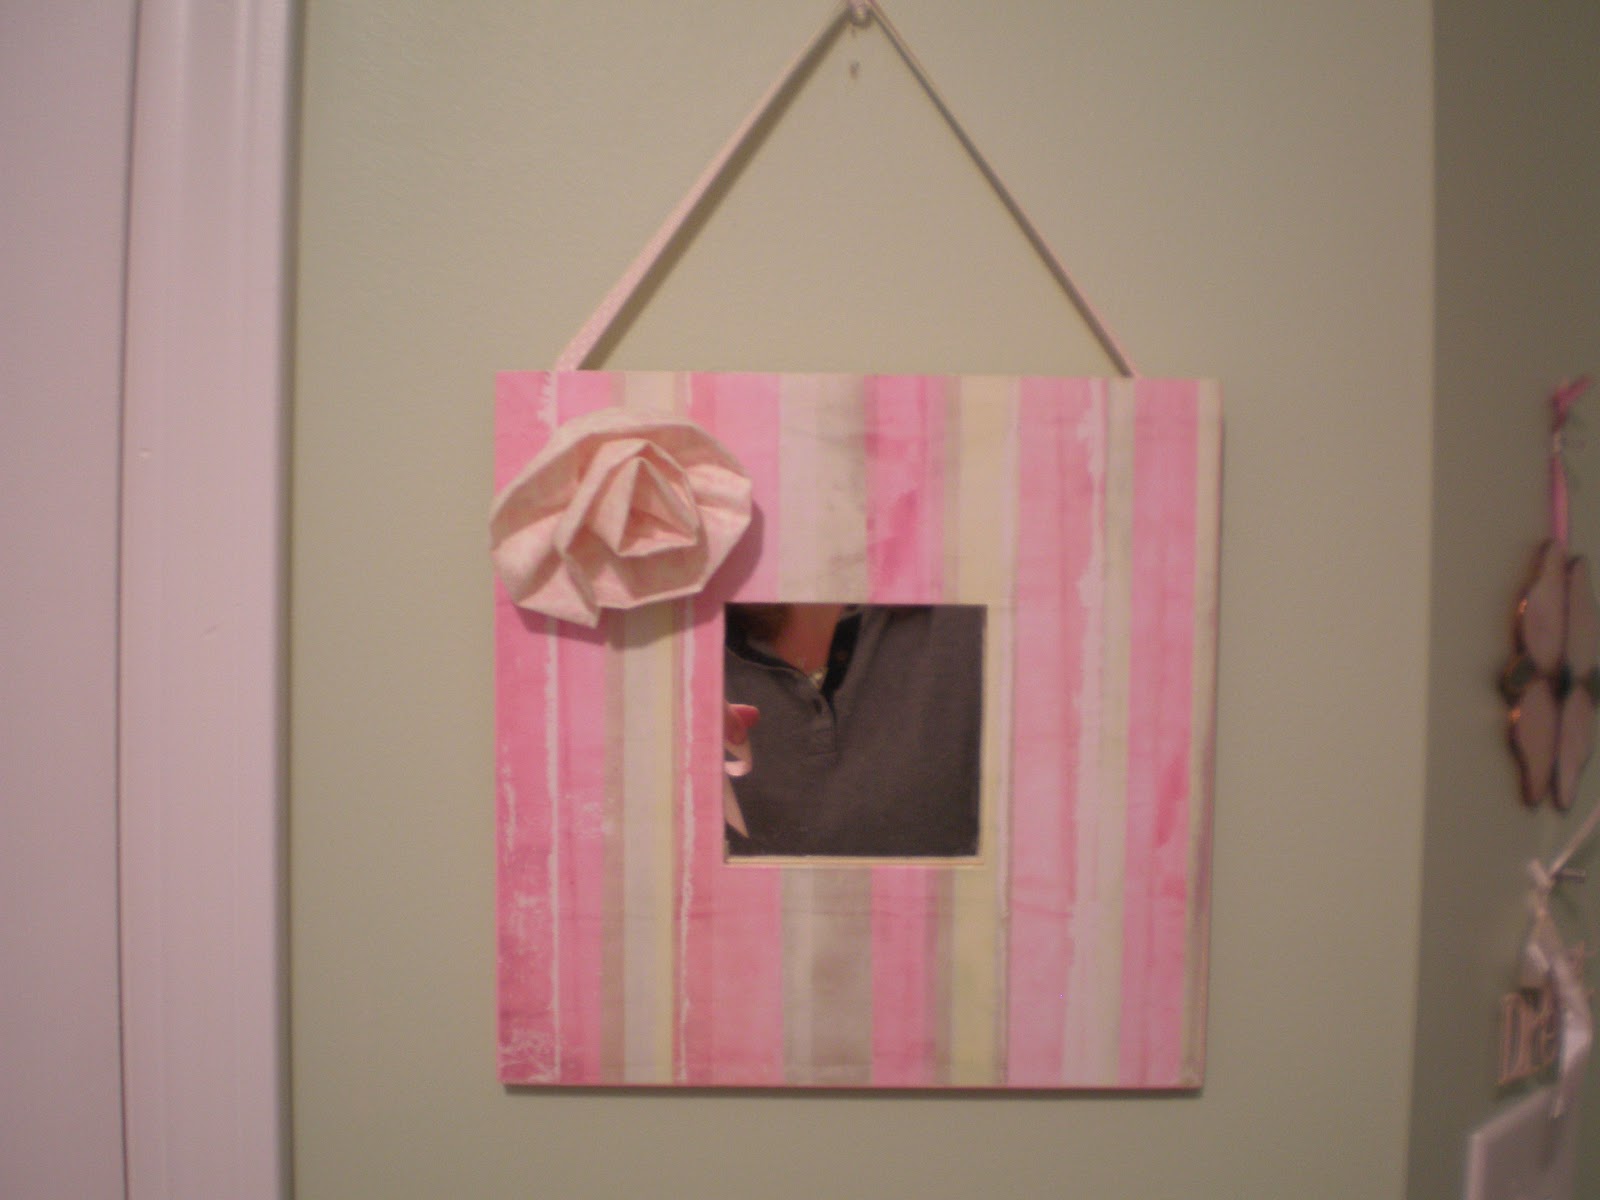
I hung it on Mariella's green wall.  So... pretty and she LOVES her mirror!
Related Posts Plugin for WordPress, Blogger...

A Valentine's Day Craft I Created. No Copycatting Involved!-A Tutorial

I am proud.  This is by no means a perfect project and there are a few things I'd do differently, (no worries, I'll let you know what they are) but I made this without cheating off someone else's creativity.  There's hope!

I started with a white canvas, a paintbrush, white, pink, and red acrylic paint.

I squirted the white paint on the acrylic canvas...

and got some help spreading it out evenly.

I lightly dry brushed the canvas with the light pink and red paints. (If I had to do it again, I wouldn't have used pink. I decided to do the accent pieces in red so the red dry brushing alone would have probably looked better.

Here's the prepared canvas. I really like the dimension/texture or whatever you call the hint of color.

I printed words on my computer. I knew I wanted "Love is" but struggled for the last word.  I liked magical.  But, then I asked my four year old, GraciAnn.  With her big blue eyes opened wide, she said, "Love is AMAZING!"  Amazing was perfect for our sign! "Love" is in AR DECODE font at 300 pt. "Is Amazing" is Monster Papparazzi font in 100 pt. I cut the words out and positioned them on the canvas.  At the end, I didn't like the placement because it made it difficult to decorate the rest of the sign. Next time, I'll think through the entire project before making it permanent.

I took a pencil and scribbled on the back of the words to make it easily to transfer them onto the canvas.

I then traced the outline of the letters, with a sharp pencil.

If you look closely, you can see the letters on the canvas, ready to fill in.

I took a black, glossy, acrylic paint and carefully filled in the words.

Here's what it looks like all painted.

Now, for the embellishments. I  made 4 flowers out of red felt (the same felt I used on the amazing wreath) and black burlap. I also needed a needle and thread. I used 9 3" circles for each flower. Five black circles and four red circles per flower.  Between this project and the wreath project I am so over cutting circles!

For each flower, I took a black burlap circle as a base.  I folded the remaining circles in quarters and sewed them on one at a time at the pointed part of the circle.

I sewed the second one directly across from the first.

I filled in the third...

and fourth ones to complete the base.

Then, I added the red felt circles.  I folded them in quarters too.  I overlapped two of the black pieces.

I sewed the second one right across from the first.

Fill in with the third....

and fourth circles. This is what it looks like prior to being "fluffed".

Then I kind of unfolded and fluffed the circles and this was my flower.

Here's my finished piece.  I took black grosgrain ribbon and hot glued it around the edges to give it a finished look.  I also added a bow, from the same ribbon.  I was trying to balance everything out.  It wasn't easy.  I definitely should have planned ahead.  That's the benefits of copy crafting.  You learn from others' mistakes.  Oh well!  I really like how it turned out and it was another inexpensive addition to my Valentine's Day crafts!

Related Posts Plugin for WordPress, Blogger...
Ebates Coupons and Cash Back