Welcome!
Thanks for visiting! Please leave us a comment as we love your feedback.
See where we are partying at the bottom and on the sidebar.

Wednesday, March 23, 2011

A "Lighter" Meal Idea-Chicken Teriakyi, Brown Rice, Steamed Broccoli, and Applesauce Brownies

Chicken Teriakyi

Once again, I looked to Keeping it Simple's Thursday dish, to inspire me to make dinner.  They made Chicken Teriakyi.  http://craftskeepmesane.blogspot.com/2011/03/tasty-thursday-teriakyi-chicken.html I wanted to lighten it up a bit so my version is slightly different than theirs. I used 1 Tablespoon of Olive Oil instead of their 1/4 cup of oil.  I served  it over brown rice. It turned out wonderfully.

Steamed Broccoli
It is a fabulous kitchen accessory.  Not only does it reheat foods, in the microwave, without a mess, it also steams vegetables to perfection.  I put the crown of a head of broccoli in the microcooker. I added a very small amount of water.  I steamed the broccoli for about 3 minutes.  It's very important to check your broccoli to make sure it isn't overcooked.  It tastes wonderful, still slightly crisp, and beautifully green.  No additional seasoning is needed.

Applesauce Brownies
I am not going to try to convince you that brownies are in any way healthy.  But, if you must have brownies, you can make them healthier!  We use to LOVE Betty Crocker, Triple Chunk brownie mix.  Now, they've gone and changed the recipe and honestly, they aren't as good.  That being said, they aren't that bad either.  I hate when they change something that's nearly perfect! Anyway, I make this mix and use applesauce instead of oil and egg whites, instead of eggs.  Much better for you and your getting in some fruit!
Related Posts Plugin for WordPress, Blogger...

Dish Soap Dispenser Upgrade & Tutorial

I hate doing dishes. I would prefer everything go in the dishwasher, but that isn't the case. There are always those dishes or pots and pans that must be washed by hand.  Over the last few months, my dish washing has increased, due to excessive cooking.  While I stand at the sink, I continue to look at that unattractive container of dish soap.  Why couldn't it be nicer and a bit more discrete?  Aha, a crafting idea.

Off I went to all my favorite stores, yes Mom, that included Walmart.  (She likes to harass me for going to Walmart regularly.  It doesn't help that my 2 year old asks if we are going to Walmart whenever I tell him we have to run to the store.  Let's just say that between trips to Sam's Club and Walmart, I am helping increase the Walton family fortune).  I digress.

I shopped all the stores until I found something that worked.  I planned to find a container for my dish soap, but decided to upgrade and label both. (I'm pretty sure I found these at Target, sorry Walton family, but I'm not positive.  It's been awhile).
Both soap dispensers are clear.  I filled them up with my hand soap and dish soap.  That looked plain though.  People might get confused as to which one to use.  (I know Mom, it is just horrible that I let people wash their hands at my kitchen sink.  Shame on me!) 
Therefore, I utilized my handy dandy Silhouette machine.  Are you beginning to understand how much I love this machine and all the nifty things you can do with it?  I cut out my words and removed the excess vinyl.
I picked up the words that I need for each dispenser using my transfer tape.  Since this was a curved surface it was a bit harder to get the letters on perfectly.  Thankfully, this vinyl is forgiving and I was able to take off a letter and put it back on where I needed it to be.
There you have it.  I love my new soap dispensers.  They are unique and I don't have to look at the unattractive dish soap bottle any longer.  Does that bother anyone else or just me?
Now, I must return to the sink full of dishes that won't clean themselves.  At least I had a crafting break!  If only all chores could be sidetracked with a craft to make it more enjoyable!


We are linking up this project to all these wonderful parties.  Go visit them for more great ideas!
Related Posts Plugin for WordPress, Blogger...

Tuesday, March 22, 2011

A "Lighter" Meal Idea-Confetti Tilapia, Red Rosemary Potatoes, Salad, Lemon Berry Cupcakes

Yet another day comes, and I have to make dinner.  It's no different than any other day.  I dread it.  What can I make that my kids will eat and my husband will like?  I'm hopeful I'll have all the ingredients since going to the grocery store ranks right up there with making dinner, cleaning toilets, and mopping the floor!  Anyway after going through the refrigerator, I decided to make a tilapia dish.  Believe it or not, my kids will eat fish!

Confetti Tilapia

Ingredients:
6 small pieces of Tilapia
1 red pepper diced
3 green onions thinly sliced
1 orange
salt
pepper

Sprinkle salt and freshly ground pepper on the fish.  Put the fish in a baking dish that's been sprayed with a non stick olive oil cooking spray. Zest the entire orange.  Mix the zest with the red pepper and onions.  Juice the same orange.  Mix the juice with the vegetables and zest.  Pour the mixture, evenly, on top of the fish. Broil the fish until it's completely white and flaky.

Red Rosemary Potatoes

Ingredients:
4-6 small red potatoes
2-4 cloves of garlic
fresh or dried rosemary
olive oil
salt
pepper

Wash the potatoes and cut them into bite sized pieces.  Put them in a bowl.  Press the garlic cloves on the potatoes.  Sprinkle in about 1 1/2 tsp. of dried rosemary or finely chopped fresh rosemary. Add salt and freshly ground pepper.   Drizzle in a small amount of Olive Oil.  Mix well.  Put the potatoes on a cookie sheet and broil on low, until tender.  Mine were slightly browned and very delicious.

Salad
We eat dark lettuces or spinach.  You can buy them already prepared in bags or plastic containers.  Easy.  I love the Wishbone spray salad dressings and so do my kids.  They are extremely low in calories and fat.

Lemon Berry Cupcakes

Ingredients:
1 Box of Lemon Cake Mix-make mix as directed except substitute egg whites for eggs and applesauce for oil or butter.
Sliced Strawberries
Blueberries
The Zest of a Lemon

After making the cake mix, carefully fold in strawberries, blueberries, and lemon zest.  Bake in cupcake cups until a cake tester comes out clean.  Use the cake box for a general idea of how long to cook cupcakes.

After cupcakes are done, take them out to cool completely.  Top with light whipped cream.  I suggest adding lemon zest to the top of the whip cream for an added burst of flavor.

Related Posts Plugin for WordPress, Blogger...

Monday, March 21, 2011

Great Things-Mamachee Crochet Patterns & Giveaway! ENDED

We hope that you are enjoying our new series of "Great Things."  Today we have another amazing store to share with you:  Mamachee Crochet Patterns.  Tara Murray is the face behind Mamachee Crochet Patterns and she is one talented lady!  She has a successful etsy shop and blog called Easy Makes me happy.
Tara opened her etsy store in October of 2008 with these things in mind: "My dream is to be able to stay home all day with my husband and kids, working together as a family. With the help from etsy and you lovely buyers on etsy, this may be able to come true for me....and I am so thankful!"

I hope that her dream is coming true.  It sure looks like she is quite successful!  She's made over 4000 sales with 100% positive feedback!  She also has a thriving blog that offers many free crochet patterns, tutorials and other crafts.  Check it out here!

EASY

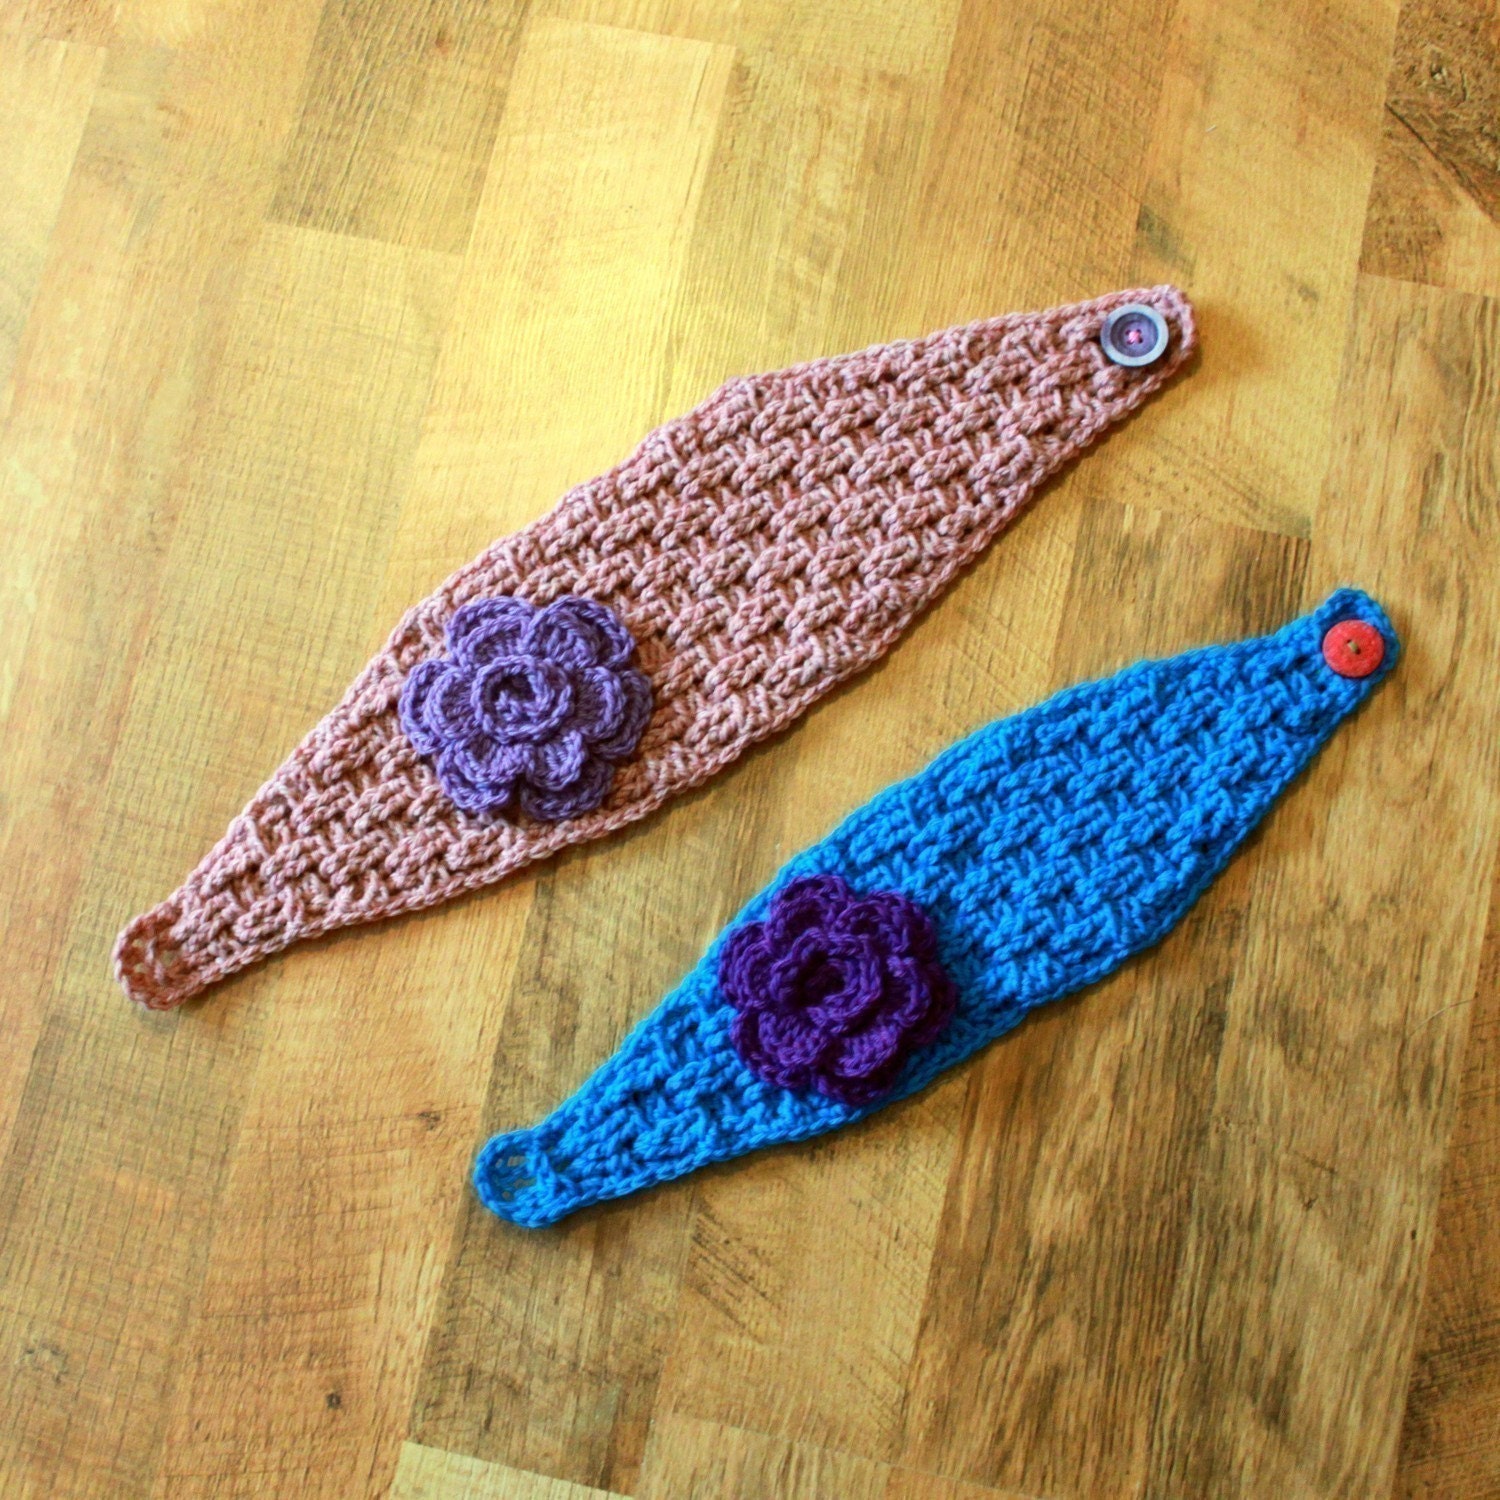
My two favorite patterns that I ordered from Tara are the Headband, flower and bow pattern and the Warm Winter Booties. I've made my sweet Anna a flower in almost every color.  I get compliments on those everytime we are out.  We recently had professional pictures of Anna and these headbands made the pictures even more precious.

 Here is a closeup one with full flower showing!
We actually got the this last picture in black and white with the flower being the only thing in color.  It was beautiful!  I really feel the headband and flower just made her pictures extra special.

Mamachee patterns are well written and very easy to understand, even for the beginner crocheter.  What is even better is Tara is more than willing to help you if you have questions or struggles.  She also has deals when you buy more patterns.

Here are some items that are on my list to buy:
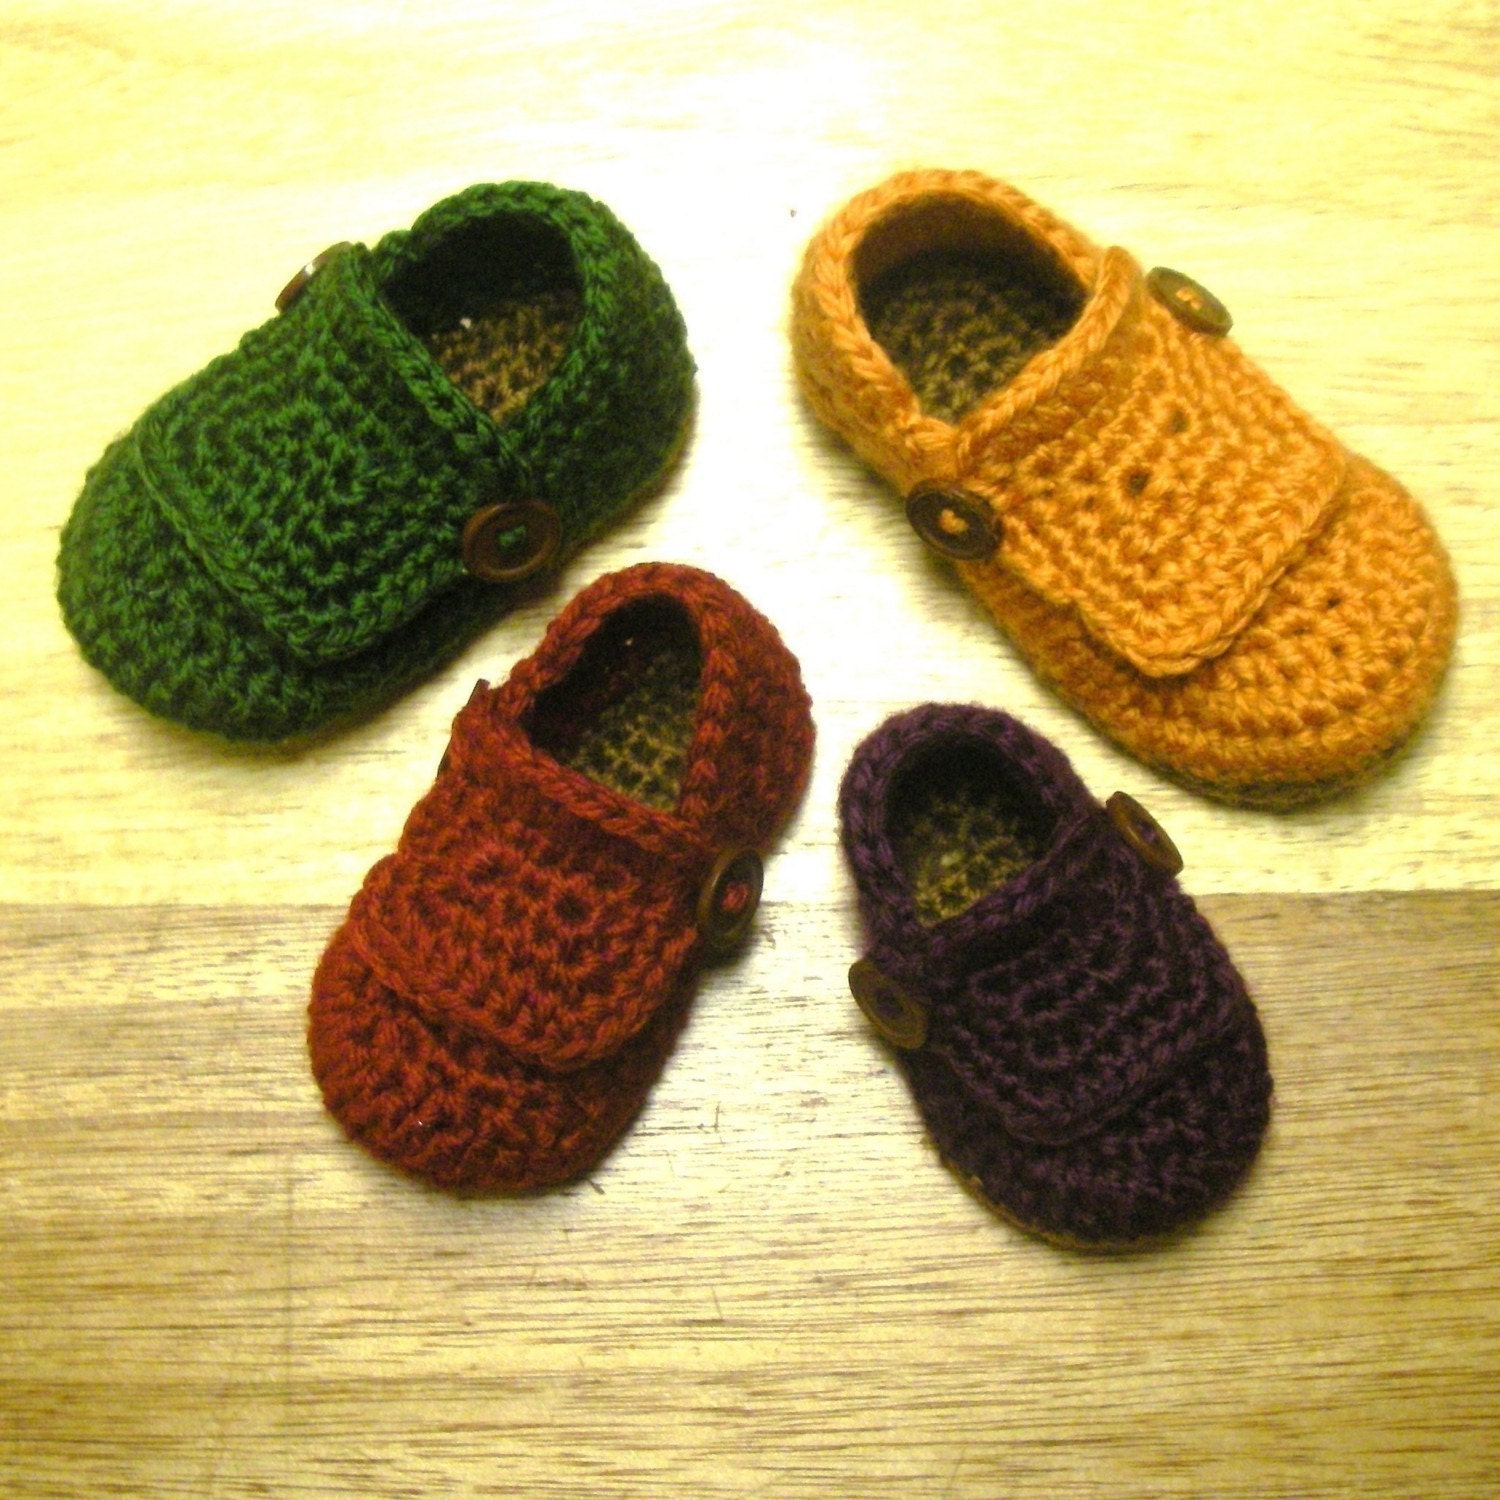
Buccaneer Booties

Elizabeth Headwrap

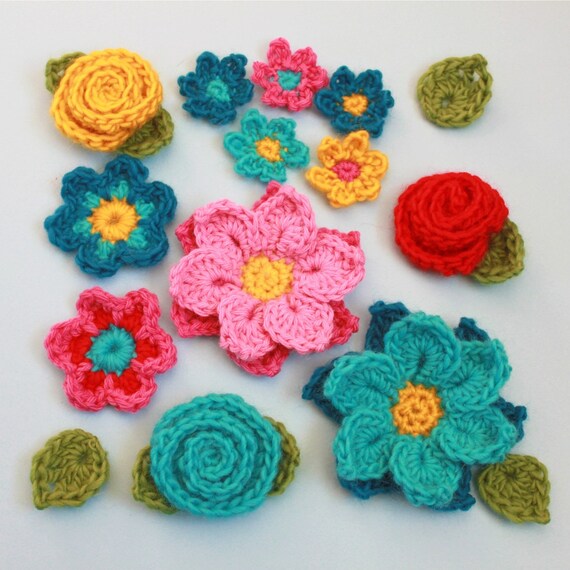
Flower Shower

Oma House Slippers (for adults!)

One of the neatest items on her blog is a measurements guide to help you make your own creations.  This is definitely at the top of my list!

Okay, enough of my love for Mamachee!  I want you to share in the love.  Tara has been nice enough to do a giveaway for all our fabulous readers!  How does FIVE free patterns to a lucky winner sound?  I think that is awesome!  For those of you wanting to learn to crochet, this is a great way to start off with some fantastic patterns.

Here is how you enter to win the 5 free crochet patterns:


*Leave a separate comment for each entry*

1. Mandatory entry:  Like Our Seven Dwarfs on Facebook or tell us you already do.  (leave a comment too).
2.  Visit Mamachee on etsy and tell us at least one pattern you would choose.
3.  Subscribe to Our Seven Dwarfs by email.
4.  Follow Our Seven Dwarfs via Google Friend Connect (click follow on sidebar).
5.  While visiting Our Seven Dwarfs on Facebook, click share by any of the postings for the Mamachee Giveaway.  *Once you click share, a new window will pop up, click on the lock button and choose everyone, then click share again.  This will make your post show up on our Facebook and Mamachee's Facebook.  This entry will not be counted unless it shows up on our page.   Then leave a comment here for your entry.*  Easier than it sounds.

That is 5 chances to win 5 free patterns!  Remember, you don't have to do all 5 entries, but it sure would make us happy and increase your chances.  Make sure you leave a separate comment for each entry! The giveaway closes at 11:59 pm (EST) on Saturday, March 26th. We'll announce the winner on Sunday, March 27th.

Good luck to you all! 

Related Posts Plugin for WordPress, Blogger...

Learn to Crochet!

As you may know, I love to crochet.  I've been crocheting for about 12 years.  I've known all the stitches, but just over the last couple of years, I learned to truly read a pattern.  Wow, my world has been opened up since then.  There are so many cute things you can make by learning to read a pattern.  There is so much more to crocheting than the old Granny Square (which is even coming back in popularity)!

I want to help all of you who might have an interest in learning to crochet.  Crocheting is different from knitting.  Unfortunately, some knitters bad mouth crocheting and vice versa.  I don't know why.  I prefer to crochet as you get a product much faster and the supplies are less expensive.  I know how to knit and I like the look of knitting, but I don't have the patience to spend the extra hours it takes.  Knitting uses two long needles, whereas crocheting uses one crochet hook.

Before, you get started, you 'll need supplies (not many though).

Supplies needed:
  • Crochet Hooks:  You can get a set of hooks size D through K for about $13 (or less).  See here.  These are the most popular hooks that you will need.  I typically use the H hook and I hook the most so I have multiple of those as I always keep one with the project I am working on, but you don't need multiples.
  • Yarn Needle (for weaving in ends of yarn)
  • Scissors
  • Yarn of choice (see label on yarn for appropriate hook size).  My favorite is "I love this yarn" from Hobby Lobby.  It is super soft and easy to work with.  Caron Simply Soft is another great choice.
  • Stitch marker (either a piece of yarn, paper clip or actual stitch marker)  You need this if you are working in the round (like making a hat) to know where a new round starts.
There are many resources to learn to crochet.  You can borrow books from the library, view videos online and see pictorial step-by-steps on many website. I don't suggest buying books online until you've had a chance to really look over it in person.  You can crochet right or left-handed so make sure to find the tutorials that best suit you needs.

Here is a list of helpful how to sites:
Lionbrand yarn: video tutorials and illustrated steps
Bernat Yarn:  pdf illustrated steps to print
You tube:  tons of videos!
Find more by just searching "how to crochet"

Pattern resources:
See the ones I have on the blog here
Lionbrand yarn:  tons of free patterns
Crochet Pattern Central
Coats and Clark
Bernat Yarn
Etsy:  Crochet Patterns for purchase
Find more by searching, "Crochet patterns"

If you begin to crochet, I highly suggest you start by making some swatches or even a washcloth in a particular stitch.  This will help you master the stitch before you combine it with other stitches.  There are 5 basic stitches:  slip stitch (sl st), single crochet (sc), half double crochet (hdc), double crochet (dc) and triple crochet (tc).  These are very simple stitches.  Once you have the stitches down you can conquer just about any pattern!

I hope you find this brief overview and resource list helpful!  Are there specific items you would like me to give you more information on?  Just leave me a comment and I will write up future posts on the topic!

Oh, and check out the next post, it is a giveaway for 5 free patterns!  What a wonderful way to start crocheting!

Happy Crocheting! 

Related Posts Plugin for WordPress, Blogger...

Sunday, March 20, 2011

The Vintage Pearl Giveaway Winner Is.....

Once again, we'd love to thank The Vintage Pearl for a wonderful giveaway.  I know that we've got big wish lists now!
Congratulations to the winner!
And the winner is....

84. christine detlefsen said...
I would use the certificate for the "all around my faith" necklace with my kids names on it for their grandma. She does so much for them and she would LOVE it!

Congratulations, Christine and Christine's mom!  Christine, email us to claim your prize! We can't wait to see pictures of your finished product!

The All Around My Faith, Necklace


Related Posts Plugin for WordPress, Blogger...

Saturday, March 19, 2011

Crocheted Baby Slippers & A Chunky Women's Cloche

Over the last couple of days, I have been one busy crocheter.  I love to crochet as it allows me to sit and relax, but still get something accomplished.  After all, I can't just relax, I must be checking things off my to do list!

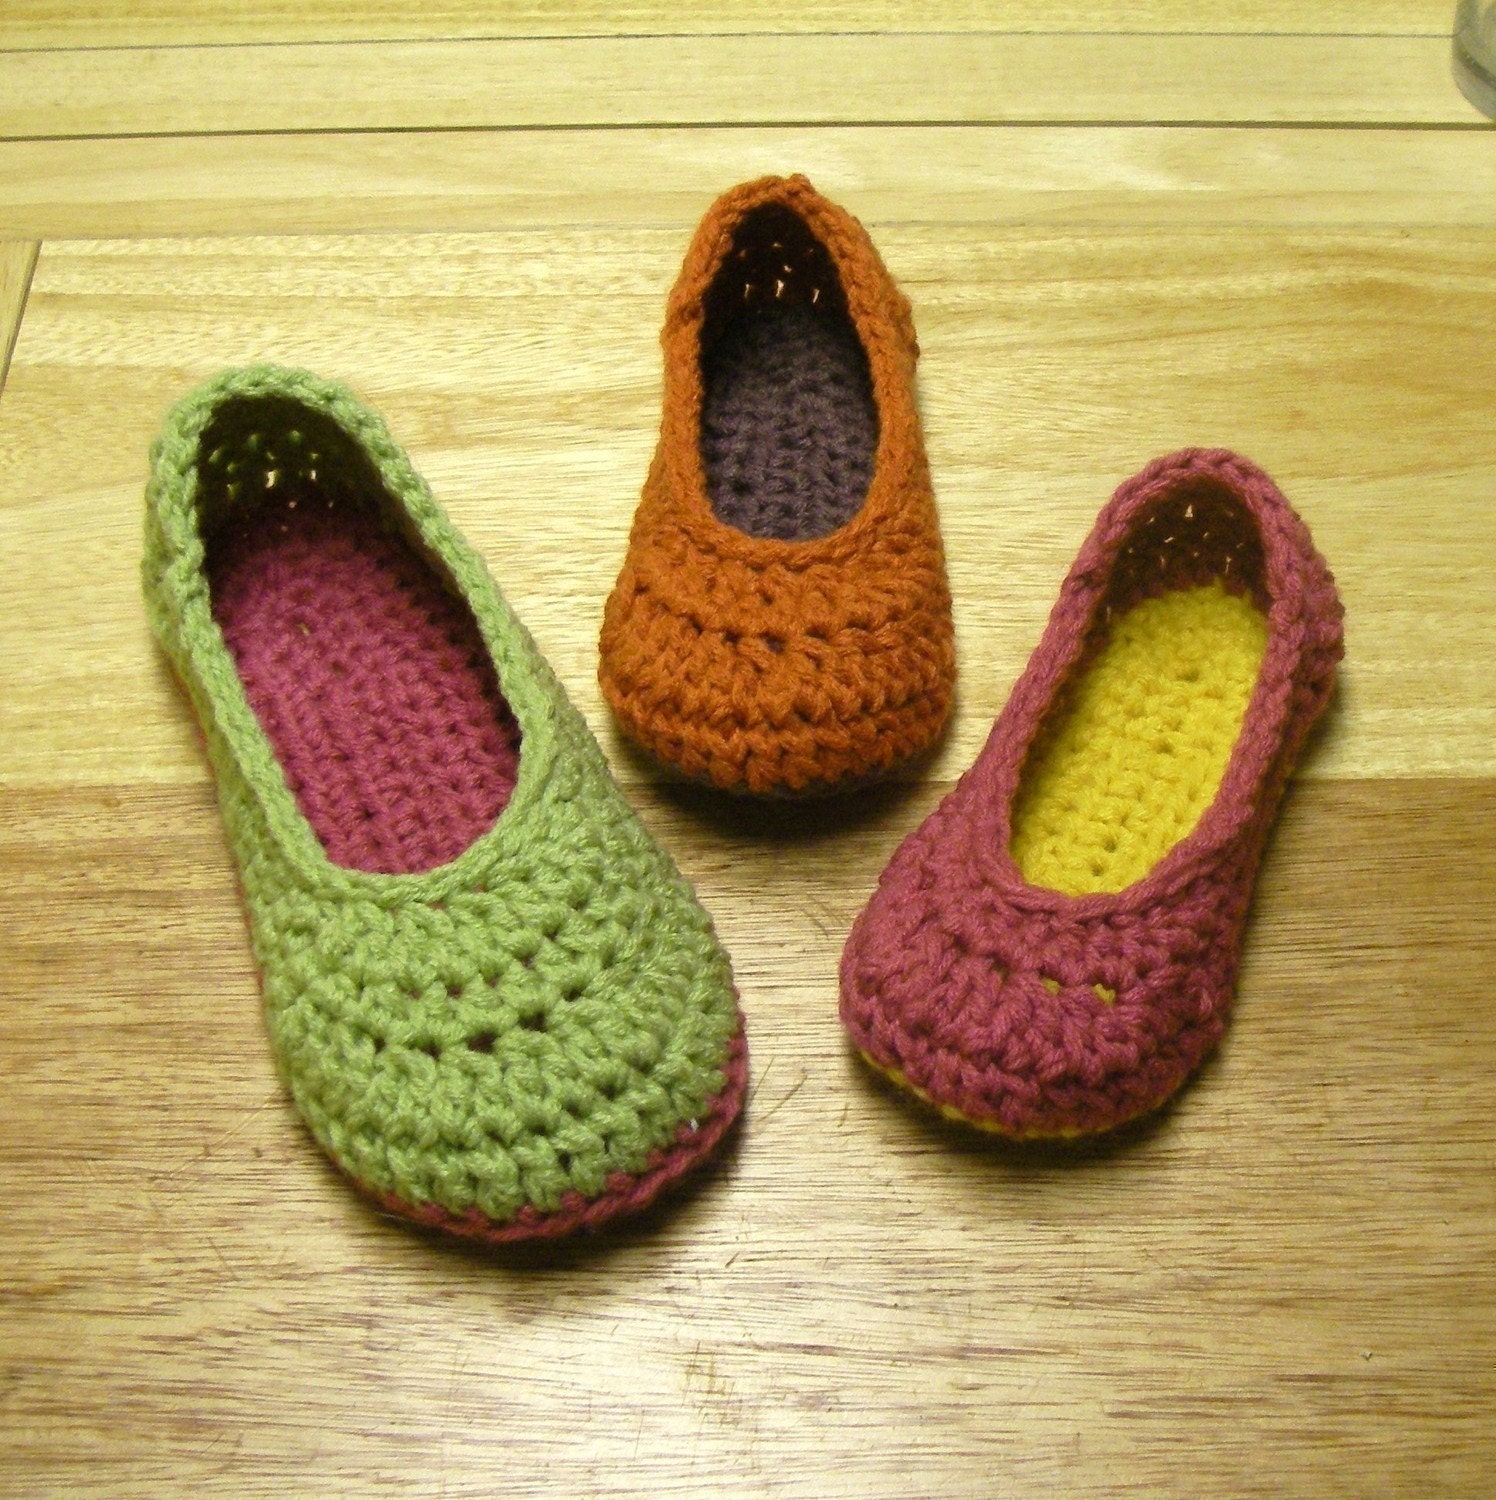
The first project that I have been working on are these cute baby slippers.
A friend of mine saw the other pair that I had made Anna (look here) and wanted to order two pairs for a baby shower she was attending soon.  I love making cute things and getting paid for it too!  That's a win-win and the hubby doesn't complain either.  (Little does he know that I will spend that money on more crafts, haha!).

My friend looked over all the colors of potential yarns and liked an Old Rose and a Sage.  She wanted one mostly pink with some green and the other mostly green with a little pink for two twin girls.  I love the color combination and how they turned out. (Both of these projects used the "I love this yarn" from Hobby Lobby.  It is my favorite yarn as you get a great amount and it is super soft.)

The pattern that I used for this slipper is called the Ava Slipper and it is by Mandy Sybrowsky of LittleBirdieSecrets.com.  You can purchase the pattern here.  Her directions are for a slipper of all one color.  I followed her directions through Row 3 for the sole, then I switched to my shoe color.  When I got to Row 8, I switched back to my sole color and did a SC (Single Crochet) around instead of a slip stitch.  Otherwise, I followed her exact pattern.

These first three pictures are of the mostly green slipper.
These next few pictures are of the mostly pink slipper.
I hope that she likes them and that her friend likes the gift for her twin girls.  I think I will be whipping up a few extra pairs for Anna in the two-tone combination.  I think that makes them look a bit more like real shoes.
*****
The other item that I worked on was a woman's cloche. The pattern is the Lizzy Cloche and is also by Mandy Sybrowsky of LittleBirdieSecrets.com  You can purchase the pattern here.

I have been wanting to make this cloche for awhile.  The winner of our 100 Blog Followers Giveaway, Stacy, requested an adult cloche in gray with a black flower.  This gave me the perfect excuse to try it out!

I have to be honest, I never follow a pattern exactly as I should.  I always find yarn that I want to use that doesn't match what the pattern creator suggests.  I wanted to use my "I love this Yarn" from Hobby lobby (super soft) and it wasn't the chunky yarn that I was supposed to use.  Therefore,  I had my patience tested at least five times. Yep, I was almost finished and tore it out FIVE times!  Ugh!  We all have craft fails once in awhile!

I was smart enough to start with two strands of this yarn (which made it chunky) and the correct size crochet hook.  I quickly figured out that my gauge was off.  I was supposed to be about 3/4 inch per row, but I was 1/2 an inch.  I made it just as the directions called for the first time (except for yarn) and ended up with a child's size hat (I noted for future creations).  Then I did a few more increase rows and ended up with a cloche for the biggest head know to man.  I tried to shrink the increase rows down a couple and that still didn't work.  Finally, on my fifth attempt, I just added a few standard rows and I hit the jackpot!  Now, I can make this cloche again in the future and not be frustrated by my inability to use the same yarns!

I think it turned out really nice!  I may have to make myself one for next winter.  I hope that Stacy will be happy with it!

Next week, I will be sharing some resources on how to learn to crochet.  Crocheting is very easy to learn.  My Mom even learned to do it!  (I love you Mom!) She wasn't willing to learn if it was going to be too complicated.

I know how to both knit and crochet.  I like knitting, but the supplies can be expensive and it takes a long time to get to your finished product.  Crocheting on the other hand is a very quick process.  The tools are dirt cheap too.  You can get one of every hook for about $20 total.  Then your yarn is only other cost.  Okay, enough on that.  Be on the lookout for those resources next week and think about taking up crocheting!

Don't forget that today is the last day to enter to win a $50 gift certificate to The Vintage Pearl!  Go enter here!


We are linking up this project to all these wonderful parties.  Go visit them for more great ideas!
Related Posts Plugin for WordPress, Blogger...

Tuesday, March 15, 2011

Baked Spaghetti Carbonara

This is another yummy recipe that I wanted to share.  It has been a long time since I've had this, but I remembered it fondly.  I had some bacon that I needed to use up and I had just made Shannon's Potato Salad, so I needed something different.  The recipe came to mind and I knew it would be a good one to share with you all.  If you can't tell, most of my favorite recipes aren't the healthiest!  They sure are good though!  People wouldn't call me the "Little Paula Deen," if it weren't for these recipes.


Baked Spaghetti Carbonara
½ lb. bacon
12 oz. spaghetti
3 eggs
1 cup heavy cream
½ cup plus 2 Tbsp Parmesan cheese (separated)
½ tsp black pepper
Bread Crumbs
2 Tbsp melted butter

Cook bacon.  Preheat oven to 450 degrees.  Cook pasta.  In large bowl, whisk together eggs, cream, ½ parmesan cheese and pepper.  Add pasta and bacon.  Turn into greased 8 x 12 inch pan.  Top with bread crumbs and 2 tablespoons Parmesan cheese.  Drizzle with butter.  Bake 12 to 15 minutes, covered with foil.


Related Posts Plugin for WordPress, Blogger...
Ebates Coupons and Cash Back