Welcome!
Thanks for visiting! Please leave us a comment as we love your feedback.
See where we are partying at the bottom and on the sidebar.

Saturday, May 7, 2011

Our Children's Teachers Are Truly Appreciated

This week was Teachers' Appreciation Week. Our children mean everything to us, so those who spend the days with them, guiding, inspiring, and nurturing them, are wonderful, in our minds.

Jill and I did a lot of the same things for our children's teachers this week.  We also did a few things differently.  We wanted to share our week with gifts.  (If you can find someone to craft share on weeks like this, it makes life much easier and the teachers, get double the benefits!)

Monday: GraciAnn and I made chocolate chip cookies for her teachers. We put them in cellophane bags and added some cute ribbon.  She made each of them cards too.  We started the week out small, but they knew we were thinking of them! Here's an awesome chocolate chip cookie recipe that was shared on HowDoesShe: http://www.howdoesshe.com/perfect-chocolate-chip-cookies
Jill makes these cookies regularly, usually a double batch!  She doesn't put the dough in the refrigerator though as it makes the cookies thick and she likes them flat and gooey!

Tuesday: I (Shannon) made lunch for the teachers at GraciAnn's school.  Lucky for me, it's a small Montessori school so I only cooked for 12.  I made pulled pork, potato salad, three bean salad, baked beans, and brownies.  I also brought in King's Hawaiin Rolls.

Pulled Pork Recipe: First, I preheat the oven to 350 degrees.  Then I heavily salt and pepper a Boston Butt and put it in my Pampered Chef roaster.  I put it in the oven and turn the temperature down to 225 degrees.  I cook the pork for at least 8 hours but up to ten.  It literally falls apart.  I use Sonny's Sweet BBQ sauce on my pulled pork. It is so good.  Jill does the crock pot version.

Potato Salad: I cut up red potatoes (leave the skin on) and boil them in salted water. I am careful not to overcook the potatoes.  They should still be firm.  I drain the potatoes and put them in the refrigerator to let them completely cool.  I chop up celery and put it back in the refrigerator.  I cook bacon, on the roasting rack, in the oven at 350 degrees. The grease gets away from the bacon and it is crisp.  I let it cool and then chop it up.  You can add chopped onions.  I don't always.  I mix all the ingredients with low fat mayo and freshly ground pepper to taste. (This is Jill's favorite potato salad!)

Three Bean Salad: 1 can each of  drained wax beans, green beans, and kidney beans. Add chopped onions and green peppers.  Add 1/4 cup each oil, vinegar, and sugar.  Mix all ingredients together and refrigerate overnight.

Baked Beans: I use Bush's Country Style baked beans. I add a pound of maple bacon that I've cooked in a 350 degree oven, on a roasting pan, until the bacon is completely crispy. I use a small amount of the bacon grease to cook a cup of sweet chopped onions in.  I add a half cup of brown sugar, a little mustard, and a little Worcestershire sauce. I mix all ingredients together and cook the beans, in a 350 degree oven, for an hour.


Brownies:  This is my first secret.... Betty Crocker Triple Chunk brownies.  They are so good.  They are even better with my second secret...The brownie edge pan. Brownie edges are the best and with this pan, every brownie has an edge.  It takes 1 1/2 boxes of the Triple Chunk brownies to properly fill the pan.

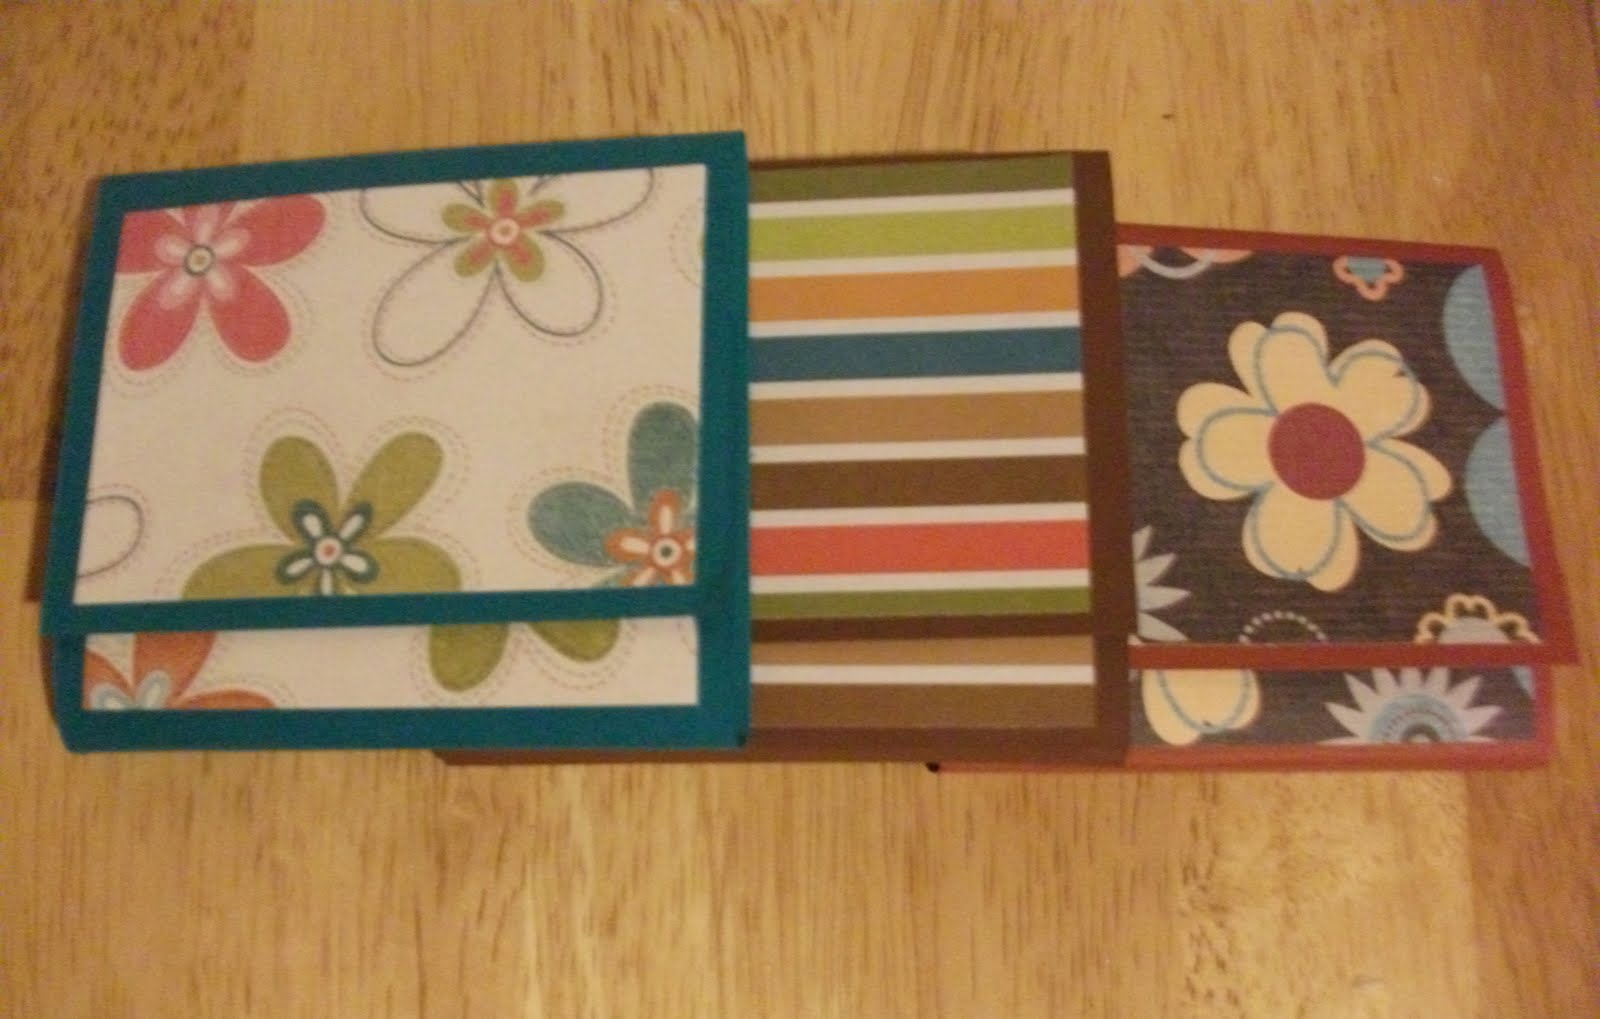
Wednesday: GraciAnn brought her teachers 2 bookmarks each (made by Jill), 3 post it note holders (also made by Jill), and a dinner certificate for Texas Roadhouse which is an absolutely fantastic restaurant in our area.  Ryan took the bookmarks and post it note holders on separate days as Jill didn't have them both ready on the same day!


Thursday: GraciAnn brought her teachers jars filled with M&Ms.  I bought every kind of M&M on the shelf and mixed them altogether.  I put them in a mason jar and decorated it with vinyl, cut on my Silhouette.  Yum! (A tutorial will be coming soon!)  Ryan's teachers said these were the perfect gift as everyone could use a jar of chocolate!  Many of the fellow parents made comments that these were super cute and thoughtful!  Shannon did such a nice job!

Friday:  GraciAnn brought her teachers hand painted signs I designed and made.  I love how  they turned out!  Ryan's teacher's loved these as well.  The teachers felt very special receiving these! Shannon is very talented with all her signs!


Teacher Appreciation Week is over.  We will never stop appreciating all the teachers have done for our children. We will continue to send in random gifts and notes to let them know they are always appreciated.

Related Posts Plugin for WordPress, Blogger...

Thursday, May 5, 2011

Post it Note Holders

I have another super easy craft to share with you!  I am kicking myself that I didn't make these sooner!

No longer will you have loose papers or ugly notepads in your purse or handbag!  These decorative post it note holders are perfect for jotting down notes, writing a to do list or making your shopping list.  These make a big impression as a gift as well!


My sister passed along this idea to me from what has become a favorite blog to follow.  You can see the full tutorial on Beneath My Heart.  I love that she is a fellow Kentucky gal too!

I made three different designs for each of Ryan's teachers.  This was also another craft share with Shannon so I made four of each design to cover a gift for all the teachers.  I bundled them up and wrapped them in ribbon.  Check them out!


You can make them to fit any need or colors that you like.  The paper is secured down by a velcro dot and the post it notes are glued to the inside paper.  Make sure to check out the tutorial more details.

I was surprised by what little time it took me to make these.  Ryan's teacher's really enjoyed them too!

Related Posts Plugin for WordPress, Blogger...

Wednesday, May 4, 2011

Cinco De Mayo Recipe Suggestions

The holiday of Cinco de Mayo, the fifth of May, commemorates the unlikely victory of the Mexican militia, over the French army, at the battle of Puebla in 1862.  It is not the Mexican Independence Day (which is September 16th).  But a celebration of an important victory in Mexican history.

Happy Cinco de Mayo.  Now, let's celebrate with some great Mexican food.

An appetizer:

My wonderful friend Karla makes a killer guacamole!  She smashes avocados, presses garlic, puts in some chopped Cilantro, adds a little cumin and salt, and mixes it all up.  It's delicious! Just add the ingredients in the amount that tastes best to you! Serve with tortilla chips.

A couple of main dishes:

My wonderful friend Jessica shared this recipe with me: http://thepioneerwoman.com/tasty-kitchen/recipes/main-courses/shredded-chicken-tacos/comment-page-2/

I saw Mario Lopez make this on the Today show.  I've made it a number of times and it's never disappointed! http://today.msnbc.msn.com/id/33314291/ns/today-food/


And for dessert:

Tres Leche Cake http://www.foodnetwork.com/recipes/alton-brown/tres-leche-cake-recipe/index.html
(Make sure you add kiwi and strawberry to yours to make it extra yummy!)


Paula Deen's Dessert Quesedillas http://www.foodnetwork.com/recipes/paula-deen/dessert-quesadilla-recipe/index.html


or you can always try flan: http://mexicanfood.about.com/od/sweetsanddesserts/r/easyflan.html

Related Posts Plugin for WordPress, Blogger...

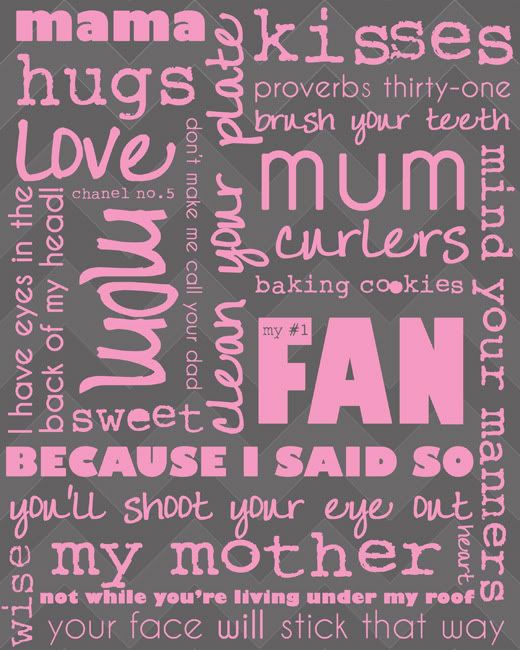
Mother's Day Printables

For those of you like us who like to have a pretty printable in your frame, here is a roundup of Mother's Day Printables.  Just visit the link to download the printable!


Have a Happy Mother's Day!


Related Posts Plugin for WordPress, Blogger...

Tuesday, May 3, 2011

Scrap Bookmarks!

Are you ready to use up all that extra fabric you might have lying around?  If so, I have the perfect craft for you!

Awhile back, my sister came across this Scrap Savvy Bookmark Tutorial.  I loved the idea of using up leftover fabric and making a nice gift out of it as well! This is an easy craft that will cost you very little money and can be a nice, quick gift!

If you weren't aware, this is Teacher Appreciation week!  I made these bookmarks for my son's teachers.   I made two bookmarks in each fabric.  This gave each teacher three bookmarks.  I put them with a card and wished them happy reading over their summer break.  I hope that they like them!


Supplies needed:

Leftover coordinating fabrics (any sizes)
Heat N' Bond (found at Walmart-very inexpensive and will get you MANY bookmarks)
Pinking Shears
Coordinating ribbons (optional)

Cut your fabrics to the size you would like to make bookmarks.  Any size will do.  Apply Heat N' Bond to your coordinating fabrics, using your iron.  Take off the paper backing from the wrong side of the fabric.  Cut a piece of ribbon or two types of ribbon to add further decoration.  Put the fabrics together and use your pinking shears on the end that you will put the ribbon in.  Place the ribbon in between the fabrics and iron the fabrics together.  Cut around the exterior of the fabrics with your pinking shears to finish them off.  Make sure to finish off the edge of the ribbon by putting it close to a flame.  This will seal the ribbon material so it doesn't fray.  That's it!  Pretty simple and easy!

The original tutorial suggested sewing around the edges of the bookmark.  I tried to do this, but it seemed to be butchering my fabric.  I guess I need a smaller needle for this type of project.

Here are the three finished bookmarks for each teacher.

Now, go through your stash of fabric scraps and make these easy bookmarks for someone special!

Related Posts Plugin for WordPress, Blogger...

Sunday, May 1, 2011

EarthBOXes are GREAT THINGS!

I don't know how EarthBOXes first came into my life.  Was it my Mom who loves to garden and gets so excited about her EarthBOX success? Could it have been my grandparents? I can remember planting EarthBOXes with my Granddad. He was a perfectionist and followed the directions exactly.  He did have great results. Of course, I've had great results with mine too and I don't always follow directions correctly.

EarthBOXes are a great thing.  They are simple to plant, easy to care for, and have great results. My family has used them for tomatoes, okra, all kinds of peppers, blueberries, bok choy, lettuce, collards, squash, cucumbers, and I'm sure other things I don't remember.

EarthBOXes are reusable. That's another great thing! They are sturdy and meant to be used for many years.  We now have four and the oldest is at least eight years old!  You can even use the same soil for up to eight years.  Your EarthBOX comes with almost everything you need to start planting.  All you need to buy is the soil and plants. Replacement items, including fertilizer, and covers, are available from EarthBOX, for future planting.

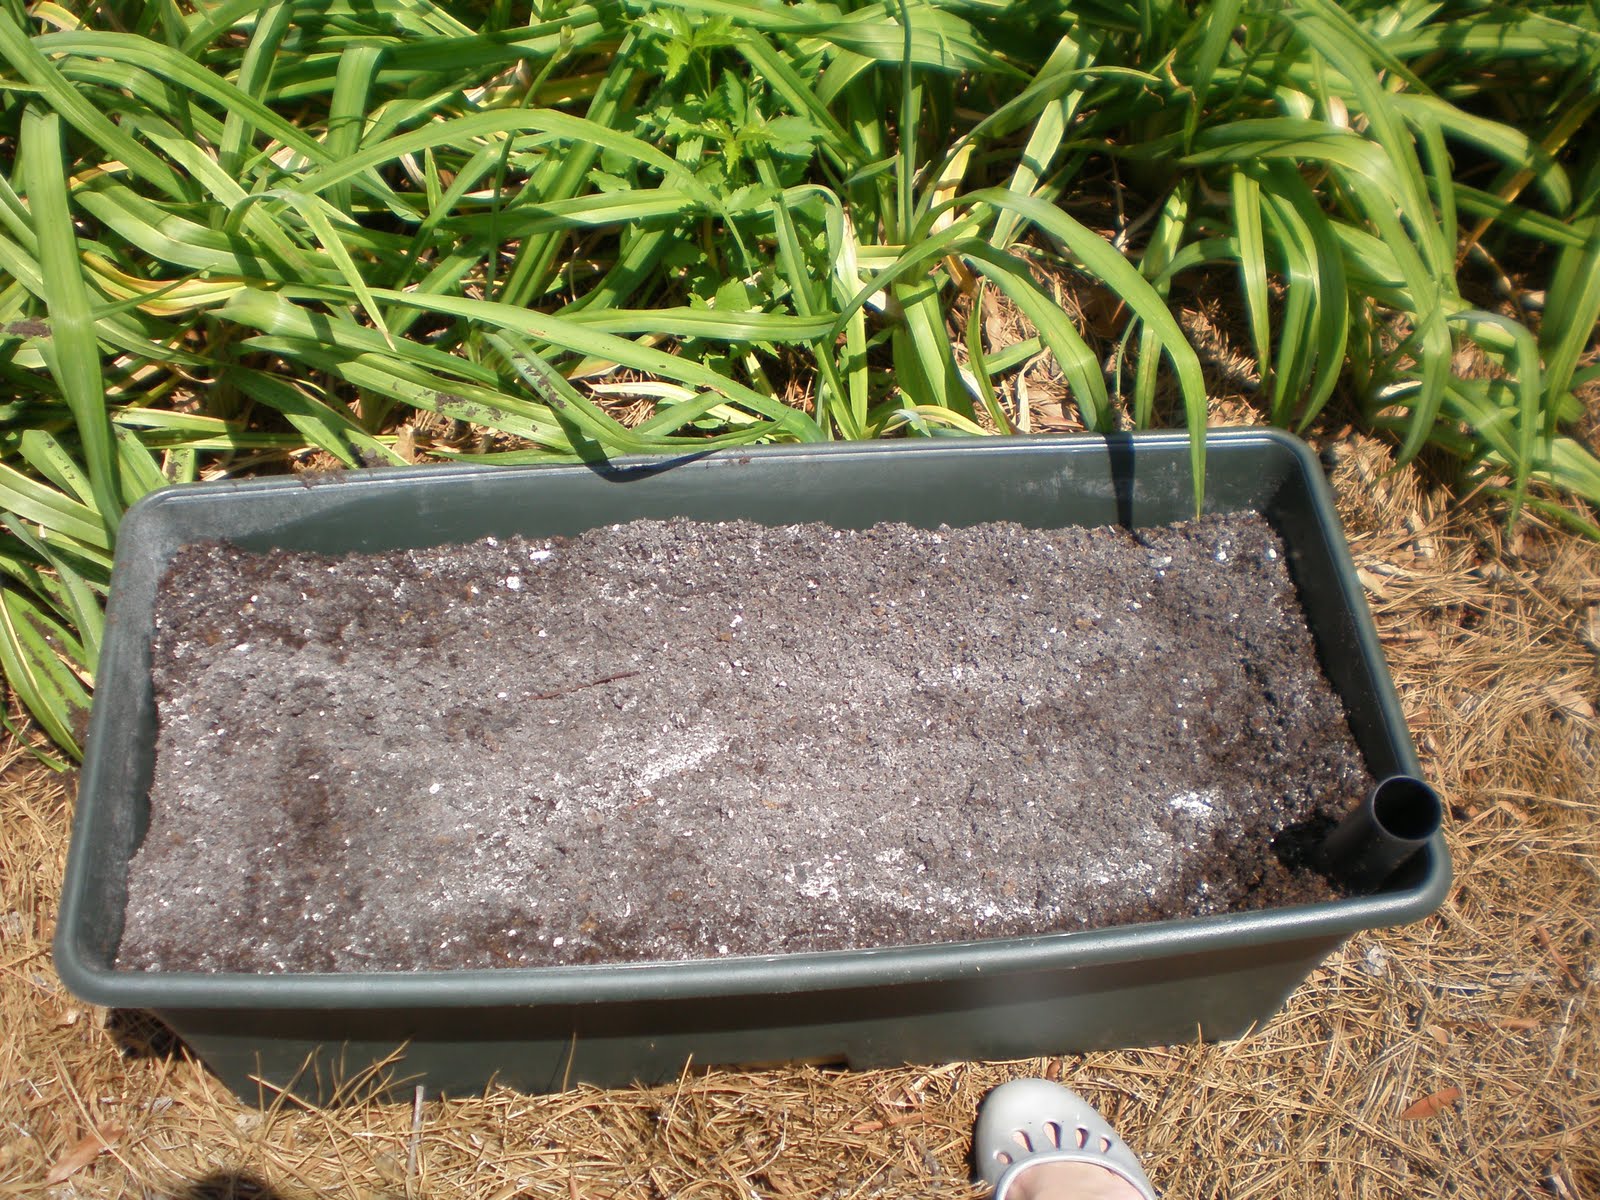
Here is our newest EarthBOX.

It comes with the box, the screen, a watering tube, casters to make it easily portable, dolomite, fertilizer, 2 covers, and WONDERFUL directions! We bought 2 cubic feet of the soil (per box), EarthBOX recommended and plants, and we started planting.

First, we leveled the ground under the box.  Then we added the screen and watering tube.

We added the soil. We made sure to pack it in the corners as the directions said.

We added the premeasured dolomite.
We mixed the dolomite in.

We added soil to the top of the box.

We made a trench in the middle. (Depending on what you're planting, the trench could also go in the front).
We added the premeasured fertilizer.

We poured the rest of the bag of soil on top.  It made a little mountain.

We put the cover over the soil.
Following the directions (that include pictures) we cut slits in the liner for our plants.

We planted!  This box has 6 pepper plants.  After planting, we watered it using the watering tube.  So easy!

The girls are ready to plant the next three boxes.  This year, we're doing tomatoes, yellow squash, and collards.  We'll keep you updated with our results!

Who wants to give an EarthBOX a try?  EarthBOX has given us a complete box to share with one of our followers.  Here's what you need to do to enter the giveaway:

1. (Mandatory) Follow Our Seven Dwarfs on facebook and let us know you do.
2. Visit EarthBOXes website: http://www.earthbox.com/ and join their email list.  This will let you know all the specials they have going on. Let us know you joined their list.
3.  Follow Our Seven Dwarfs on email or RSS feed and let us know you do.
4.  Follow Our Seven Dwarfs on blogger and let us know you do.
5. Leave us a comment and tell us how you would use your EarthBOX.

That's up to five chances to win!  You have until Saturday, May 7th at 11:59 EST to enter. The winner will be chosen, and announced, on May 8th.  Good Luck!

Related Posts Plugin for WordPress, Blogger...
Ebates Coupons and Cash Back