Welcome!
Thanks for visiting! Please leave us a comment as we love your feedback.
See where we are partying at the bottom and on the sidebar.

Friday, January 27, 2012

Valentine's Day Celebrated with Burlap and Fleece-A Tutorial

I'm almost done reposting and can't wait to share some new things with you. Here's another one of my favorites from last Valentine's Day.

This was an inspired craft.  Somewhere, on some blog, I saw a heart wreath made of red felt rosettes. The wreath was on a burlap background and it was in a frame. I have looked and looked for that inspiration piece but cannot find it. So, if you created it, or if you've seen it, please let me know.  I want to give credit where credit is due.

Here's my finished piece.  It's very different from the inspiration piece.

I wanted to make something similar to my inspiration piece, but didn't have a frame big enough. I didn't want to buy anything for this project... so, I went through my husband's stuff in the garage. I found this piece of wood and some foam. I added my cream burlap, some batting, got my staple gun and started working.

First I covered the board with the thin foam. I stapled the foam to the back of the board.
 I wanted to give this project a "girly, plush" look.

I covered the foam with a layer of quilting batting to give it that extra fluff.
I stapled the batting to the back of the board.
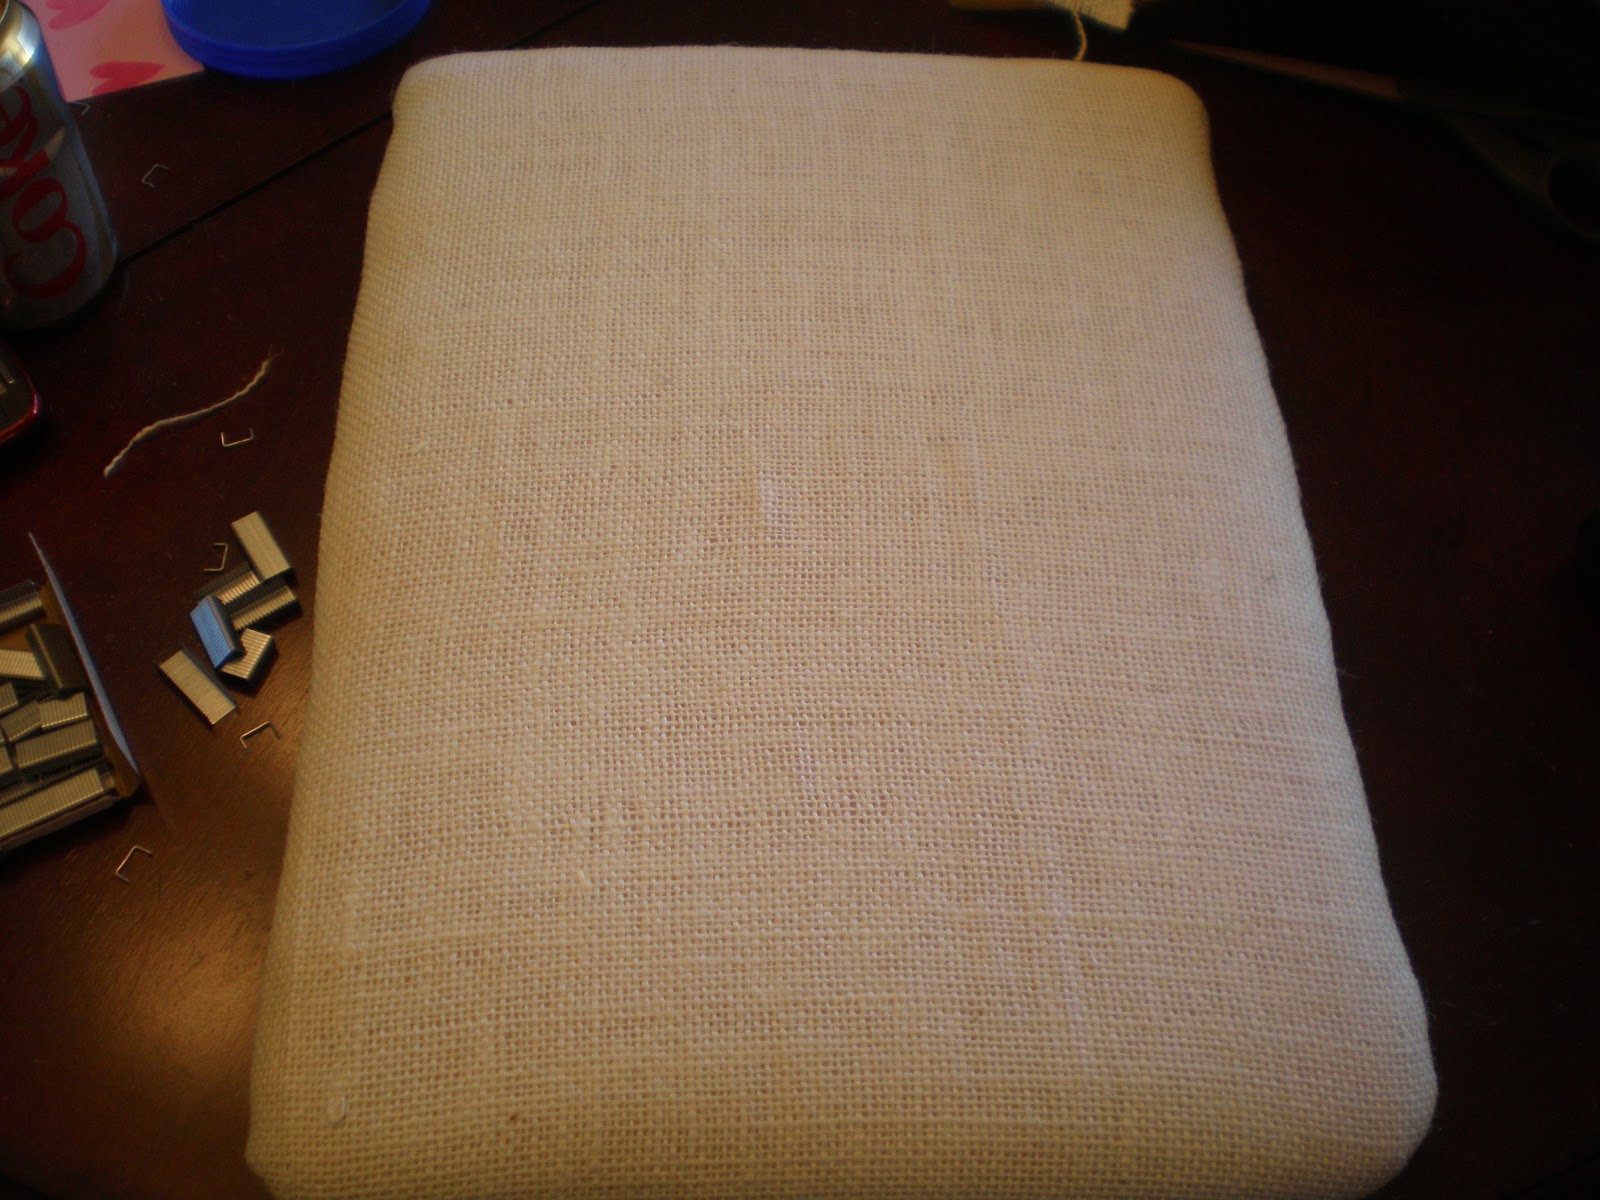
I covered the foam and batting with the burlap. I stapled the burlap to the back of the board.
 It gave it a bit of a rugged look. 
I made a heart template and positioned it on the board.
I traced the heart onto the burlap so I had a guide to work with.
I made a ton of circles.  Seriously, there were a lot of them.  I made them from a pretty pink fleece. 
I didn't use a template.  I just cut them freehand.

I cut each circle into a spiral. I left a circle at the end of each spriral. 
It becomes the base of the rosette.

I took the slim end and rolled.  I used hot glue every now and then to secure the rosette.
A little hot glue and a little more rolling.
Here's what the rosette looks like at the end.  See the base?
I plopped a lot of hot glue on the base.
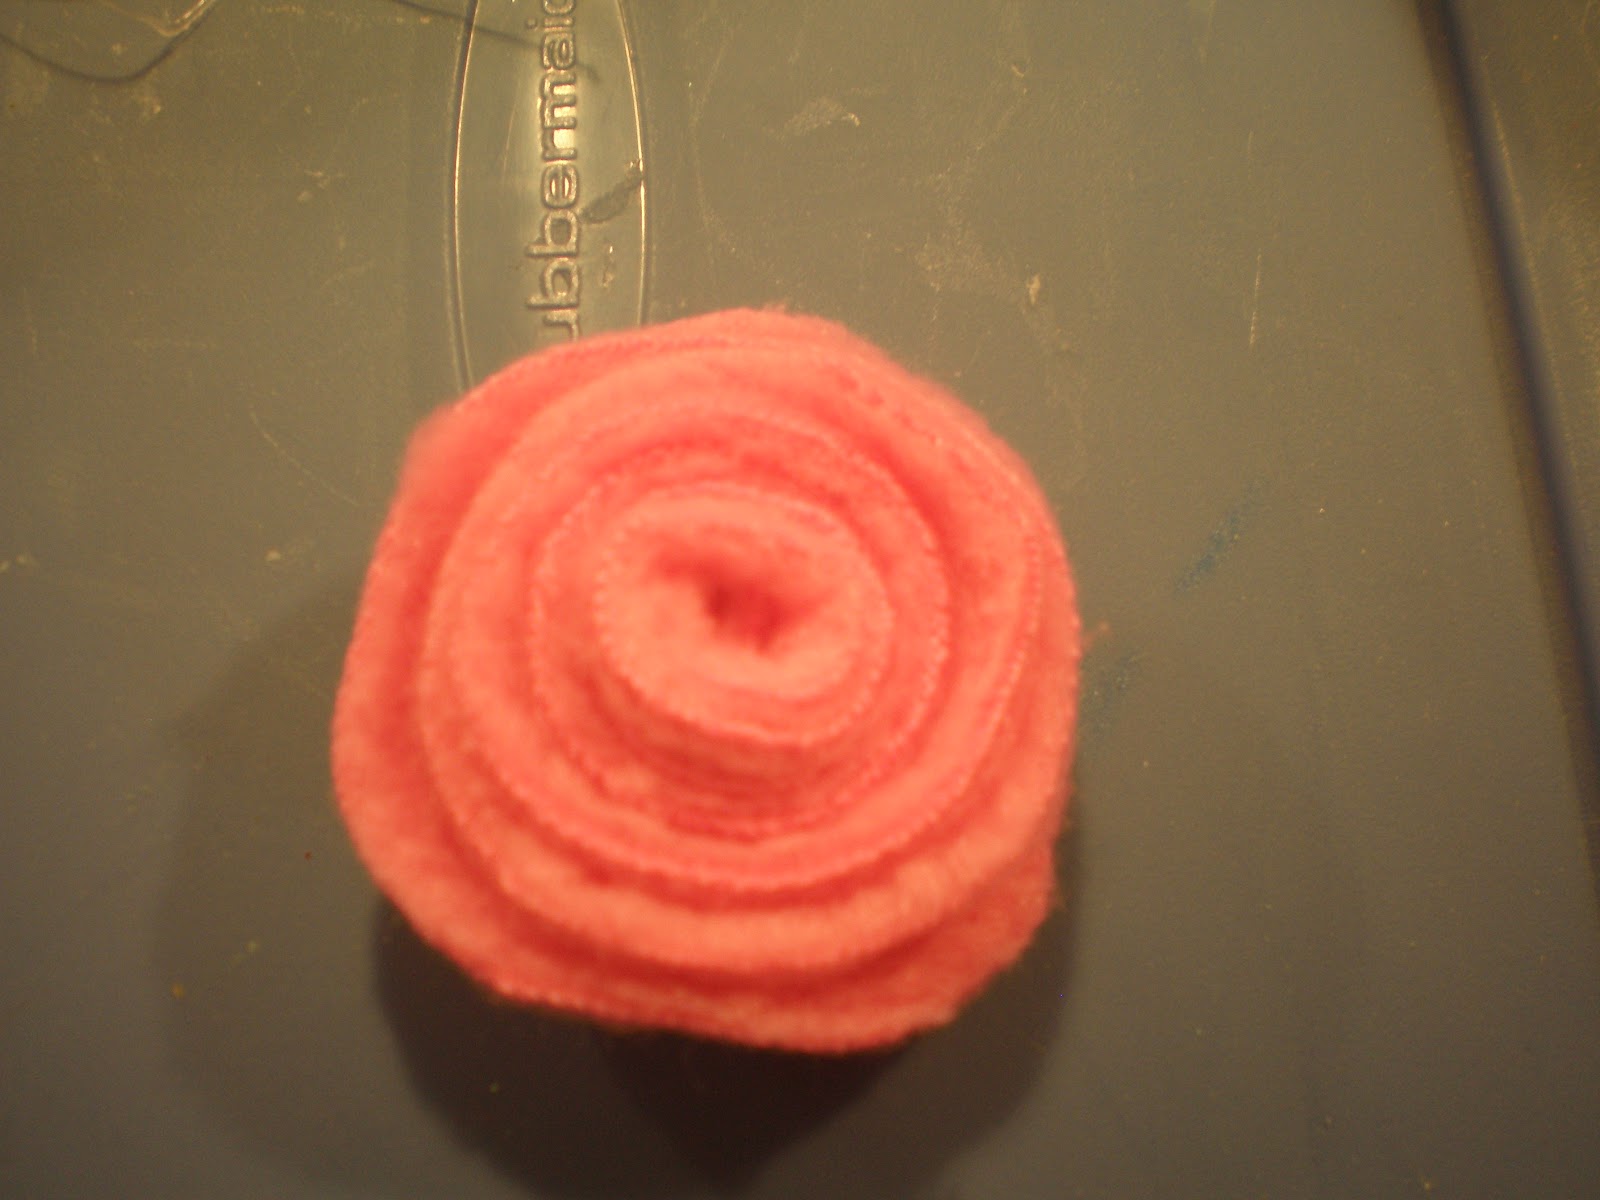
I then pressed the flower to the base. This is how they turned out.  Cute, huh?
I glued a zillion of these on to the burlap base. I used the heart I traced as my guide.

I then hot glued trim around the entire project and put a bow in each corner. 
The bow adds a little femininity and hides the awkward turn on each corner.

...and it's done.
I love it!  I didn't buy anything for this project.  YEAH!
GraciAnn used a rosette and a white satin ribbon to make a necklace.  It was really cute!

Related Posts Plugin for WordPress, Blogger...

Thursday, January 26, 2012

Valentine's Day Printables 2

Last year I gave you a few Valentine's Day Printables that are still available here.  I have more to share with you this year.

Fire up the printer and get out your picture frame for some adorable and free decorations!

Related Posts Plugin for WordPress, Blogger...

Valentine's Day: In case you missed it!

It is almost the end of January, can you believe it?  Valentine's Day is just around the corner.  I love Valentine's Day for telling all those that I cherish how much I love them.  I think like all holidays that Valentine's Day is even more special with kids!

I had a ton of fun making Valentine's Decorations last year.  In case you missed anything, I wanted to share the links with you.  I have some new crafts to share as well, but I don't want you to miss out on some easy crafts from last year either.

Related Posts Plugin for WordPress, Blogger...

Wednesday, January 25, 2012

More Valentine's Day Ideas

Here's another repost!

I've been busy!  Anyone who knows me knows I am ALWAYS busy.  My children and husband are a full time job!  My crafting is another job that's pretty much fulltime.  Luckily, I love my jobs. I  just wish I had more time for all of them.
I got this idea from the Idea Room.  I used an ancient frame I found in my husband's stuff.  It was an antique gold color. I  dry brushed it with white paint.  It toned down the gold.  I used a darker pink cardstock for the lettering.  I found that hot gluing the actual letters and then placing them on the scrapbook paper was the easiest way to go. It was a challenge to use the cardstock to make letters but the three dimensional effect is great!  Instead of crepe paper rosettes (oh, that's a story for another entry), I used a soft pink fleece to make a rosette (here's a tutorial for that: http://www.oursevendwarfs.com/2011/02/valentines-day-celebrated-with-burlap.html?utm_source=BP_recent). It was so easy and so sweet.  I really like the way this turned out and appreciate the Idea Room's idea!

Jill and I are getting into making hair clippies.  You may remember the Christmas tree clippies I made for one of our giveaways.  Then we gave away some Valentine's Day clippies.  http://www.oursevendwarfs.com/2011/01/weve-reached-over-100-facebook-friends.html 
I've also started making cupcake clippies.  Here's one I made for my friend Aubrey.  She turned 2.
Here's the one I made for my daughter's second birthday. It matches her birthday shirt. I've got lots of clippie ideas! Stay tuned for some neat ones!
My friend Lesli made these treat bags, for her daughter's second birthday party.  They were filled with Hershey's kisses. The kids (and parents) loved them!  What a great idea!

Believe it or not, we still have many projects in the works. Stay tuned!

Related Posts Plugin for WordPress, Blogger...

Tuesday, January 24, 2012

Holiday Gifts that I made

It is almost the end of January and I just getting around to sharing all the Christmas gifts I made for family and friends.

As some of you read, I decided at Thanksgiving to do a Handmade Christmas.  Take my advice, don't start as late as I did!  I actually think I will start soon on gifts for this next year so that I am not stressed making gifts versus enjoying the holiday season.

Surprisingly though, I got all the gifts finished, a few shortly after Christmas but who doesn't like a surprise gift!  Check out all the gifts I made.

Related Posts Plugin for WordPress, Blogger...

Monday, January 23, 2012

A "Love" Sign-A Tutorial

This is something I created last year. I just love it! It's a perfect post for today because today's my youngest daughter's third birthday. Happy birthday, Sweet Mariella!

I needed a craft fix.  I wanted to do something that I could finish in a reasonable amount of time (Something I could finish in a night!). I wanted to do something I hadn't seen before.  Finally, I wanted another Valentine's Day decoration.  I love what I came up with!


I got a black from at WalMart for $3.  It was for 2-4x6" photos.  I used a piece of red scrapbooking paper.  It says LOVE on it.  I got some flowers from a scrapbook store that look like they were made from pages out of a book.  I used distressing ink and a blender stamp.  I had black fuzzy vinyl and transfer tape.  My tools were my paper cutter, a glue gun, and my Silhouette.

First, I cut the scrapbook paper to fit the entire frame.

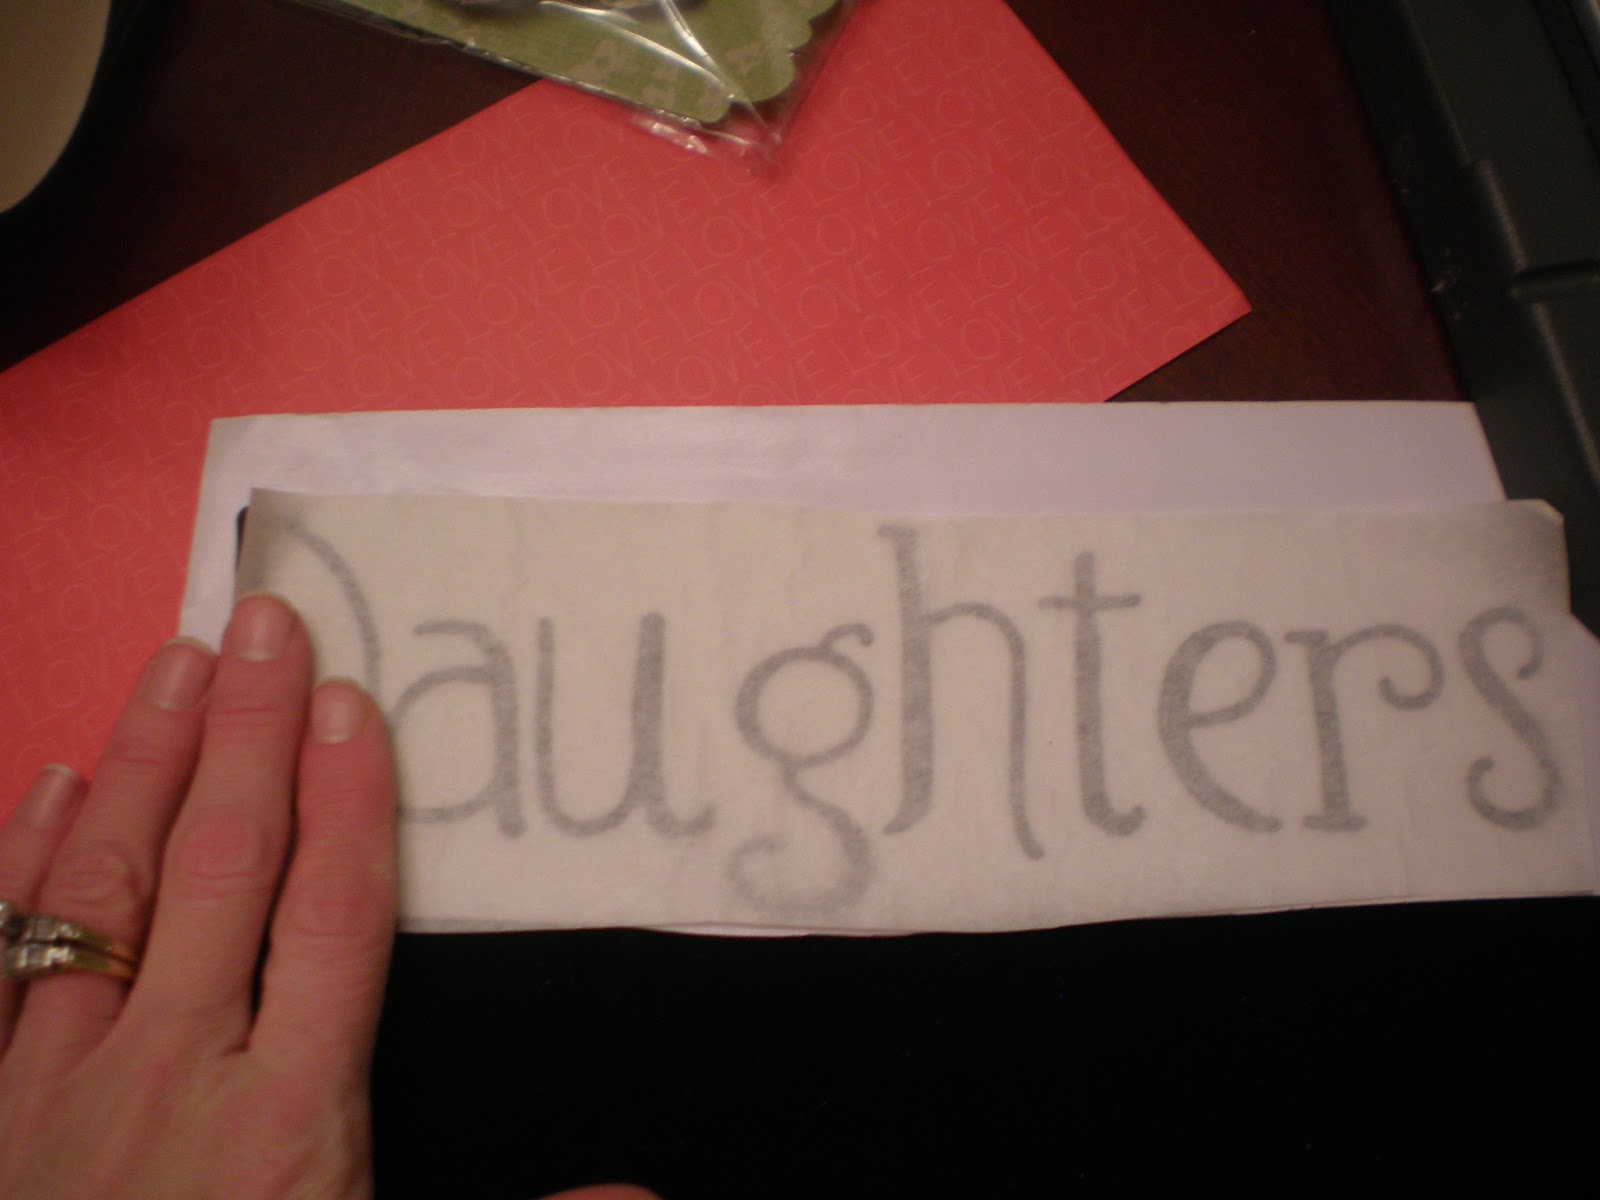
Then I cut, "Daughters" out of my black fuzzy vinyl. I used the font, "Waterfalls" 170pt. I pulled away the excess vinyl so I was left only with the word I needed.

I used transfer tape to lift the vinyl.  This does not work as well with fuzzy vinyl.

I placed the transfer tape, in position, on the scrapbook paper and peeled it away. The letters were attached to the scrapbook paper.

Here's a close up of the print on the scrapbook paper.

I went around the edges of the paper with the distress ink.  I put the ink on with the blender pad and lightly distressed it.

I put the paper in the frame.  I just discarded the mat that was included with the frame.  I hot glued 2 flowers directly on the frame.

It's done! My daughters make me think of love so it's all relevant to me!  I love it!

Related Posts Plugin for WordPress, Blogger...

Sunday, January 22, 2012

Star Ripple Blanket, Hat & Slippers for a Baby Gift

In the midst of making all my Christmas gifts and opening up my shop, I made some baby gifts for my husband's cousin Shannon who was pregnant.  She has since had an adorable little girl Abby.  Abby came into this world a bit early but is doing great now.

I tried out a few new patterns for this baby gift.  I did a theme of Hot Rose, White and Gray (all I love this Yarn).  Let me show you all the cute items.

Related Posts Plugin for WordPress, Blogger...

Saturday, January 21, 2012

I Bought the Greatest Felt Hearts and I Created....

Here's another great Valentine's Day idea. feltjar.etsy.com has been a great supporter of our blog. Visit her to see if you find anything you can't live without!

One of my Facebook friends, posted this great etsy store as her status: feltjar.etsy.com.  She showed these adorable little hearts she bought. Well, who was I to be left out?  I saw them and immediately knew what I could do with them.

This is how they arrived, all bundled with love.

I opened them and here the 20 tiny beauties were!

I gathered all my supplies.  My vase, a tree branch, floral foam, a needle, thread, and my precious hearts.

I trimmed a piece of floral foam to fit in the vase.  I knew it would offer stability to my wobbly branch.

I stuck the branch in the vase, going through the floral foam.

I used a needle and thread to make ornament hangers on all 20 hearts.

 I pulled the thread so that the knot was actually hidden in the top of each heart. (not pictured)

Almost done!

I just added a ribbon.  I love it!

I highly recommend that you hop on over to Laura Malek's shop: feltjar.etsy.com and see all her lovelies.  She was wonderful to order from.  Even with our snowstorm (she lives only about an hour from me and was snowed in as well), I got these right away. She even included a hand written thank you note. 

I'm in the middle of two more projects today.  Busy busy!  The snow is melting and the skies are blue.  The kids aren't napping (what's new?) Hopefully, I'll get them done to share with you!
Related Posts Plugin for WordPress, Blogger...
Ebates Coupons and Cash Back