Welcome!
Thanks for visiting! Please leave us a comment as we love your feedback.
See where we are partying at the bottom and on the sidebar.

Thursday, March 1, 2012

Shamrock TShirts-A Tutorial

These Shamrock shirts are very similar to the Valentine's Day shirts I made. http://www.oursevendwarfs.com/2011/02/new-easy-way-to-make-decorative-shirts.html
For the Shamrock design, I used my Silhouette to cut a Shamrock from cardstock. I  then used the negative for the pattern.  I traced the Shamrock onto the paper side of Lite heat bond.

I ironed the paper to the fabric.  Notice, the paper side with the tracing is what you iron and you iron the back of the fabric to the back of the paper.

I then cut out the Shamrock.

I peeled off the paper backing.

I was left with a shiny material on the back of the fabric.  When heated, this shiny material becomes the glue that bonds the fabrics together.

I ironed the Shamrock to a tshirt.

It's attached!
To give it that finished look I zig zagged stitched around the Shamrock, with my sewing machine.  This is kind of comical because I don't sew.  It actually turned out pretty well though.  It does take time but I think it looks nice and it's an inexpensive way of making a holiday shirt.
The girls' finished shirts! Now to make the bows to go with them.
Related Posts Plugin for WordPress, Blogger...

St. Patrick's Day-Shamrock Tree-Copy Craft

I found this great project here: http://lindseyscraftlist.blogspot.com/2010/03/shamrock-tree-with-tutorial.html


This was my inspirational piece.

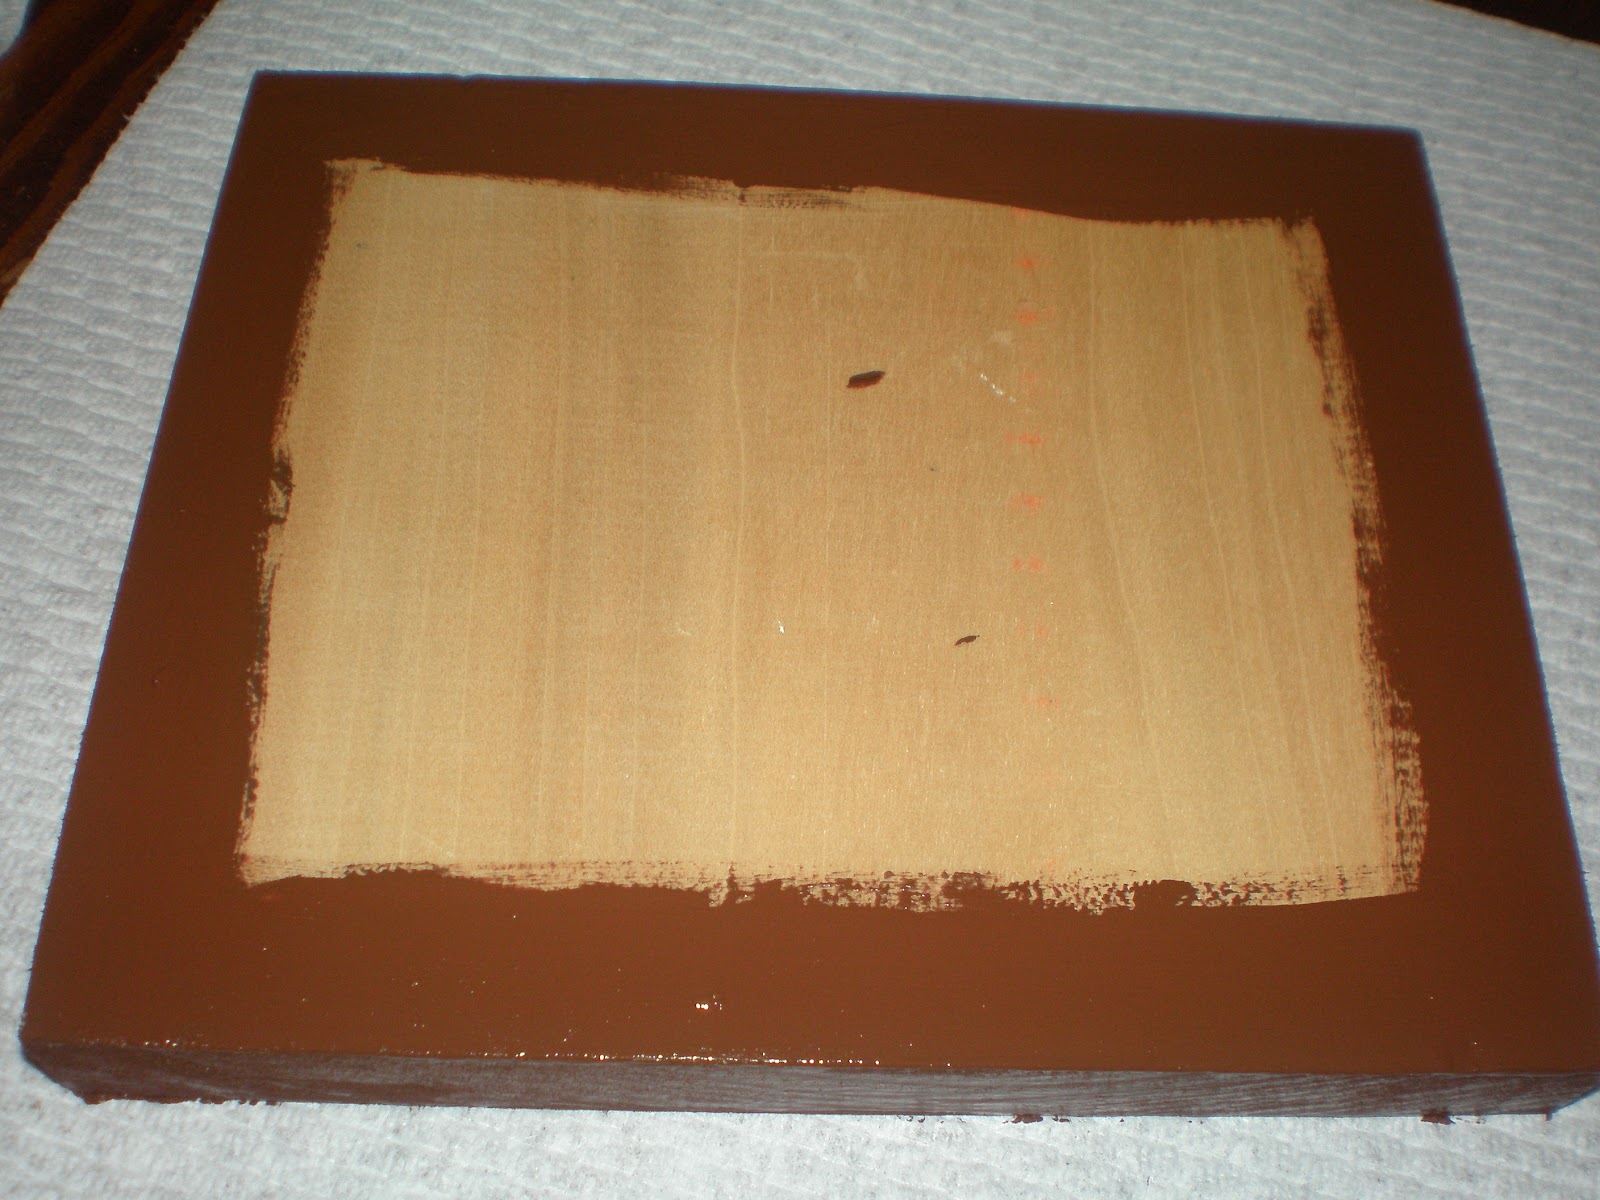
I didn't have a picture frame and didn't want to go buy anything. I hit John's wood scrap pile and found this piece of poplar.

I painted the edges brown.

I cut a piece of cardstock to fit the board and distressed it.  I mod podged the paper to the wood and let it dry, completely.  I then used a belt sander to blend the edges.
I drew a tree trunk on the back of a piece of wood grained, brown cardstock.  I cut it out. 
I painted the entire cardstock with Mod Podge and added the tree trunk, shamrocks (that I cut using my Silhouette), and letters that spell "LUCK" also cut on my Silhouette.  I added a piece of brown ric rac.

After the mod podge was completely dry, I added a heavy layer of mod podge over the entire project.

I glued a button to the end of the ric rack.

Here's the finished project.  Thank you, Lindsey at Inspiring Creations. You inspired me!
Related Posts Plugin for WordPress, Blogger...

St. Patrick's Day "Lucky Sign" -Copy Crafting

I saw this Lucky sign:  http://lindseyscraftlist.blogspot.com/2010/02/lucky-wood-board.html I wanted to make one of my own.
My husband is a wood worker.  In his home remodeling projects, I get lots of scrap wood.  GraciAnn and I found a piece we liked, and she went to work sanding it. This particular piece was oak.

We got green paint.  The color was "XMas Green".
We painted the entire board.

On my Silhouette, I cut the word Lucky and some stripey Shamrocks. I used a distressing ink pad and distressed the letters and the shamrock.

I put Mod Podge on the entire board.
I placed the letters and shamrock on the board and rubbed it down. I let it dry for about thirty minutes.


I mod podged over the top of the entire thing.

It dried.  I added embellishments-ribbons and buttons. I feel Lucky to have such a wonderful sign!
Related Posts Plugin for WordPress, Blogger...

Leprechaun Hat Pot-A Tutorial

Another repost!
The finished pot with a Shamrock in it!

Don't you love crafts that are completed in less than an hour?  I do.  Especially when I can get my kids involved!
You'll need a clay pot, green paint, a paintbrush, a large washer (metal), sandpaper, gold paint, black grosgrain ribbon, and a hot glue gun. (A cute cheerleader in the background never hurt anything either.)
Paint your pot green. (Or, have your assistant do it.)

We painted the inside rim of the pot so it would look finished.

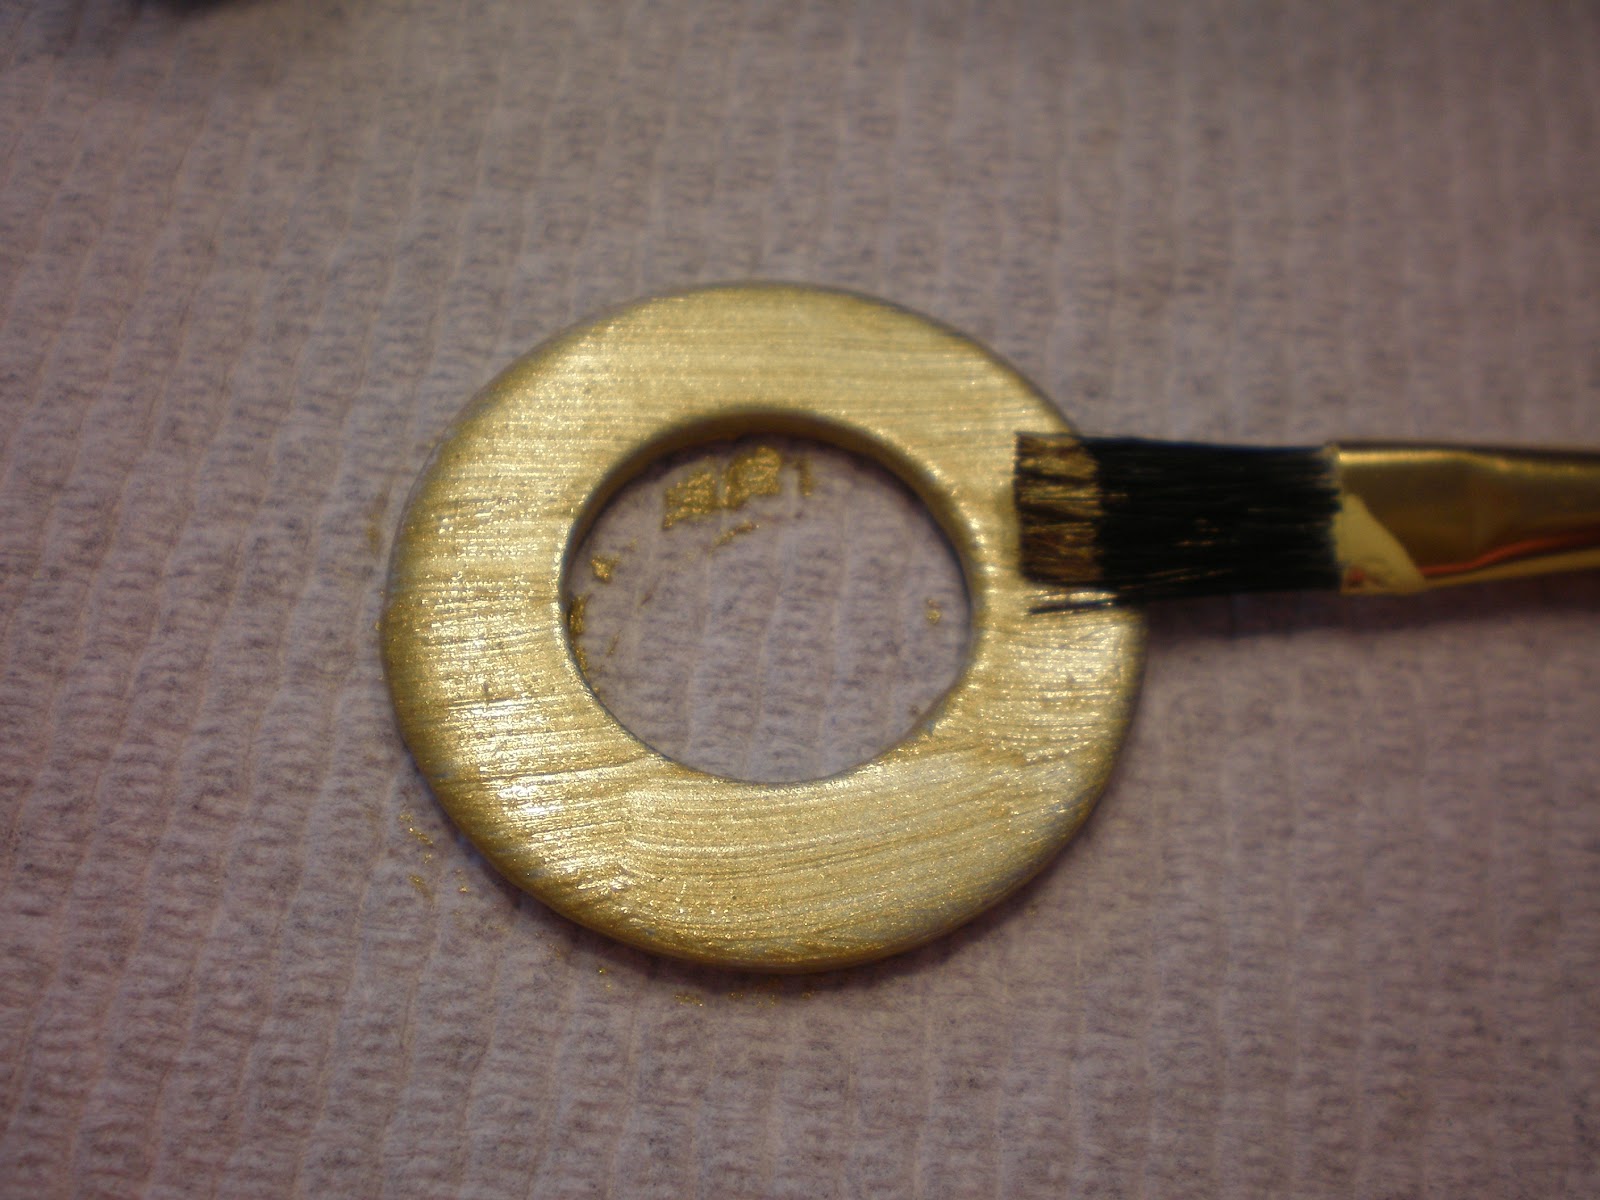
Now, we're ready to paint the washer.  (This is the buckle on the leprechaun hat.)

Sand it so paint will stick.

Paint it gold.  I like the look of the brush strokes.

When the washer and pot dry, assemble them.  (Wow, I forgot to take pics!) I hot glued the black ribbon around the pot. Then I hot glued the washer on top.

This is the mostly finished pot. I wanted to show it to you with a clover planted nicely inside.  Unfortunately, after trips to 5 different nurseries in search of one, and a scan of my yard, I gave up.  Apparently, they aren't in season yet.  I need to check sometime next month.  What!  Next month St. Patrick's Day will be over with and I won't want a clover in a Leprechaun hat as a decoration. With all this spring weather we're having, I'm hoping one will pop up in the yard any day now.

Does this remind you of the pilgrim hat planter I made? http://www.oursevendwarfs.com/2010/11/copycat-crafting-4.html
Related Posts Plugin for WordPress, Blogger...

Our St. Patrick's Day Wreath-A Tutorial

I'm going to share some of our St. Patrick's Day projects from last year and then I'll start posting the new ones I've made this year.  This wreath was fun to make and can be used over and over again. It's a good thing!

I have to admit, I was VERY sad to put my Valentine's Day wreath away.  It was just so cute! I headed to JoAnn's in search of supplies to make a St. Patrick's Day wreath.  Jill and I got together with our now crafty, breastfriend, Amy.  This is what we came up with.


Our Shamrock wreath!

Amy's wreath wrapping!


Amy was our wreath wrapper.  She wrapped all three wreaths with the light yellow ribbon. I chose yellow because I wanted something that would contrast nicely with the green of St. Patrick's Day.  I also chose fabric that had a rainbow of colors and I thought the yellow would tie in nicely with that. I have to admit that I wasn't thrilled with the yellow when it was all done.  It's a little buttery.


We then made rosettes out of green fleece. Here's directions on how to make the rosettes. http://www.oursevendwarfs.com/2011/02/valentines-day-celebrated-with-burlap.html We then hot glued three rosettes together and added a stem to make shamrocks. We made 3 shamrocks for each wreath (9 rosettes total per wreath.)


I found this fabric that I really liked. The backdrop is rainbow and Shamrocks cover the rest of the glittery fabric.  We made another kind of fabric rosette out of this, for our wreath. First, you snip fabric about an inch wide and then rip it the rest of the way. This gives it a thready look.


Then, we tied a knot in the center of the fabric.


We folded the fabric together, at the knot, so we had the positive side of the fabric facing out on both sides.


Starting at the knot, twist and roll the fabric.


Stop every now and then to hot glue the rosette.


Stopping to glue again.


We made a pattern: rosette, shamrock, rosette, shamrock, rosette.


We also added a rosette to the bow (that we made out of the same fabric). So, we had 5 rosettes per wreath.

Here's the finished wreath.


Related Posts Plugin for WordPress, Blogger...

Tuesday, February 28, 2012

Meatball Sub Casserole

Are you ready for some pure deliciousness?  I had this casserole over the weekend and I fell in love!  I scoured the internet and came up with my own concoction that is closest to what I had this weekend.  If you love the traditional meatball sub, you will love this recipe!  My kids have a hard time eating meatball subs so this is the next best thing!

Check out this yummy goodness!


Related Posts Plugin for WordPress, Blogger...

Tuesday, February 21, 2012

Minnie Mouse Purse

My friend's daughter had her first birthday a couple weeks back.  It was all Minnie Mouse themed.  I made her a Minnie Mouse Hat like I have shown you before.  I wanted to make one more thing for her. I believe every little girl should have an adorable purse.  I went beyond the other purses I have been making and made her a Minnie Mouse Purse!

Check it out!

Related Posts Plugin for WordPress, Blogger...

Tuesday, February 14, 2012

Repurposing Broken Crayons into a Valentine's Day Surprise

What can you make with a bowl full of broken crayons?
A Great Valentine's Day Gift!!!!!!!!!!!!!!!!
Related Posts Plugin for WordPress, Blogger...
Ebates Coupons and Cash Back