
Shannon asked me to make a new liner for one of Mariella's baskets. Thankfully, Shannon knows that I am a self-taught sewer. I don't always sew exactly as I should or have a perfectly straight line, but I try. I struggle to follow patterns as I would just prefer to figure it out on my own. I am sure that has to do with my impatience and need to get things accomplished as quickly as possible.
This was my last project of a two week stint of sewing every evening. I went to bed with a headache every night as I had a long sewing to do list and not enough time to complete it. Finding time to sew with three little ones is a struggle. My sewing machine also decided to be on the fritz. Thankfully, Shannon stepped in and let me borrow hers! I was ecstatic when I finished this last project as it meant I could have a break from sewing and get back to some other crafting. (I will be showing my other sewing projects in the coming days).
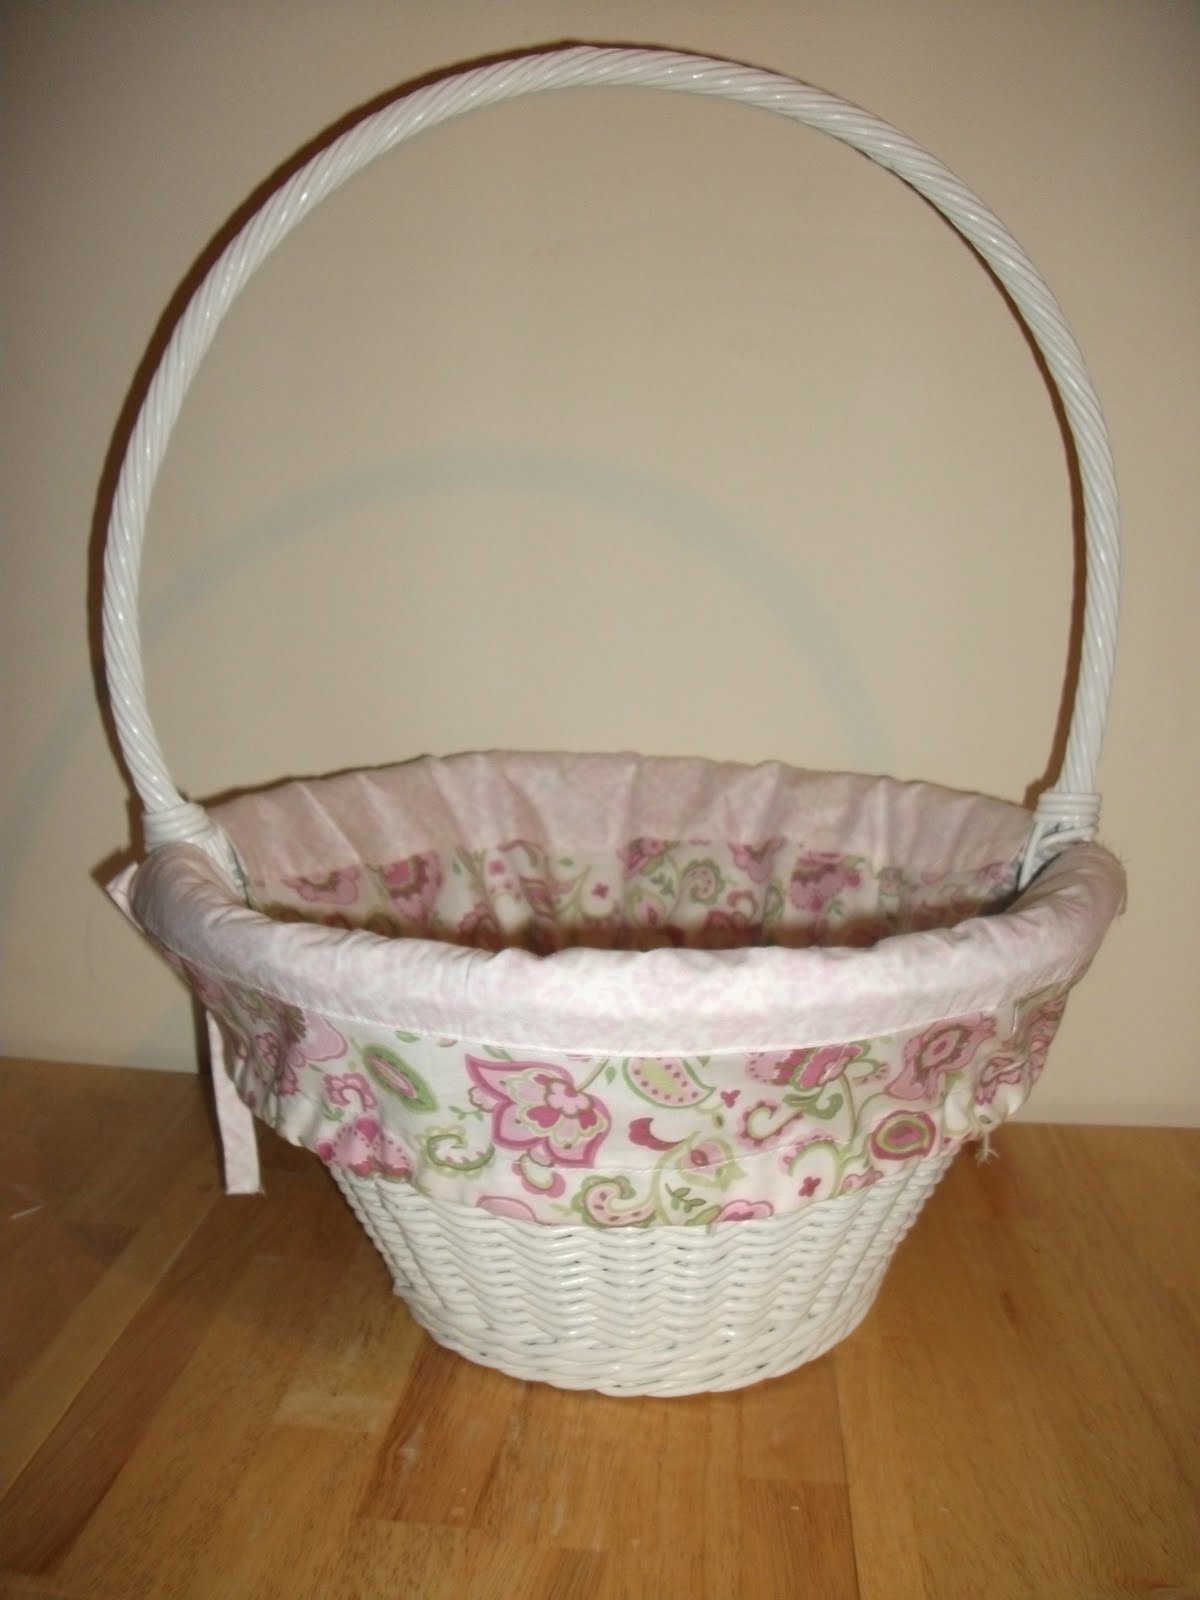
On to the basket. Here is the finished basket with the new liner.
Let me tell you how I went about making a new liner without a pattern. It isn't a full tutorial as I got busy making it and forgot to take pictures along the way. I do have some basic steps and tips to share with you though.
First, I took the liner that was previously in the basket (see below) and measured it from every angle.

The basket had a circular bottom which, of course, seemed way beyond my skill set. Pulling from my Math teacher days, I knew I could figure this out! I measured across the center of the circle (diameter) which was 8. Half of 8 is 4 which is the radius. (Sorry for the little math lesson). I took my fabric and drew an 8 inch line with a disappearing marker. I made a dot at 4 inches. Then I made a line 8 inches long vertically with that dot in the center (4 inches on each side of dot). I continued this with two more lines (see pictures below).


Then I cut out around to each of the lines (the circumference, aren't you feeling like you are learning something?) to get my circle. Without making a separate template, I had a perfect 8 inch circle for the base of the basket. Sorry, I forgot to take a picture of the cut out circle!
Next, I took the old liner and folded it in half and laid it flat. I measured the width (across the top) and length and cut out my new basket material to those measurements. I did not trim it down for the middle of the basket. Instead I pleated the material when I sewed it on to the bottom circle.
I also measured the width of the ties. These were 1/2 inch width by 22 inch length ties. I cut out material 2 inches by 22 inches. Now, many people like to do the sewing method of folding over the material and sewing down the length of the strip. Then they turn it inside out. I despise this method! It only leave me frustrated and takes too much time. I prefer an easier and faster (surprising) method. Let me teach you.
Now, this is where I wonder why I like to sew. It requires using an iron. I try to stay away from an iron as much as possible. I love wrinkle free clothes and Wrinkle Releaser is my best friend. Back to sewing. . .
Fold your strip in half with fabric right side up. Press with iron. Unfold the strip.

Now fold each side (in half) into your newly created line and press with the iron again. (My pictures were fuzzy and useless, sorry!) Once you have both sides folded in you will fold them back together along that original crease you made. This gives you nice finished edges on both sides. Now top stitch (sew) up both sides of your long ties. To me that is much easier and no frustration, well other than having to use the dreaded iron.
I folded over the sides of my main pieces of fabric with the ties underneath the fabric. Then sewed up the pocket. This way, I didn't have to string the ties through and give myself a headache.
Then I sewed the two pieces of fabric together at the sides. I took the circle piece and randomly pinned it around pleating it as I went. Then I just sewed on the wrong side around the circle. That was it. It was surprisingly an easy project to sew.
Here is the finished product with a picture of the inside as well.

I hope Shannon is pleased with it and that Mariella likes the new cover as well. Now, she has a basket that matches the decor of her room!
Happy Crafting!


