
A few weeks ago, I sent this feature on Freezer Paper Stencil T-shirts to my friend over at Sarahndipities. Sarah just had her fifth child and needed some guest posts while she was recovering. I was more than happy to help her out and hopefully make some new friends for our blog. Welcome to any new followers from Sarahndipities. Our followers should check out her blog as well. She has super cute crafts and crochet items!
Today, I will be sharing a tutorial for a Freezer Paper Stencil T-shirts.
Two of my children are having birthdays coming up. Since I learned how to do freezer paper stenciling, I love to make personalized shirts for my kids. They love showing off their age and/or their name and it is much cheaper than embroidery! Here is a picture of what I will be teaching you to make.

Needed Supplies:
- A T-shirt
- Fabric paint
- Foam paint brushes
- Freezer paper (found in the plastic wrap/foil aisle of any grocery store)
- Exacto knife
- Self-healing cutting mat
- Iron
- Pencil to trace number and circle
- Printed number and circle in your choice of font (I made a circle with the draw feature in Word).
Shannon and I both have a Silhouette and we love it! Unfortunately, not everyone has a Silhouette, so I want to give you the tutorial for either way. You can easily cut your letters on freezer paper using the Silhouette as well. Shannon has done this many times and suggests selecting "Vellum" speed 3, thickness 25. Make sure to use a mat that has plenty of stickiness left to it. Rub the freezer paper down well to avoid any bubbles, which could cause the paper to tear.
If you don't have a Silhouette, here is the tutorial for you!
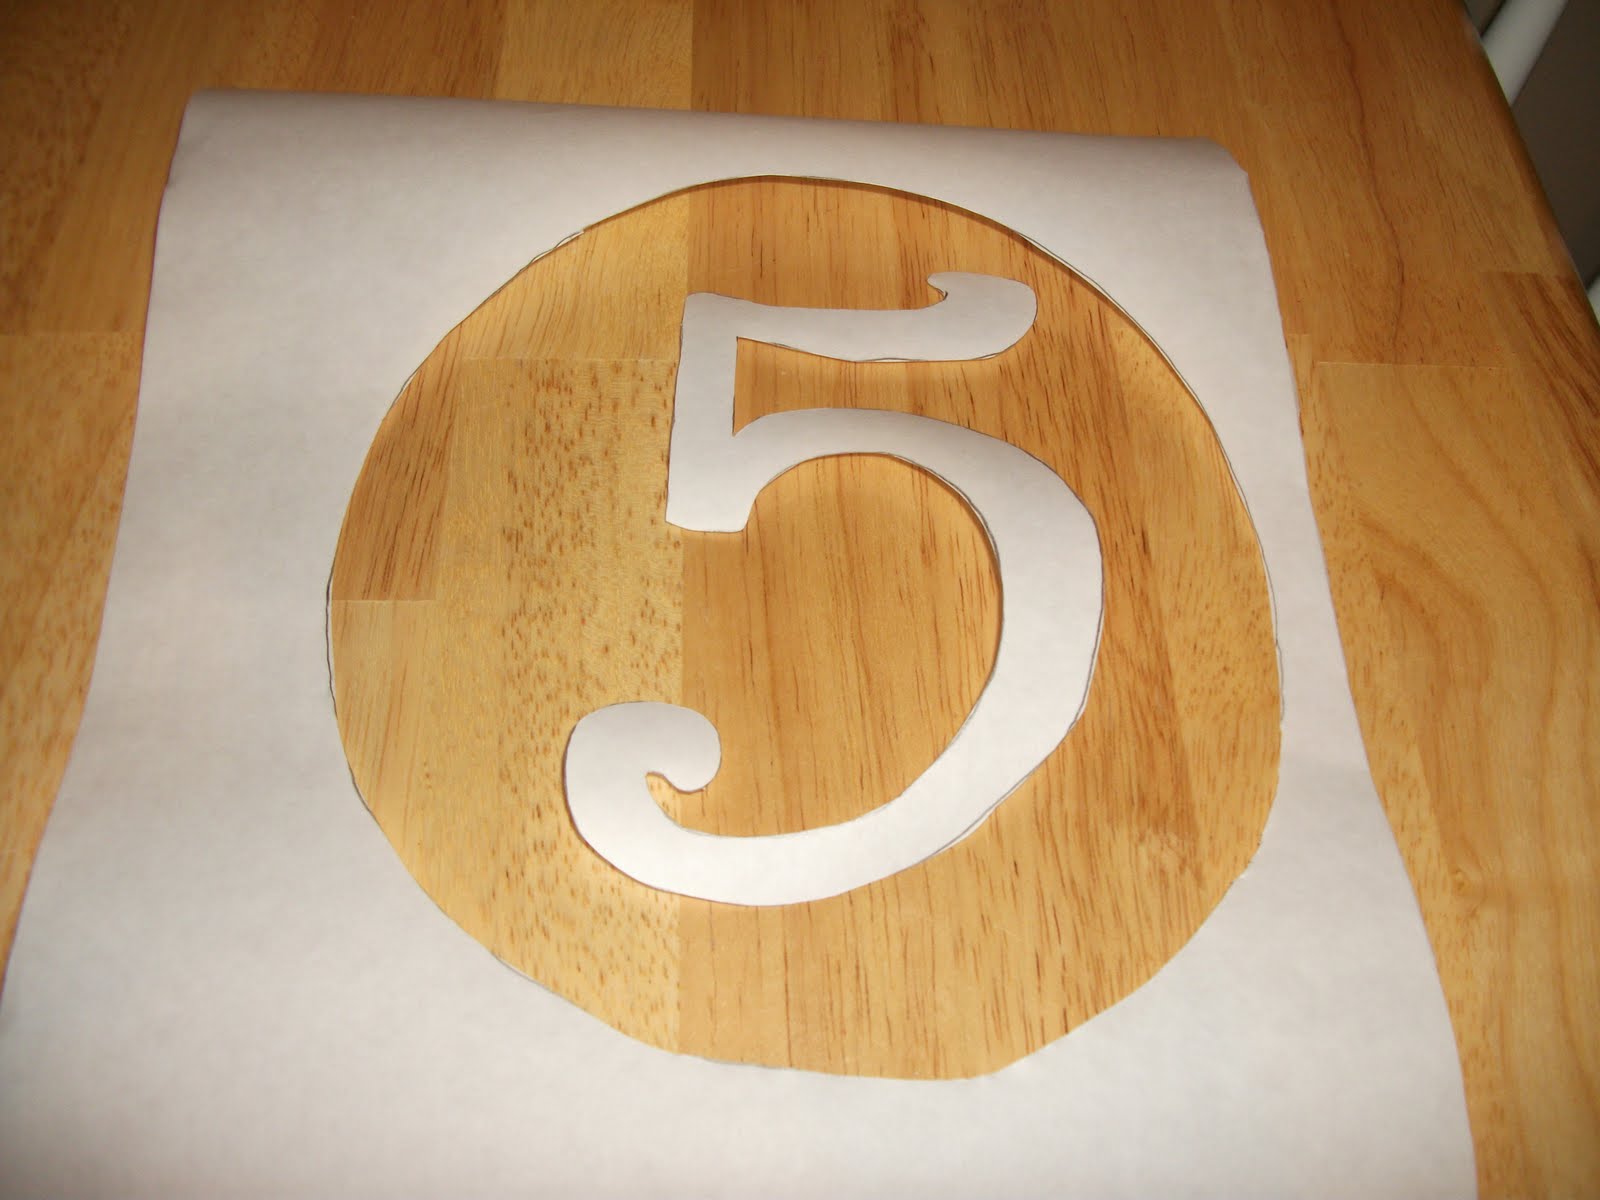
1. Print off your number and circle or any design that you want to use. Cut a piece of freezer paper larger than the size of your design. With the waxy side down, trace your number or design.
2. Here are all my designs ready to be cut out. If you make the freezer paper too small don't worry, you can add more freezer paper to the shirt so that you don't get paint where it shouldn't go. Also, don't stress if your tracing isn't perfect. You can fix that when you cut it out.


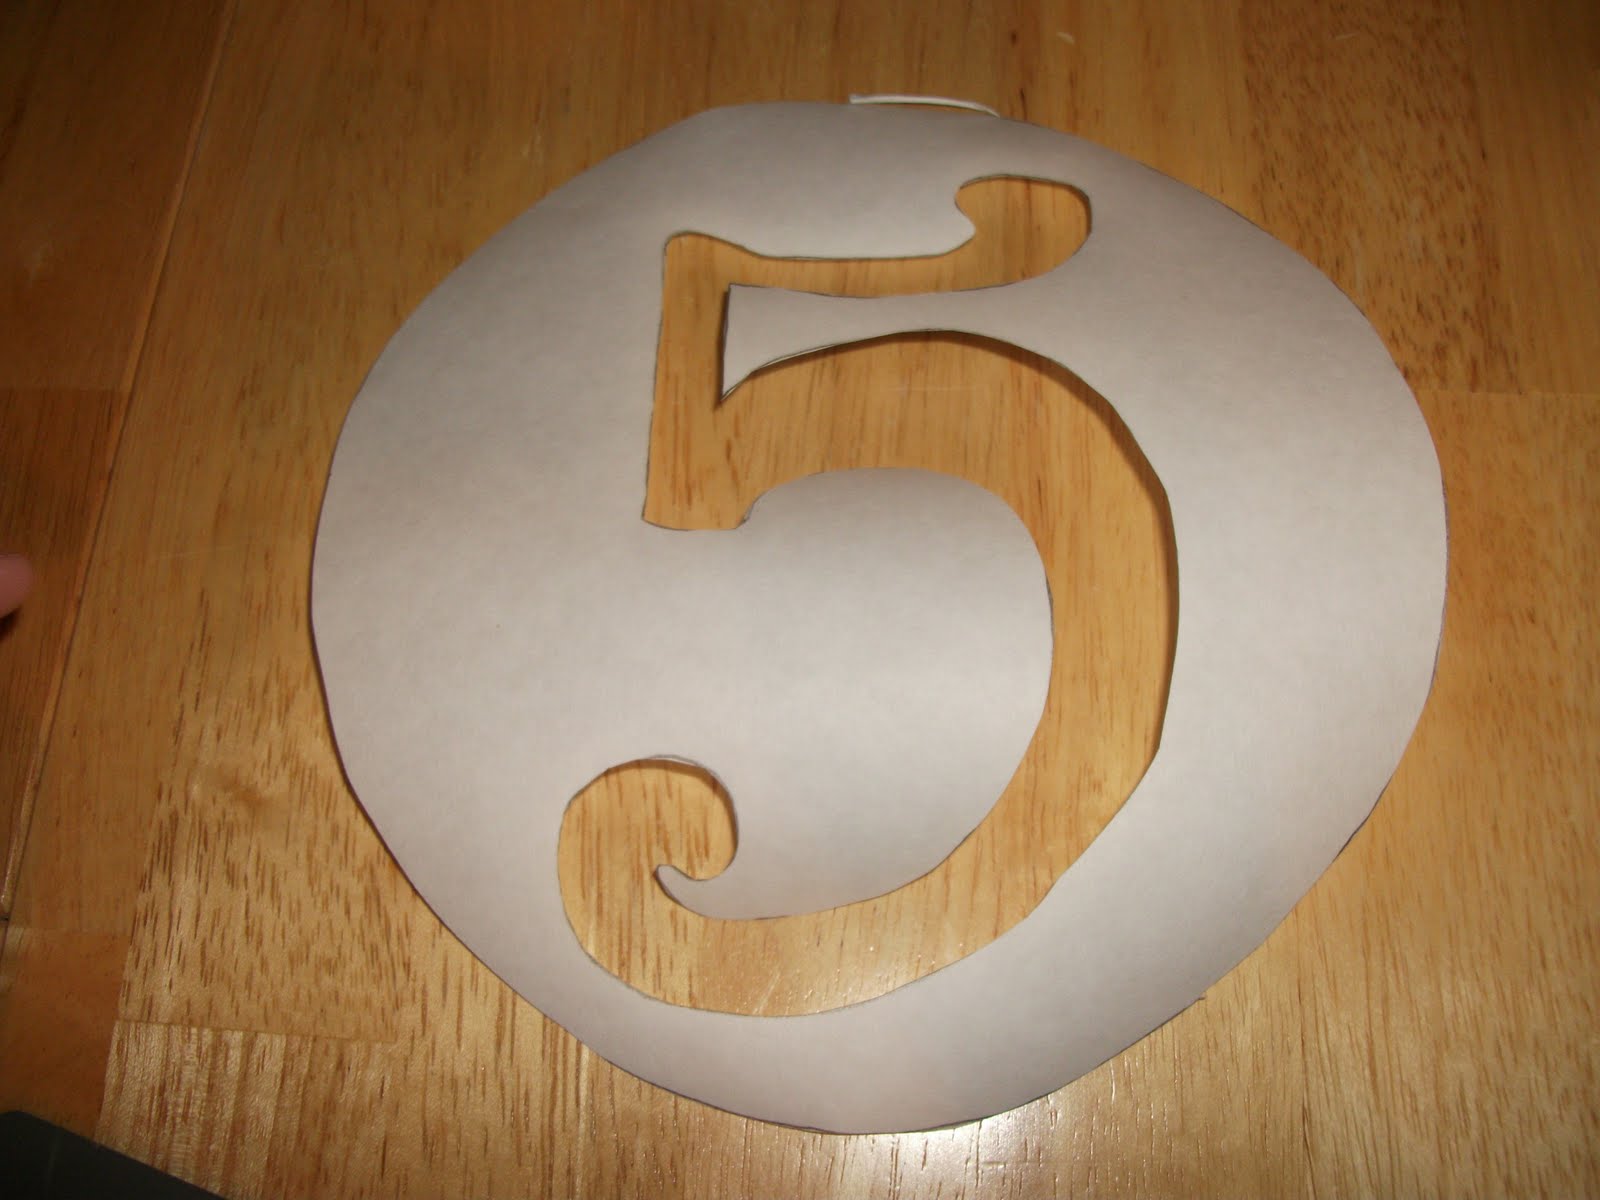
3. Now take your exacto knife and cut out the number and the circle. Notice that I will need to add more paper to the five as I didn't center my 5 appropriately.
Here are the two designs I was working on.

I won't need the interior of the circle. I am keeping this though as you never know what you might want to put a 5 on, right?
4. Heat up your iron to the cotton setting. Turn off any steam settings. Iron your t-shirt. Then cut out a large piece of freezer paper that will fit the inside of your t-shirt. You want this piece to cover the entire inside so that you don't have paint bleed through. Place the freezer paper waxy side up and iron your t-shirt again. This will help the freezer paper to adhere to the inside.

5. Grab your circle. Center the circle in the middle of the t-shirt. Iron it down making sure it is flat and without any bubbles. Then center the freezer paper with your number and iron it down too.


This is how your circle should look if you gave yourself plenty of space on both sides. I did it right for the #3 shirt.
6. Use a foam brush and fabric paint to paint your design. Make sure not to use too much paint as it might cause the freezer paper to bubble and paint to bleed underneath. Try to go with the lines of the shirt as well, not against the lines. White paint is takes more than one coat to show up properly. Most other colors can get away with one or two light coats. I did three coats for this design. You can use a hair dryer to speed up the process if you get impatient between coats. Just make sure that the first coat is completely dry before painting the second coat.

After first coat of paint.

After second coat of paint.

7. Again, allow the paint to fully dry. Learn from my mistake on a previous project and let the paint dry for at least 24 hours before you machine wash.
8. Peel off the freezer paper. If you have any difficulty, use your exacto knife to get under the freezer paper. You won't hurt the paint that is attached to the shirt. Here are the finished shirts.

My little man Ryan loved his shirt and wore it proudly the day of his birthday. He will wear it many more times throughout the year. You can machine wash and dry without any problems. Here is Ryan showing off his #5 shirt. The second picture is of my little man Evan who turned 3 yesterday. This was perfect timing to share the tutorial with everyone!


My little man Ryan loved his shirt and wore it proudly the day of his birthday. He will wear it many more times throughout the year. You can machine wash and dry without any problems. Here is Ryan showing off his #5 shirt. The second picture is of my little man Evan who turned 3 yesterday. This was perfect timing to share the tutorial with everyone!


Shannon and I have made many gifts and other projects using freezer paper. If you would like to see more, click here. Freezer paper stencils are fantastic and let you make inexpensive personalized gifts. If you have any questions, please let me know!
Happy Crafting!


