
I'm almost done reposting and can't wait to share some new things with you. Here's another one of my favorites from last Valentine's Day.
This was an inspired craft. Somewhere, on some blog, I saw a heart wreath made of red felt rosettes. The wreath was on a burlap background and it was in a frame. I have looked and looked for that inspiration piece but cannot find it. So, if you created it, or if you've seen it, please let me know. I want to give credit where credit is due.

Here's my finished piece. It's very different from the inspiration piece.

I wanted to make something similar to my inspiration piece, but didn't have a frame big enough. I didn't want to buy anything for this project... so, I went through my husband's stuff in the garage. I found this piece of wood and some foam. I added my cream burlap, some batting, got my staple gun and started working.

First I covered the board with the thin foam. I stapled the foam to the back of the board.
I wanted to give this project a "girly, plush" look.

I covered the foam with a layer of quilting batting to give it that extra fluff.
I stapled the batting to the back of the board.
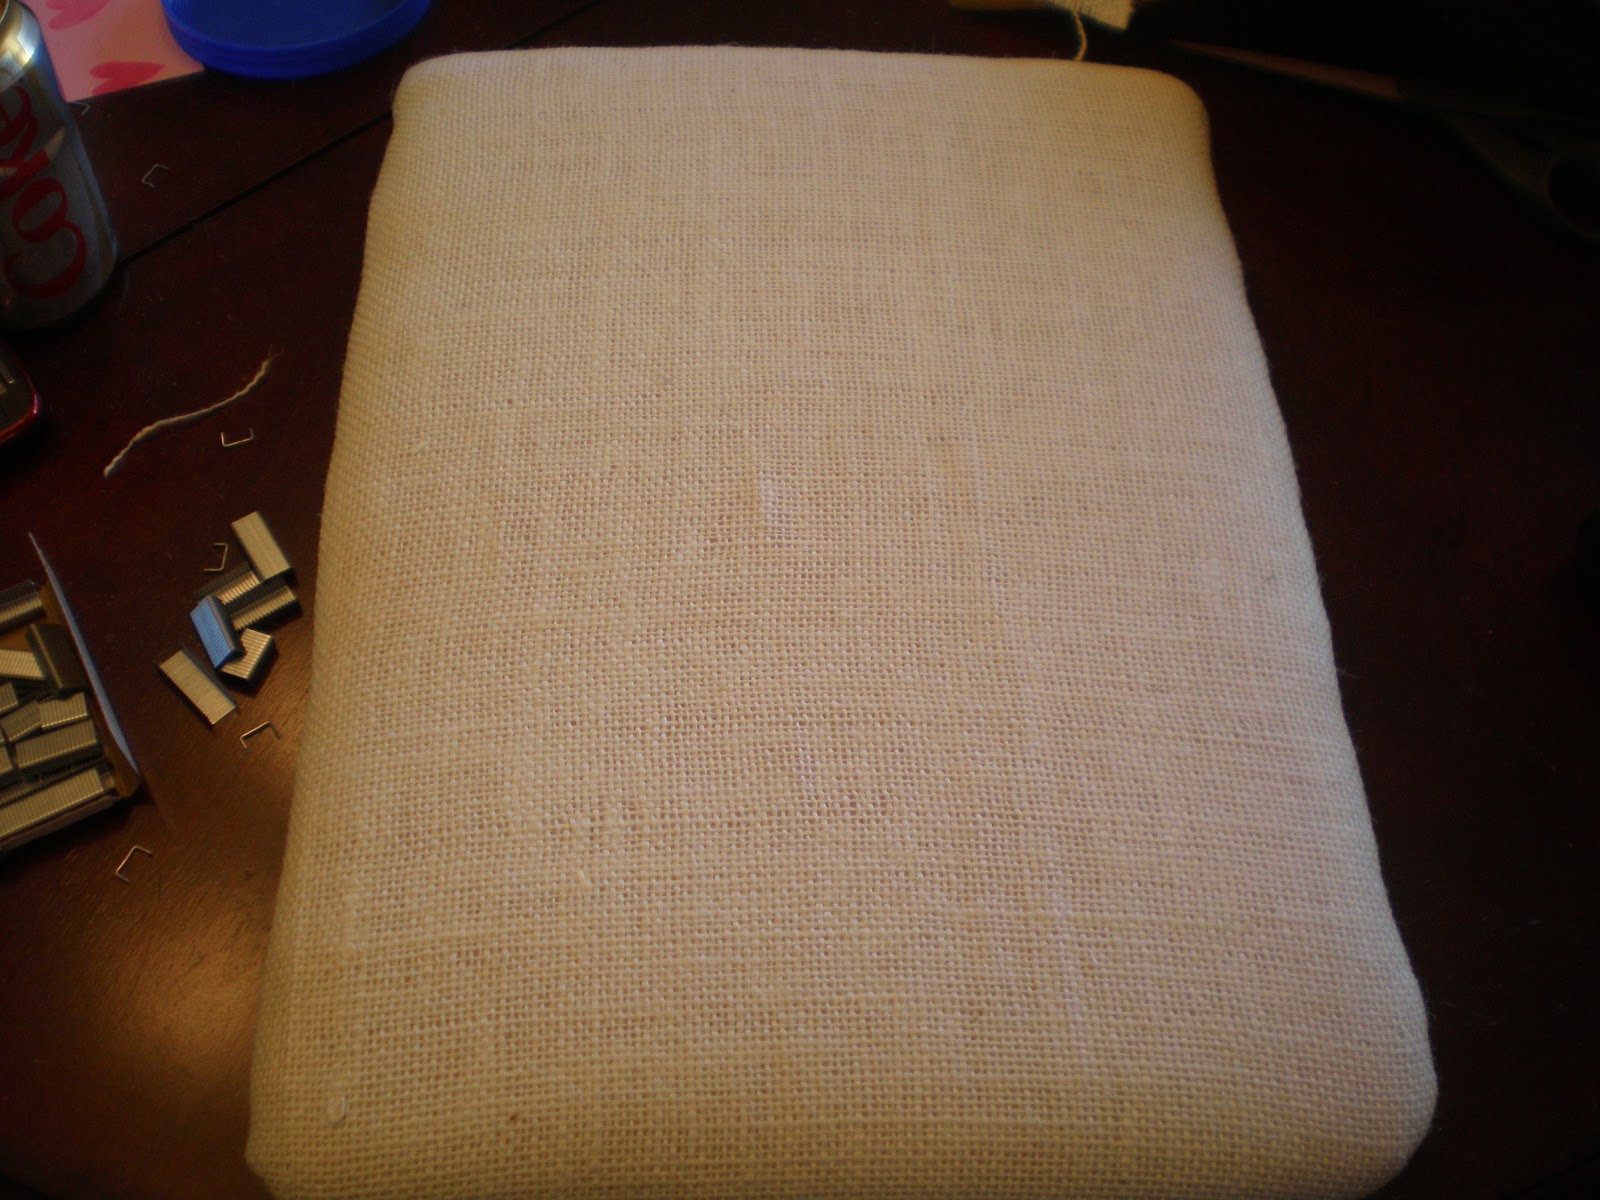
I covered the foam and batting with the burlap. I stapled the burlap to the back of the board.
It gave it a bit of a rugged look.

I made a heart template and positioned it on the board.

I traced the heart onto the burlap so I had a guide to work with.

I made a ton of circles. Seriously, there were a lot of them. I made them from a pretty pink fleece.
I didn't use a template. I just cut them freehand.

I cut each circle into a spiral. I left a circle at the end of each spriral.
It becomes the base of the rosette.

I took the slim end and rolled. I used hot glue every now and then to secure the rosette.

A little hot glue and a little more rolling.

Here's what the rosette looks like at the end. See the base?

I plopped a lot of hot glue on the base.
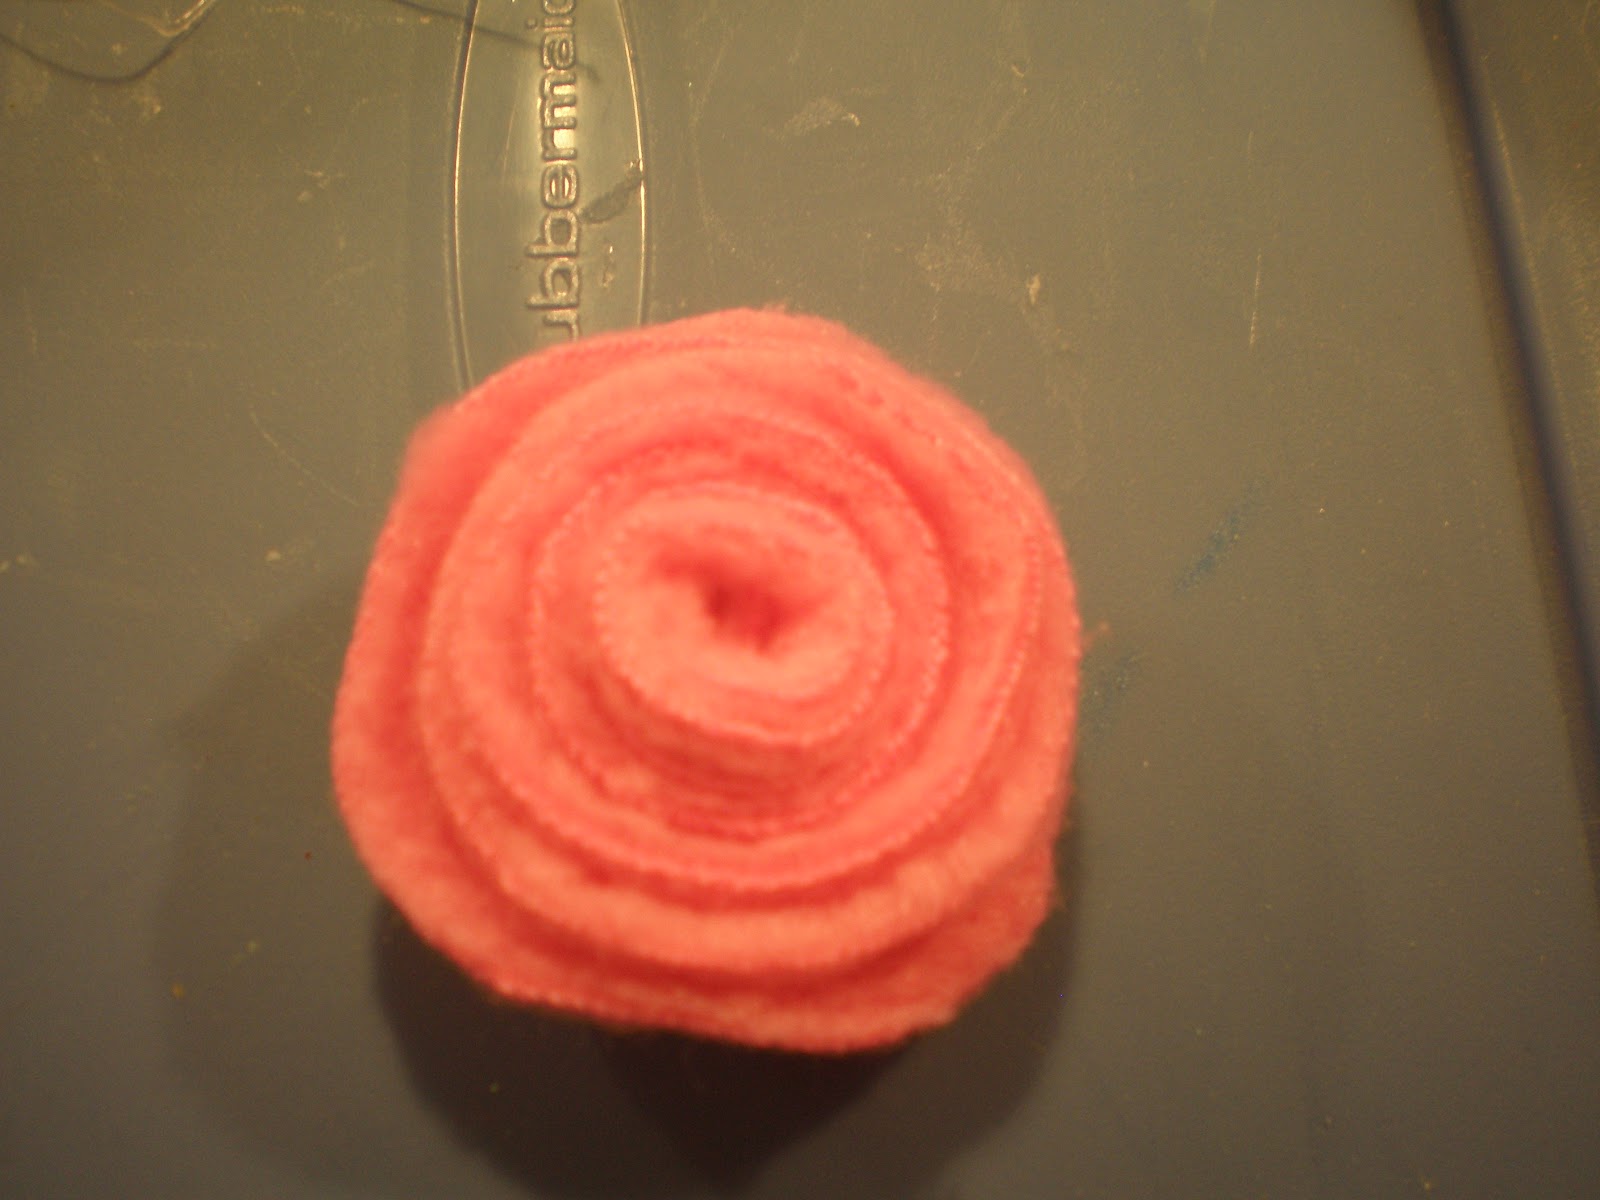
I then pressed the flower to the base. This is how they turned out. Cute, huh?
I glued a zillion of these on to the burlap base. I used the heart I traced as my guide.

I then hot glued trim around the entire project and put a bow in each corner.
The bow adds a little femininity and hides the awkward turn on each corner.

...and it's done.

I love it! I didn't buy anything for this project. YEAH!

GraciAnn used a rosette and a white satin ribbon to make a necklace. It was really cute!


