
I needed a craft fix. I wanted to do something that I could finish in a reasonable amount of time (Something I could finish in a night!). I wanted to do something I hadn't seen before. Finally, I wanted another Valentine's Day decoration. I love what I came up with!

I got a black from at WalMart for $3. It was for 2-4x6" photos. I used a piece of red scrapbooking paper. It says LOVE on it. I got some flowers from a scrapbook store that look like they were made from pages out of a book. I used distressing ink and a blender stamp. I had black fuzzy vinyl and transfer tape. My tools were my paper cutter, a glue gun, and my Silhouette.

First, I cut the scrapbook paper to fit the entire frame.

Then I cut, "Daughters" out of my black fuzzy vinyl. I used the font, "Waterfalls" 170pt. I pulled away the excess vinyl so I was left only with the word I needed.
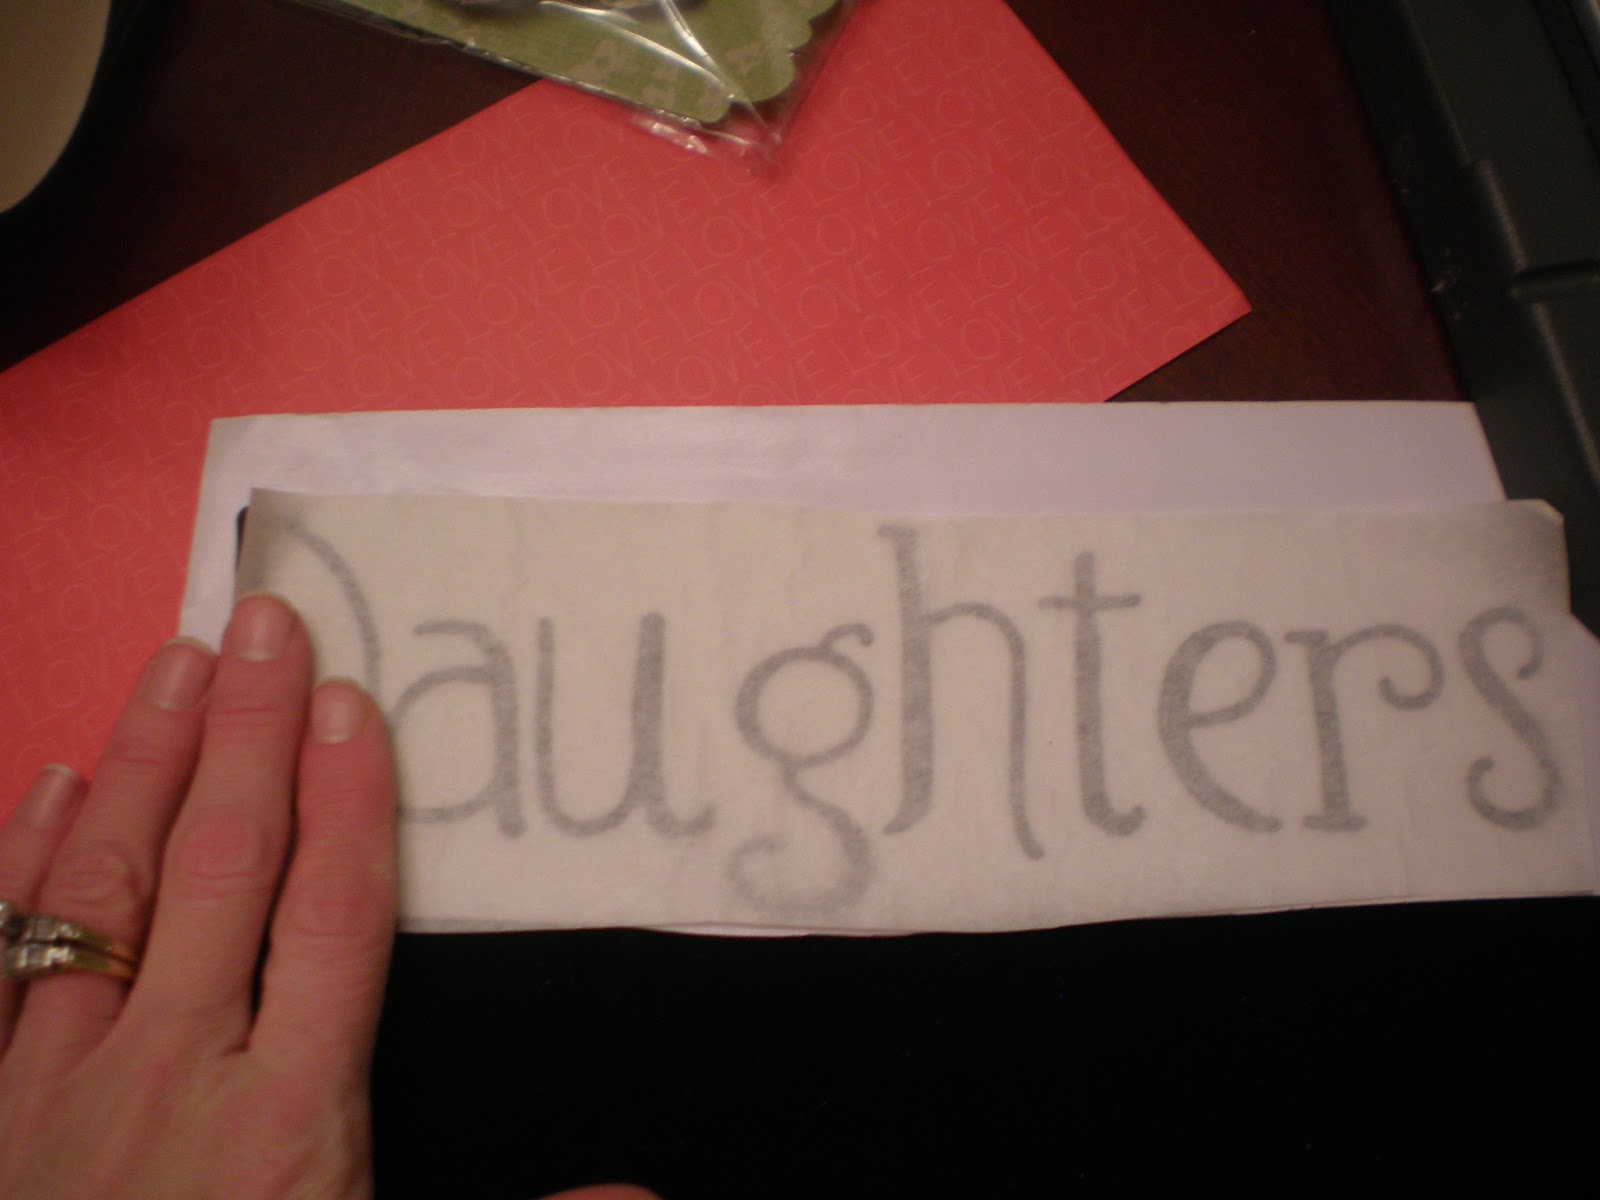
I used transfer tape to lift the vinyl. This does not work as well with fuzzy vinyl.

I placed the transfer tape, in position, on the scrapbook paper and peeled it away. The letters were attached to the scrapbook paper.

Here's a close up of the print on the scrapbook paper.

I went around the edges of the paper with the distress ink. I put the ink on with the blender pad and lightly distressed it.

I put the paper in the frame. I just discarded the mat that was included with the frame. I hot glued 2 flowers directly on the frame.

It's done! My daughters make me think of love so it's all relevant to me! I love it!


