If you didn't win our Vintage Pearl giveaway, here's another chance to be a winner! She's giving away 5-$100 gift certificates for her birthday. Are you kidding me? Watch out, Jill and I are in this competition too. We want to win. Their stuff is AMAZING!
http://thevintagepearl.blogspot.com/2011/03/happy-birthday-to-me-big-giveaway.html
We're sharing the information with you because we love our sponsor, The Vintage Pearl, and we love our readers. Good Luck! (Don't forget to tell them in your comments that we sent you!)
Thursday, March 31, 2011
Wednesday, March 30, 2011
The Easter Projects We Did Last Year
It was this time, last year, that our crafting madness began. We were totally inspired by this wreath:
Here are Shannon's variations:
Chocolate dipped Peeps are so cute!
We also made freezer paper stenciled t-shirts for the kiddos. Here are GraciAnn's and Mariella's.
Here is a picture of Jill's boys in their shirts.
Jill helped a friend of hers make shirts for her boys as well. I really like the first initial inside the bunny.
Here are Shannon's variations:
A centerpiece full of plastic eggs and adorable chicks.
A very sweet sheep wreath. This wreath has the little flowers, they're just hard to see in this picture.
A chick version.
Look at these adorable Easter pops....
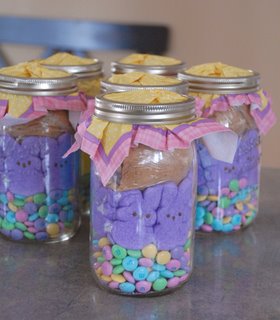
Smores in a jar are great! Shannon used organic graham bunnies, instead of Graham crackers. She also used pastel marshmallows instead of Peeps. However you make them, they make great gifts!
Chocolate dipped Peeps are so cute!
We also made freezer paper stenciled t-shirts for the kiddos. Here are GraciAnn's and Mariella's.
Here is a picture of Jill's boys in their shirts.
Jill helped a friend of hers make shirts for her boys as well. I really like the first initial inside the bunny.
Free Easter/Spring Printables Galore!
Do you have your printer ready? We've looked up and down and all around blogland for the best printables! Now, we have them ready to share with you! Just click the link of your favorite for directions on how to download and print. Enjoy!
from Eighteen25
from The Giving Madam
from the Simple Crafter
from Agape Love Designs
from Perfect Expressions
from Holiday Snob
Monday, March 28, 2011
My Carrot Seeds Sign-A Tutorial
I need some cute Easter decorations. I've been trying to think of something new and creative to make. I had a vision of a carrot seed packet. Easter makes me think of rabbits. Rabbits eat carrots. So..... Here's what I came up with.
I started with a piece of 3/4 inch thick, birch plywood. This was a scrap piece of wood I found in our garage. It's 10 3/4" x 12 1/4". I painted it an antique white. While the paint was drying, I cut "Carrots" and "10 c" on my Silhouette. The font was "Tiranti Solid Letter". It was 162 pt. font. The dimensions were 2x6". I used the same font for 10c. It was 98 pt. font. I cut it on vinyl.
While I was working on my sign, my girls were painting signs of their own.
I lightly dry brush painted the sign with a dark brown.
Using a pencil, I drew carrots on the board.
After I painted the carrots, I pulled the vinyl off of the paper. I used the vinyl as a stencil and painted it in with brown paint.
See how the vinyl makes a great stencil?
Here's the sign drying. The only step left is distressing it.
When it's dry, I get out my mouse sander and sand away.
This is my finished sign. It's a new Easter decoration! I had all the materials for this so it didn't cost me a thing. Plus, it didn't take long to make! My kind of craft: cheap and easy!
Sunday, March 27, 2011
Great Things-Little Polka Dot Etsy Shop-A Giveaway
How Cute Is This?
Becca, from LittlePolkaDot, has some adorable things in her etsy shop. In September, I came across a fantastic candy corn bunting she made. I bought it and hung it on my mantle.
The bunting is so well made and adorable. I got it within days of ordering and couldn't believe how reasonably priced it was. It was a GREAT THING, for sure! I loved it so much, I returned to her store, for an Easter bunting.
Once again, I was THRILLED with my purchase. How cute is this! Okay, so my mantle isn't ready to be shown but I had to show off the bunting!
Becca, from Little Polka Dot, is giving away a wonderful Easter egg bunting to one of our subscribers. Here it is:
It's ADORABLE!
This is how you can enter!
*Leave a comment for each entry*
Comment #1-Tell us you are an email subscriber to Our Seven Dwarfs. You must be verified to win. (This is a mandatory entry!)
Comment #2-Visit LittlePolkDot and tell us your favorite thing in the store. (This is a mandatory entry!)
Comment #3-Visit Becca's blog and leave her a comment letting her know we sent you! http://www.naptimejournal.blogspot.com/ Then come back and tell us you did. She'd love it if you became a follower too!
Comment #4-Like Our Seven Dwarfs on Facebook and tell us you do.Comment #5-Follow Our Seven Dwarfs via Google Friend Connect (see sidebar) and tell us you do.
That's five chances to win! We'll pick the winner on Saturday at midnight and announce the winner Sunday. Good Luck!
Mamachee Crochet Pattern Winner!
We want to thank Tara of Mamachee Crochet Patterns for a fantastic giveaway! Thank you to all our new friends and followers for making this such a successful giveaway. We have many more giveaways lined up that we know you will enjoy. Make sure to read Monday's Great Things post to see the next giveaway!
In case you don't win, you can still get fantastic deals on crochet patterns from Mamachee! Tara offers 3 patterns for $13 and 5 patterns for $22. Seeing all these wonderful patterns all week makes Jill want to order some more!
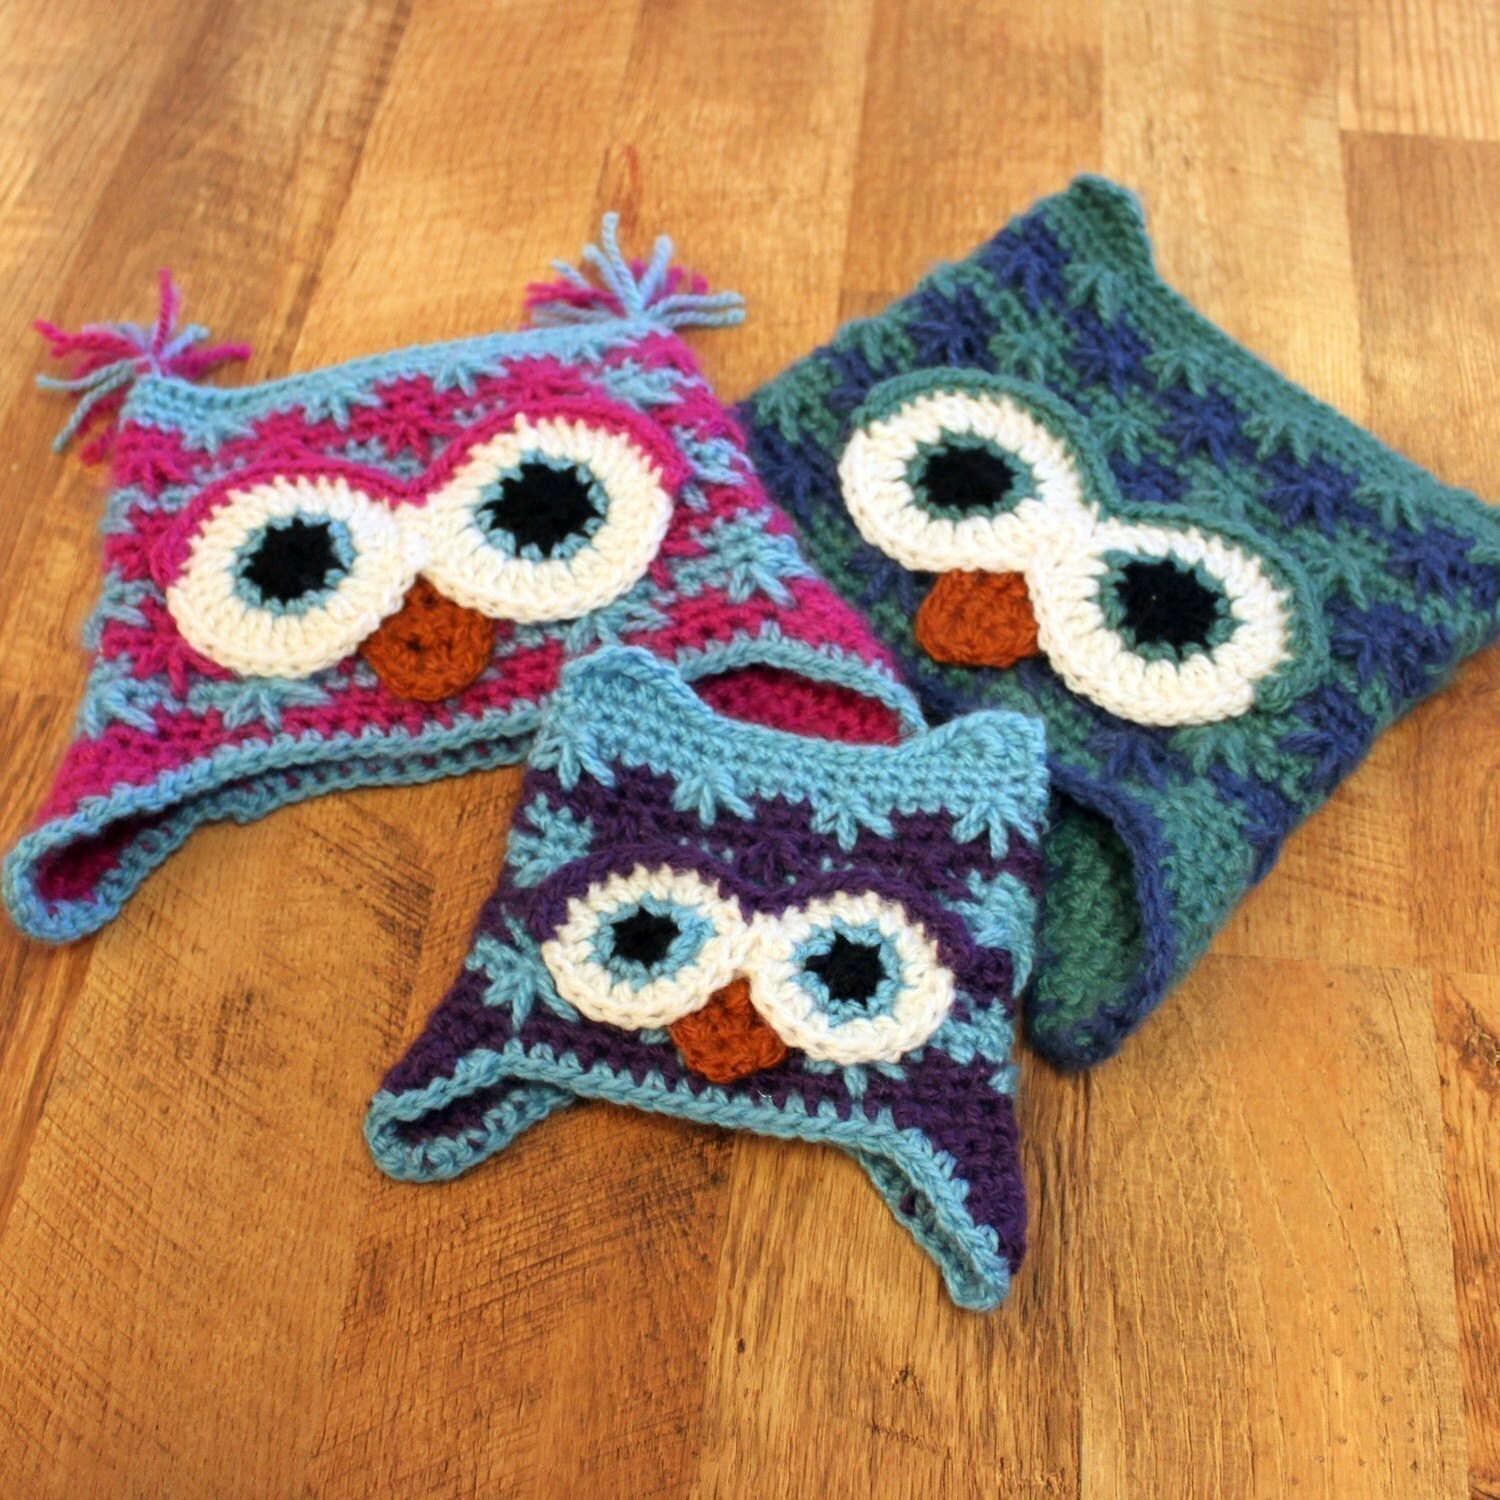
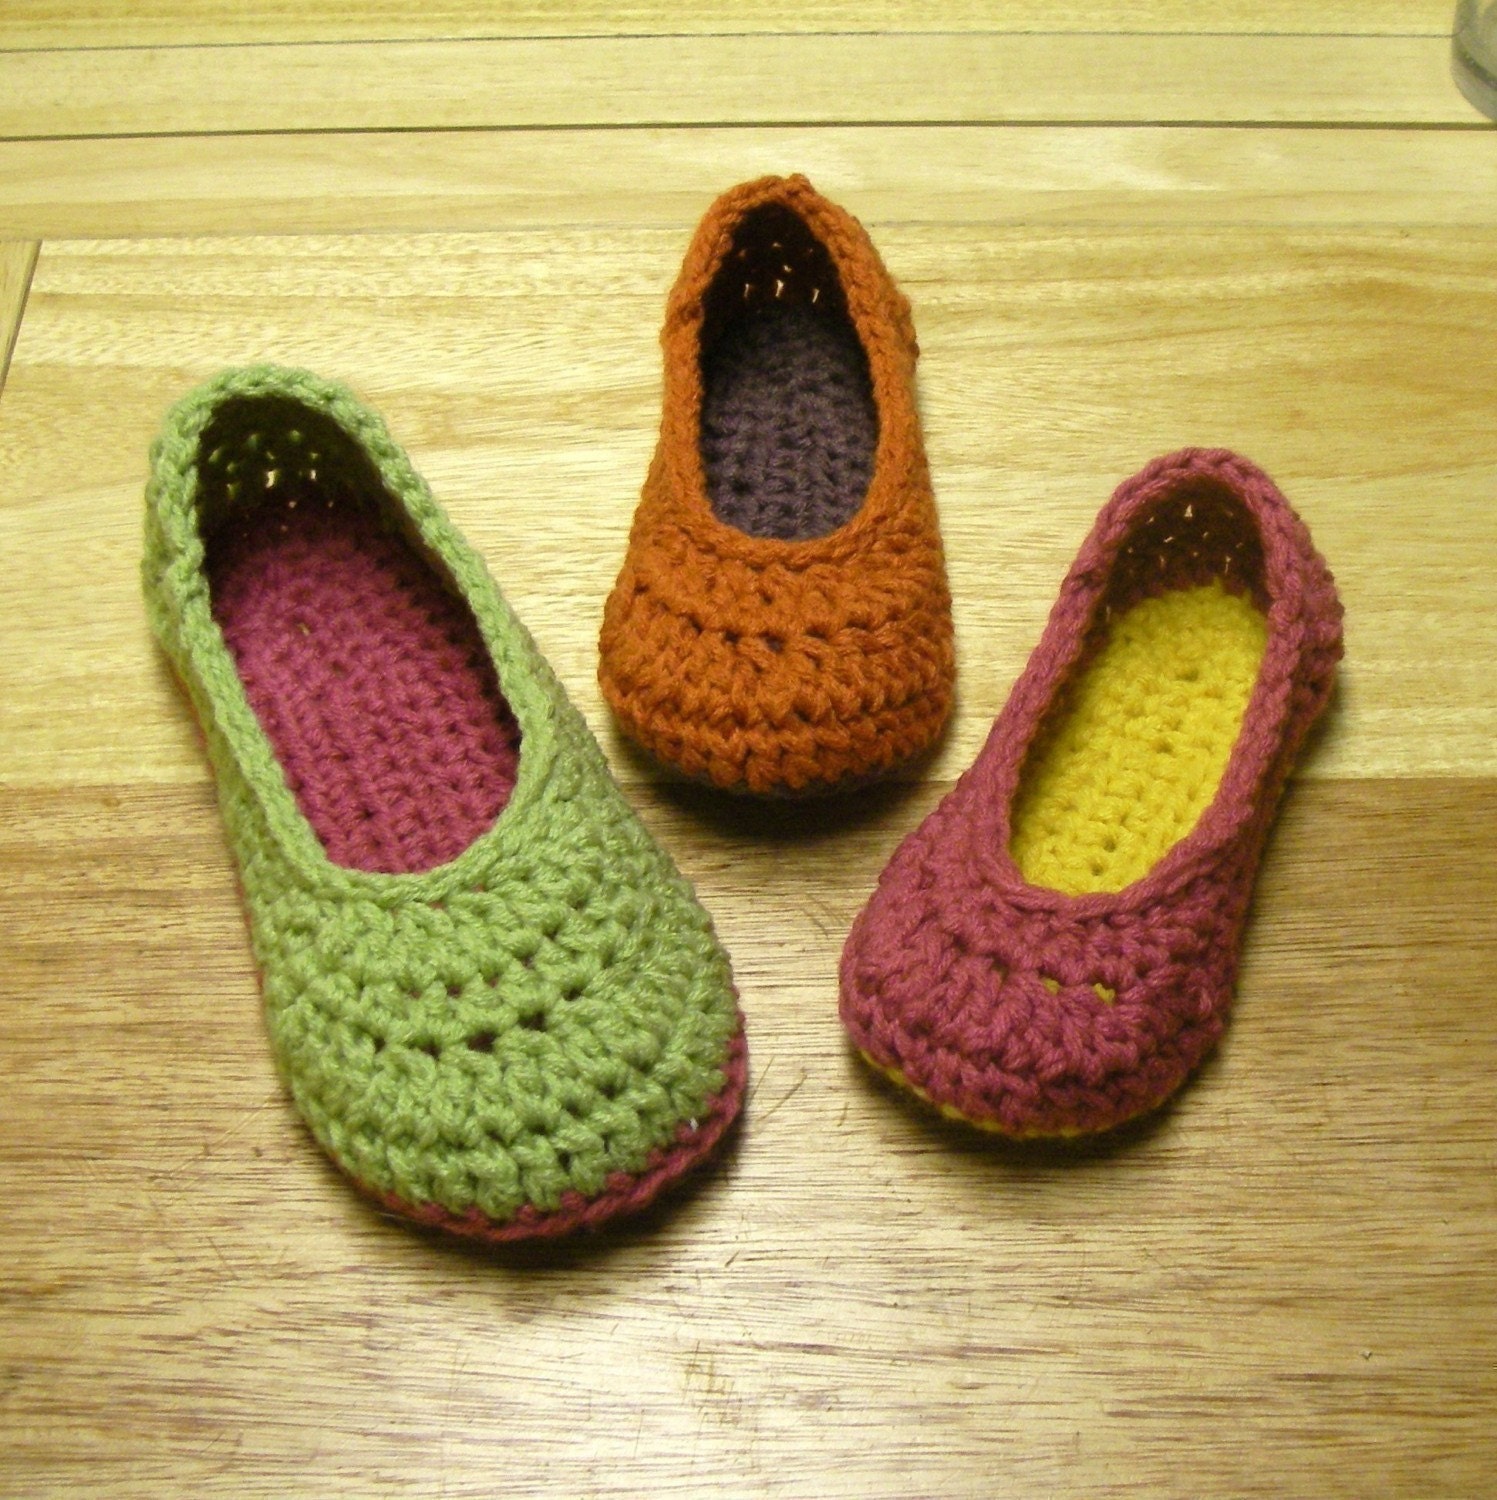
Here were our top 3 picks for patterns from all our entries:
On to our lucky winner...
# 122 said:
In case you don't win, you can still get fantastic deals on crochet patterns from Mamachee! Tara offers 3 patterns for $13 and 5 patterns for $22. Seeing all these wonderful patterns all week makes Jill want to order some more!
Here were our top 3 picks for patterns from all our entries:
Viking hat was the most popular. |
The Owl Hat was #2 |
Oma Adult Slippers #3 |
# 122 said:
- Sugar Mama's Sweet Bowtique said...
- I am now following your blog
Friday, March 25, 2011
Bathroom Rules Board Tutorial
A few weeks ago, we were featured over at Funky Polkadot Giraffe. In case you missed our feature, I wanted to share the tutorial with you. It is for my Bathroom Rules board.
Unfortunately, I still don't have it hung up in our bathroom. I keep asking for the hubby's help, but another night goes by. I guess I will have to do it on my own and then hear about not hanging it straight or using the wrong nail. Oh well, he is a fantastic husband and daddy. I couldn't ask for more. When I have it hung in the bathroom, I will update the picture!
Now for the tutorial!
Needed supplies:
MDF board or other wood board (cut to size of your choosing)
Paint and foam paint brushes
Silhouette (or Cricut) with vinyl of choice OR Stencil (see #5 for more options)
Transfer tape
Board or wood tip: Any of the big home improvement stores have large sheets of mdf or other types of wood. I bought a large sheet of mdf for $21. I had them cut it down to sizes that would be good for making decorations and giving gifts, which cost 25 cents a cut. (This made it much easier to transport home too.) I got 10 boards out of this sheet of wood. That's 10 projects or gifts for about $2 a piece, can't be that! (I've already made two advent boards, a religious subway art board, this bathroom rules board out of this one sheet of mdf).
Tutorial
1. Choose what size board you would like to work with. Mine is about 30 by 21.
2. I used four cans to prop up my board so that I could easily paint the sides and top. You might have small pieces of wood to prop yours up, I didn't so I got creative.
3. Paint your board. Mine took three coats of paint. Red paint always seems to take more coats. I highly suggest painting one coat vertically and then switching to horizontally for the next coat and so forth. This will help any lines from the foam paint brush from showing up.
4. Design what you would like said on your board. The same process can be used for any saying. Here is a screenshot of the start of my design.
5. Once you have your design set, cut it using your Silhouette on the vinyl of your choosing. I am sure you could do the same on a Cricut using SCAL. Shannon also made a tutorial where you can stencil on words, it can be found here. You can also print off words, cut it with an exacto knife and mod podge it on. (This is quite tedious and precise though).
6. Peel off the excess vinyl. Take your vinyl and practice where you would like your design by placing it on your board.
7. Once you like the placement, take transfer tape and cover your design. Use a scraper and adhere the vinyl to your tape. *A scraper could be a credit card, a pampered chef stone scraper (I've used this before) or a scraper made for vinyl.
8. Peel off the paper backing and place your design on your board. Use your scraper again and adhere your vinyl to the board.
9. Peel off your transfer tape and adhere any other pieces of vinyl. That's it! You have a finished decorative board now! Attach the appropriate hanging fixtures or display on a shelf.
We are linking up this project to all these wonderful parties. Go visit them for more great ideas!
Unfortunately, I still don't have it hung up in our bathroom. I keep asking for the hubby's help, but another night goes by. I guess I will have to do it on my own and then hear about not hanging it straight or using the wrong nail. Oh well, he is a fantastic husband and daddy. I couldn't ask for more. When I have it hung in the bathroom, I will update the picture!
Now for the tutorial!
Needed supplies:
MDF board or other wood board (cut to size of your choosing)
Paint and foam paint brushes
Silhouette (or Cricut) with vinyl of choice OR Stencil (see #5 for more options)
Transfer tape
Board or wood tip: Any of the big home improvement stores have large sheets of mdf or other types of wood. I bought a large sheet of mdf for $21. I had them cut it down to sizes that would be good for making decorations and giving gifts, which cost 25 cents a cut. (This made it much easier to transport home too.) I got 10 boards out of this sheet of wood. That's 10 projects or gifts for about $2 a piece, can't be that! (I've already made two advent boards, a religious subway art board, this bathroom rules board out of this one sheet of mdf).
Tutorial
1. Choose what size board you would like to work with. Mine is about 30 by 21.
2. I used four cans to prop up my board so that I could easily paint the sides and top. You might have small pieces of wood to prop yours up, I didn't so I got creative.
3. Paint your board. Mine took three coats of paint. Red paint always seems to take more coats. I highly suggest painting one coat vertically and then switching to horizontally for the next coat and so forth. This will help any lines from the foam paint brush from showing up.
4. Design what you would like said on your board. The same process can be used for any saying. Here is a screenshot of the start of my design.
5. Once you have your design set, cut it using your Silhouette on the vinyl of your choosing. I am sure you could do the same on a Cricut using SCAL. Shannon also made a tutorial where you can stencil on words, it can be found here. You can also print off words, cut it with an exacto knife and mod podge it on. (This is quite tedious and precise though).
6. Peel off the excess vinyl. Take your vinyl and practice where you would like your design by placing it on your board.
7. Once you like the placement, take transfer tape and cover your design. Use a scraper and adhere the vinyl to your tape. *A scraper could be a credit card, a pampered chef stone scraper (I've used this before) or a scraper made for vinyl.
8. Peel off the paper backing and place your design on your board. Use your scraper again and adhere your vinyl to the board.
9. Peel off your transfer tape and adhere any other pieces of vinyl. That's it! You have a finished decorative board now! Attach the appropriate hanging fixtures or display on a shelf.
10. Vinyl is very forgiving. You can easily peel it up and place it back where you want it. My vinyl has an adhesive back, but if you want to secure it permanently, you could put on a layer of mod podge. This step isn't necessary though.
I found this saying on a board at a store and thought it was cute. I wasn't about to spend $40 for their version. My board cost about $4 and was customized to the exact colors and size that I wanted. The next time you see a decoration that you would like for your house, don't be afraid to make it and save yourself some cash!
We are linking up this project to all these wonderful parties. Go visit them for more great ideas!
Subscribe to:
Posts (Atom)