
The first thing I switched out was a long frame that had pictures of lighthouses in it. I found a beautiful collage family picture frame from Hobby Lobby to replace it. I then used that long frame and made my Pray Picture Frame, which replaced another lighthouse decoration.
This past week, I replaced a lighthouse wall hanging with this Monogrammed Picture Frame that I have been wanting to make for a long time.

I am sorry for the picture quality. I took about 100 pictures at different times in the day and this was the best one. I couldn't get that dang flash to stop showing up in the picture. Then if I didn't use the flash it was as dark as could be.
I knew I wanted to make this for a long time, but I needed a large enough picture frame. I shopped around and found that a frame the size I wanted would be $40 or more. Um, not gonna happen on my budget. While browsing at IKEA, I found a frame that wasn't much cheaper, but then I went into my favorite part of IKEA, the AS-IS section. $18.70 for a 19 by 27 matted picture frame was something I was willing to spend for.

Here is what it looked like originally:

Tutorial
I measured the inside of the frame (inside the matting as well). Then I used my Silhouette software to design the size and font of the letters. After getting my sister's feedback on 5 or 6 different fonts (Thanks Dana!), I decided on Old Script. Here is what my design looked like.

I used my last initial for the middle, my husband's first initial for the left side and my first initial for the right. The M was 744.1 point size. The C and J were 542.5 point size. Once I had it designed and scaled to the size I wanted, I was so excited that I sent them to the Silhouette to be cut on black vinyl. I got them all cut and then I realized that I didn't transform them to be backwards. I originally wanted to put the letters on the inside of the glass, but craft oops sometimes work out for a better end product.
Since I could no longer put the letters on the glass, I had to think of a new plan for the back. I took the backing of the picture frame and painted it to match my living room decor. Thankfully, the backing was a good quality and smooth piece wood.
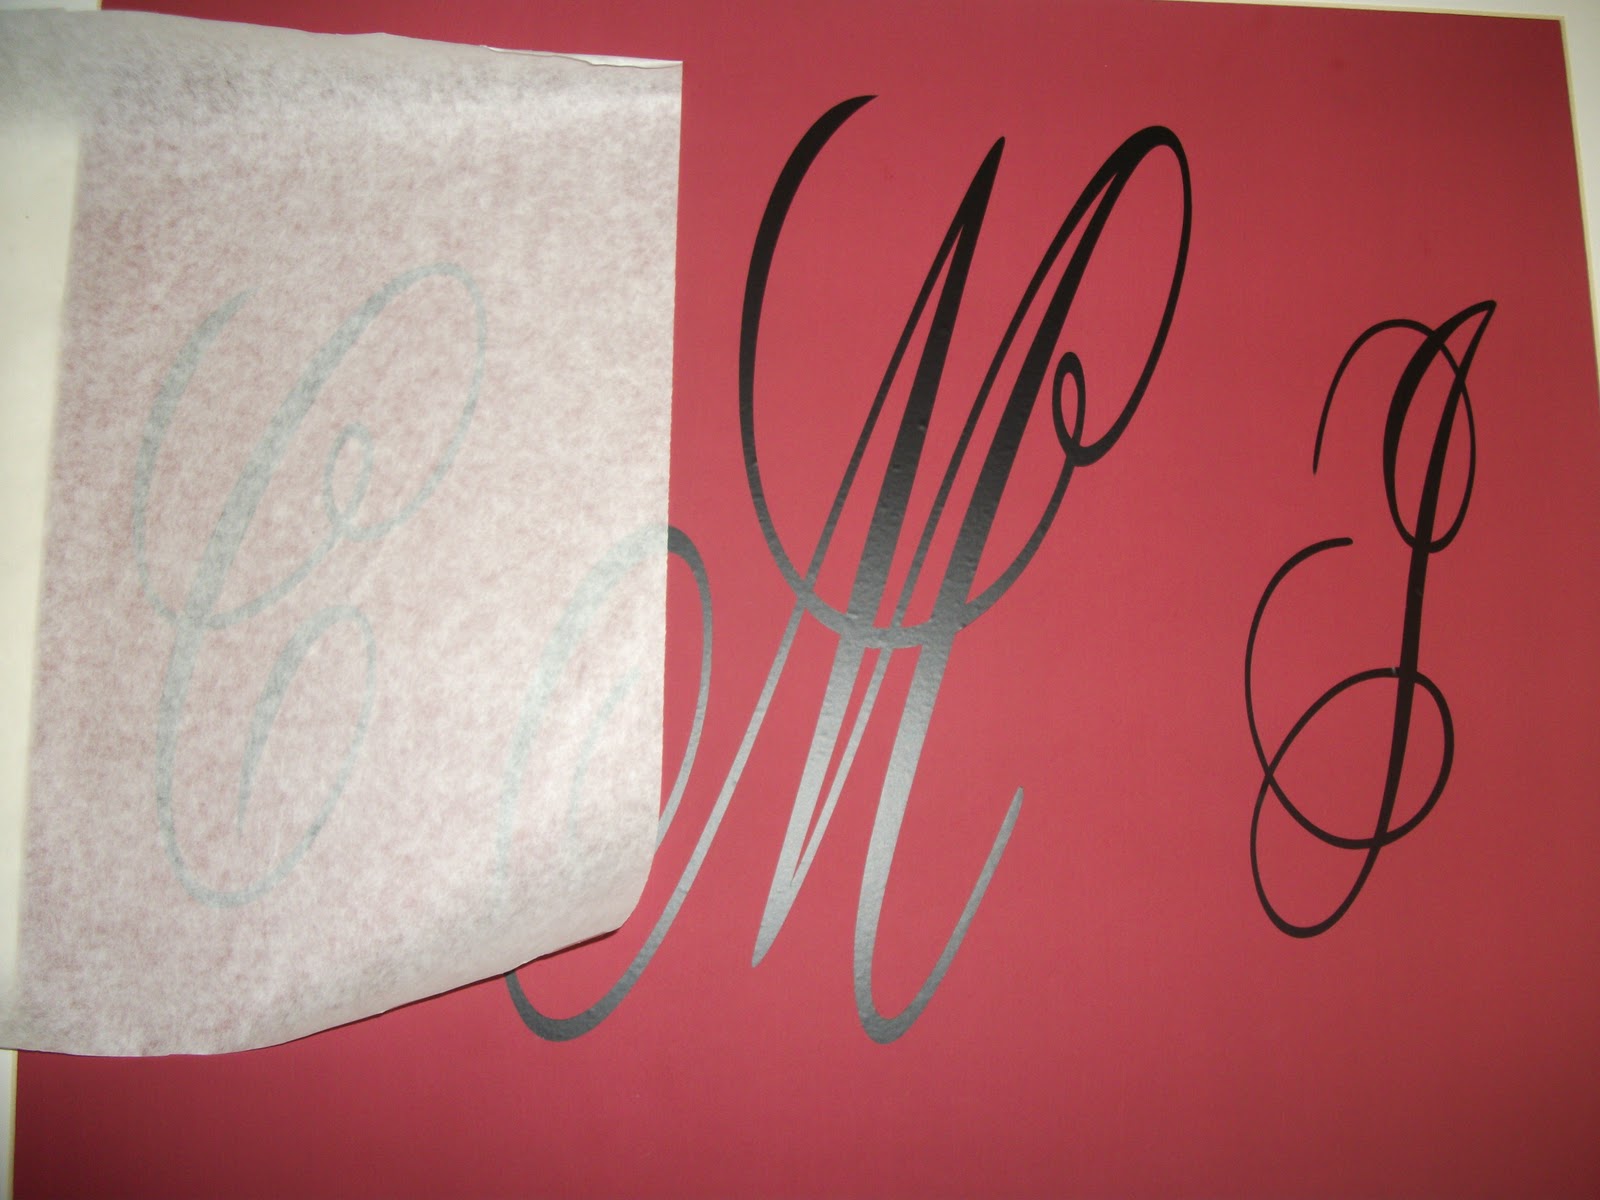
Here is the what the monogram looked like before placing it in the picture frame.

I then cleaned the glass and put the matting and frame back together. This was a very easy project and I love how it turned out.

On to changing more of my living room decor!
Happy Crafting!


Very classy!
ReplyDeleteGreat job - love your new art.
ReplyDelete