Welcome!
Thanks for visiting! Please leave us a comment as we love your feedback.
See where we are partying at the bottom and on the sidebar.

Wednesday, May 4, 2011

Cinco De Mayo Recipe Suggestions

The holiday of Cinco de Mayo, the fifth of May, commemorates the unlikely victory of the Mexican militia, over the French army, at the battle of Puebla in 1862.  It is not the Mexican Independence Day (which is September 16th).  But a celebration of an important victory in Mexican history.

Happy Cinco de Mayo.  Now, let's celebrate with some great Mexican food.

An appetizer:

My wonderful friend Karla makes a killer guacamole!  She smashes avocados, presses garlic, puts in some chopped Cilantro, adds a little cumin and salt, and mixes it all up.  It's delicious! Just add the ingredients in the amount that tastes best to you! Serve with tortilla chips.

A couple of main dishes:

My wonderful friend Jessica shared this recipe with me: http://thepioneerwoman.com/tasty-kitchen/recipes/main-courses/shredded-chicken-tacos/comment-page-2/

I saw Mario Lopez make this on the Today show.  I've made it a number of times and it's never disappointed! http://today.msnbc.msn.com/id/33314291/ns/today-food/


And for dessert:

Tres Leche Cake http://www.foodnetwork.com/recipes/alton-brown/tres-leche-cake-recipe/index.html
(Make sure you add kiwi and strawberry to yours to make it extra yummy!)


Paula Deen's Dessert Quesedillas http://www.foodnetwork.com/recipes/paula-deen/dessert-quesadilla-recipe/index.html


or you can always try flan: http://mexicanfood.about.com/od/sweetsanddesserts/r/easyflan.html

Related Posts Plugin for WordPress, Blogger...

Mother's Day Printables

For those of you like us who like to have a pretty printable in your frame, here is a roundup of Mother's Day Printables.  Just visit the link to download the printable!


Have a Happy Mother's Day!


Related Posts Plugin for WordPress, Blogger...

Tuesday, May 3, 2011

Scrap Bookmarks!

Are you ready to use up all that extra fabric you might have lying around?  If so, I have the perfect craft for you!

Awhile back, my sister came across this Scrap Savvy Bookmark Tutorial.  I loved the idea of using up leftover fabric and making a nice gift out of it as well! This is an easy craft that will cost you very little money and can be a nice, quick gift!

If you weren't aware, this is Teacher Appreciation week!  I made these bookmarks for my son's teachers.   I made two bookmarks in each fabric.  This gave each teacher three bookmarks.  I put them with a card and wished them happy reading over their summer break.  I hope that they like them!


Supplies needed:

Leftover coordinating fabrics (any sizes)
Heat N' Bond (found at Walmart-very inexpensive and will get you MANY bookmarks)
Pinking Shears
Coordinating ribbons (optional)

Cut your fabrics to the size you would like to make bookmarks.  Any size will do.  Apply Heat N' Bond to your coordinating fabrics, using your iron.  Take off the paper backing from the wrong side of the fabric.  Cut a piece of ribbon or two types of ribbon to add further decoration.  Put the fabrics together and use your pinking shears on the end that you will put the ribbon in.  Place the ribbon in between the fabrics and iron the fabrics together.  Cut around the exterior of the fabrics with your pinking shears to finish them off.  Make sure to finish off the edge of the ribbon by putting it close to a flame.  This will seal the ribbon material so it doesn't fray.  That's it!  Pretty simple and easy!

The original tutorial suggested sewing around the edges of the bookmark.  I tried to do this, but it seemed to be butchering my fabric.  I guess I need a smaller needle for this type of project.

Here are the three finished bookmarks for each teacher.

Now, go through your stash of fabric scraps and make these easy bookmarks for someone special!

Related Posts Plugin for WordPress, Blogger...

Sunday, May 1, 2011

EarthBOXes are GREAT THINGS!

I don't know how EarthBOXes first came into my life.  Was it my Mom who loves to garden and gets so excited about her EarthBOX success? Could it have been my grandparents? I can remember planting EarthBOXes with my Granddad. He was a perfectionist and followed the directions exactly.  He did have great results. Of course, I've had great results with mine too and I don't always follow directions correctly.

EarthBOXes are a great thing.  They are simple to plant, easy to care for, and have great results. My family has used them for tomatoes, okra, all kinds of peppers, blueberries, bok choy, lettuce, collards, squash, cucumbers, and I'm sure other things I don't remember.

EarthBOXes are reusable. That's another great thing! They are sturdy and meant to be used for many years.  We now have four and the oldest is at least eight years old!  You can even use the same soil for up to eight years.  Your EarthBOX comes with almost everything you need to start planting.  All you need to buy is the soil and plants. Replacement items, including fertilizer, and covers, are available from EarthBOX, for future planting.

Here is our newest EarthBOX.

It comes with the box, the screen, a watering tube, casters to make it easily portable, dolomite, fertilizer, 2 covers, and WONDERFUL directions! We bought 2 cubic feet of the soil (per box), EarthBOX recommended and plants, and we started planting.

First, we leveled the ground under the box.  Then we added the screen and watering tube.

We added the soil. We made sure to pack it in the corners as the directions said.

We added the premeasured dolomite.
We mixed the dolomite in.

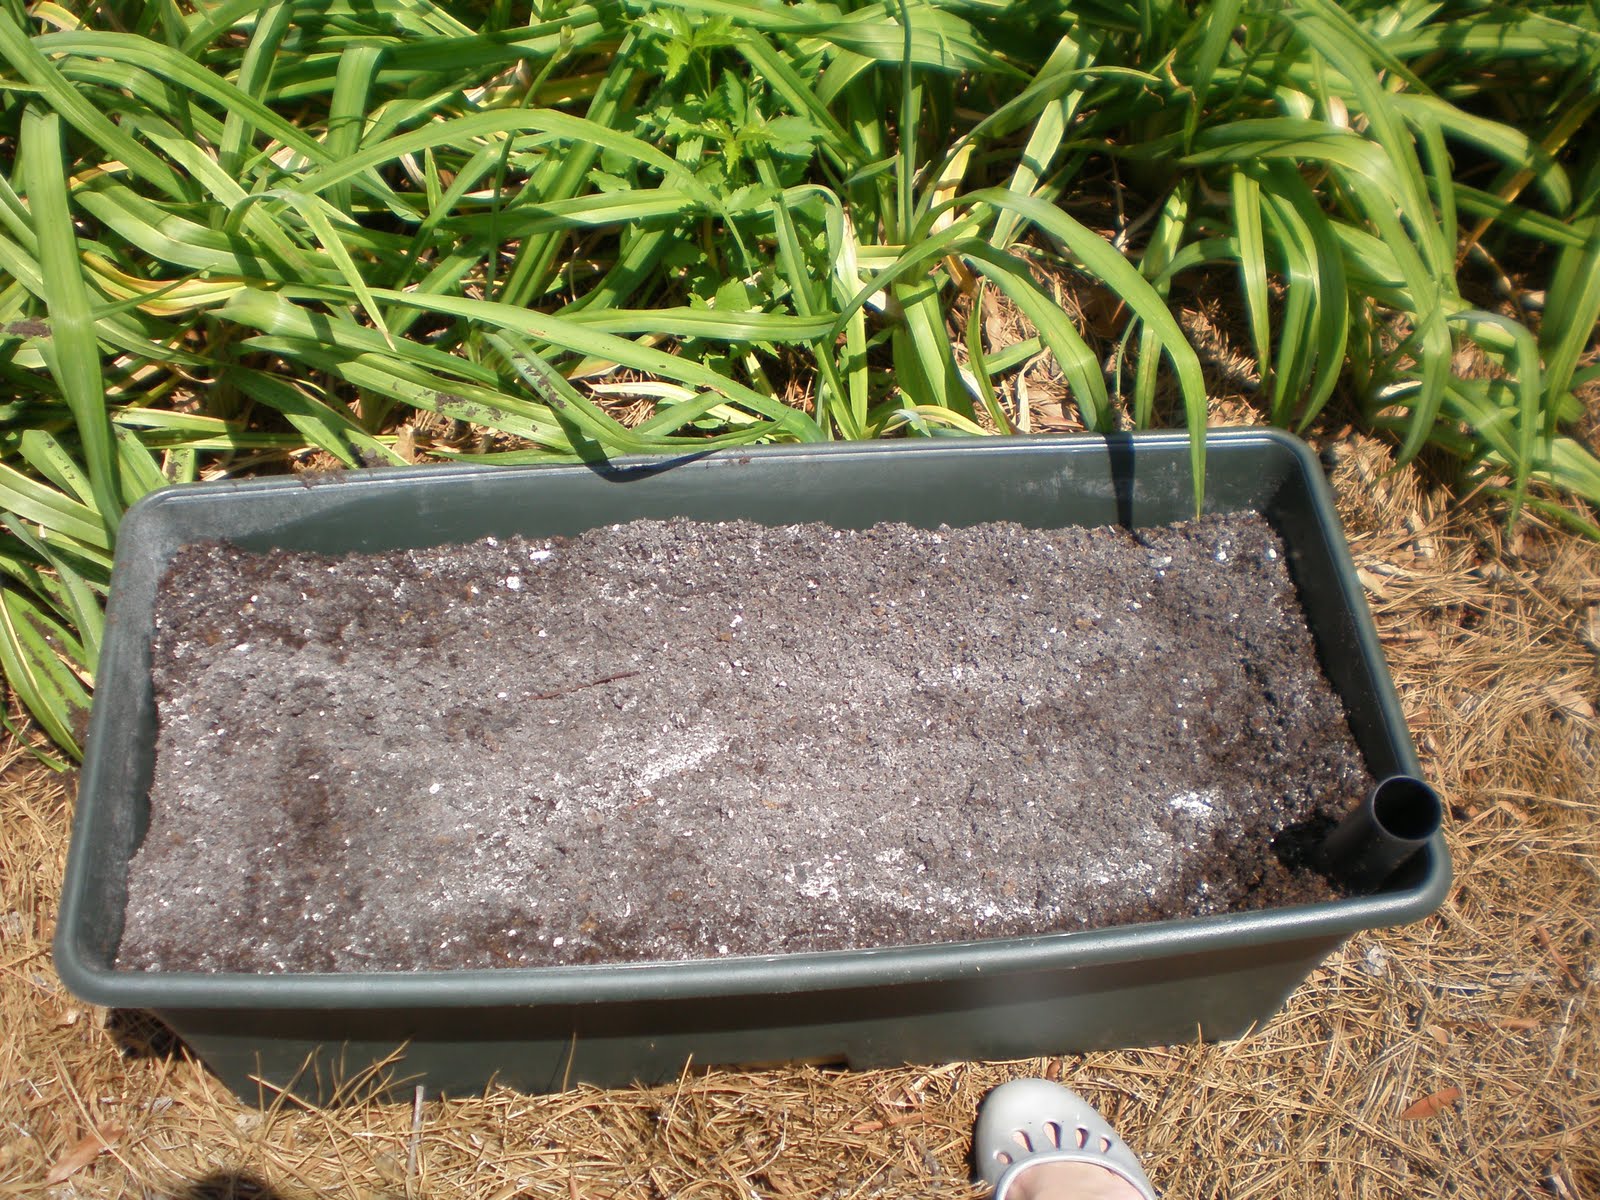
We added soil to the top of the box.

We made a trench in the middle. (Depending on what you're planting, the trench could also go in the front).
We added the premeasured fertilizer.

We poured the rest of the bag of soil on top.  It made a little mountain.

We put the cover over the soil.
Following the directions (that include pictures) we cut slits in the liner for our plants.

We planted!  This box has 6 pepper plants.  After planting, we watered it using the watering tube.  So easy!

The girls are ready to plant the next three boxes.  This year, we're doing tomatoes, yellow squash, and collards.  We'll keep you updated with our results!

Who wants to give an EarthBOX a try?  EarthBOX has given us a complete box to share with one of our followers.  Here's what you need to do to enter the giveaway:

1. (Mandatory) Follow Our Seven Dwarfs on facebook and let us know you do.
2. Visit EarthBOXes website: http://www.earthbox.com/ and join their email list.  This will let you know all the specials they have going on. Let us know you joined their list.
3.  Follow Our Seven Dwarfs on email or RSS feed and let us know you do.
4.  Follow Our Seven Dwarfs on blogger and let us know you do.
5. Leave us a comment and tell us how you would use your EarthBOX.

That's up to five chances to win!  You have until Saturday, May 7th at 11:59 EST to enter. The winner will be chosen, and announced, on May 8th.  Good Luck!

Related Posts Plugin for WordPress, Blogger...

Saturday, April 30, 2011

Antonia's Birthday Gift

Our sweet friend, Antonia, celebrated her fifth birthday with a princess birthday party.  Since she obviously loves princesses, and her bedroom is green and turquoise, I created a sign for her room.


I started with a scrap piece of plywood.  I painted it a lime green.

I created a stencil, on my Silhouette, using a tiara image, from the Silhouette store.  The stencil was created simply by cutting the image on the Silhouette vinyl.  It works very well.
I painted the tiara gold.

I was ready to add her name. I relied on a stencil created on my Silhouette.  This font is Waterfall.

I painted it blue.
I painted the tiara's heart pink.

I distressed the sign with my mouse sander.

I drilled holes on the top to create a hanger.

I wanted to add bling to the sign.  I used, "Glossy Acrylic" to give the heart a three dimensional, shiny appearance.  It took HOURS to dry but looked so nice when it finally did.
I added all kinds of self stick "diamonds" to the tiara. I outlined the heart with them.

I added some more here...

...and there...

It's blinging!
And the princess sign is complete.  I just wish I would have painted a couple of more coats on the gold to make the tiara more "golden".  From what I hear, Antonia likes it just the way it is.  I really do too.
Related Posts Plugin for WordPress, Blogger...

RAKJ Crochet Patterns Winner!

We would like to thank Kristi of RAKJ Patterns for sponsoring our giveaway this week!  Jill has a ton of her patterns and loves all of them.  Kristi does a fantastic job writing crochet patterns and helping out her clients.   We really appreciate her generosity in giving away 5 crochet patterns!  Thank you, Kristi, for making Great Things!

If you're not our winner, make sure to head over to RAKJ Patterns shop for tons of great crochet patterns.  Kristi has lots of great Buy More Save More deals! She is frequently running specials and giveaways.  If you haven't liked her shop on Facebook, you are missing out!  You can find her page here.

Now for our winner of 5 crochet patterns...
#6 said. . .
6. Kendall said...
I shared some love with RAKJ.

Congratulations to Kendall!  Please email us at oursevendwarfs@gmail.com to claim your prize.

Monday is another Great Things Day!  Make sure to come back and check out what we are highlighting and giveaway! 

Jill is anxious to share some of the patterns she is working on from RAKJ patterns.  They are all super cute!  Be on the lookout for those in the common weeks.

Have a great week!


Related Posts Plugin for WordPress, Blogger...
Ebates Coupons and Cash Back