
I had seen all kinds of tooth fairy pillows and I thought it was an excellent idea. I also wanted to make it easier on the poor tooth fairy! Let me show you what I came up with!

Now this is a very simple project that even the novice sewer can accomplish.
Tooth Fairy Pillow Tutorial
Supplies Needed
- Small piece of fabric (mine was about 10 inches by 16 inches)
- Matching Thread
- Matching Ribbon (mine was about 16 inches)
- Small piece of fleece, felt or coordinating fabric for tooth
- Polyfil for inside of pillow
1. Start with the fabric you would like to use for your tooth. I used some white fleece that I had on hand. I took a marker and drew a rough outline of a tooth. (I am not an artist by any means so if I can draw one, you can as well). I took my pinking shears and cut out the tooth. I liked how the pinking shears made it look.

2. Grab your fabric that you would like to make your pillow from. My boys love all things sports, therefore the tooth fairy delivers to a baseball pillow. Fold your fabric in half with the right side facing up.

3. Place your tooth in the middle of the fabric and pin it to one side of the fabric (not through both portions of fabric).
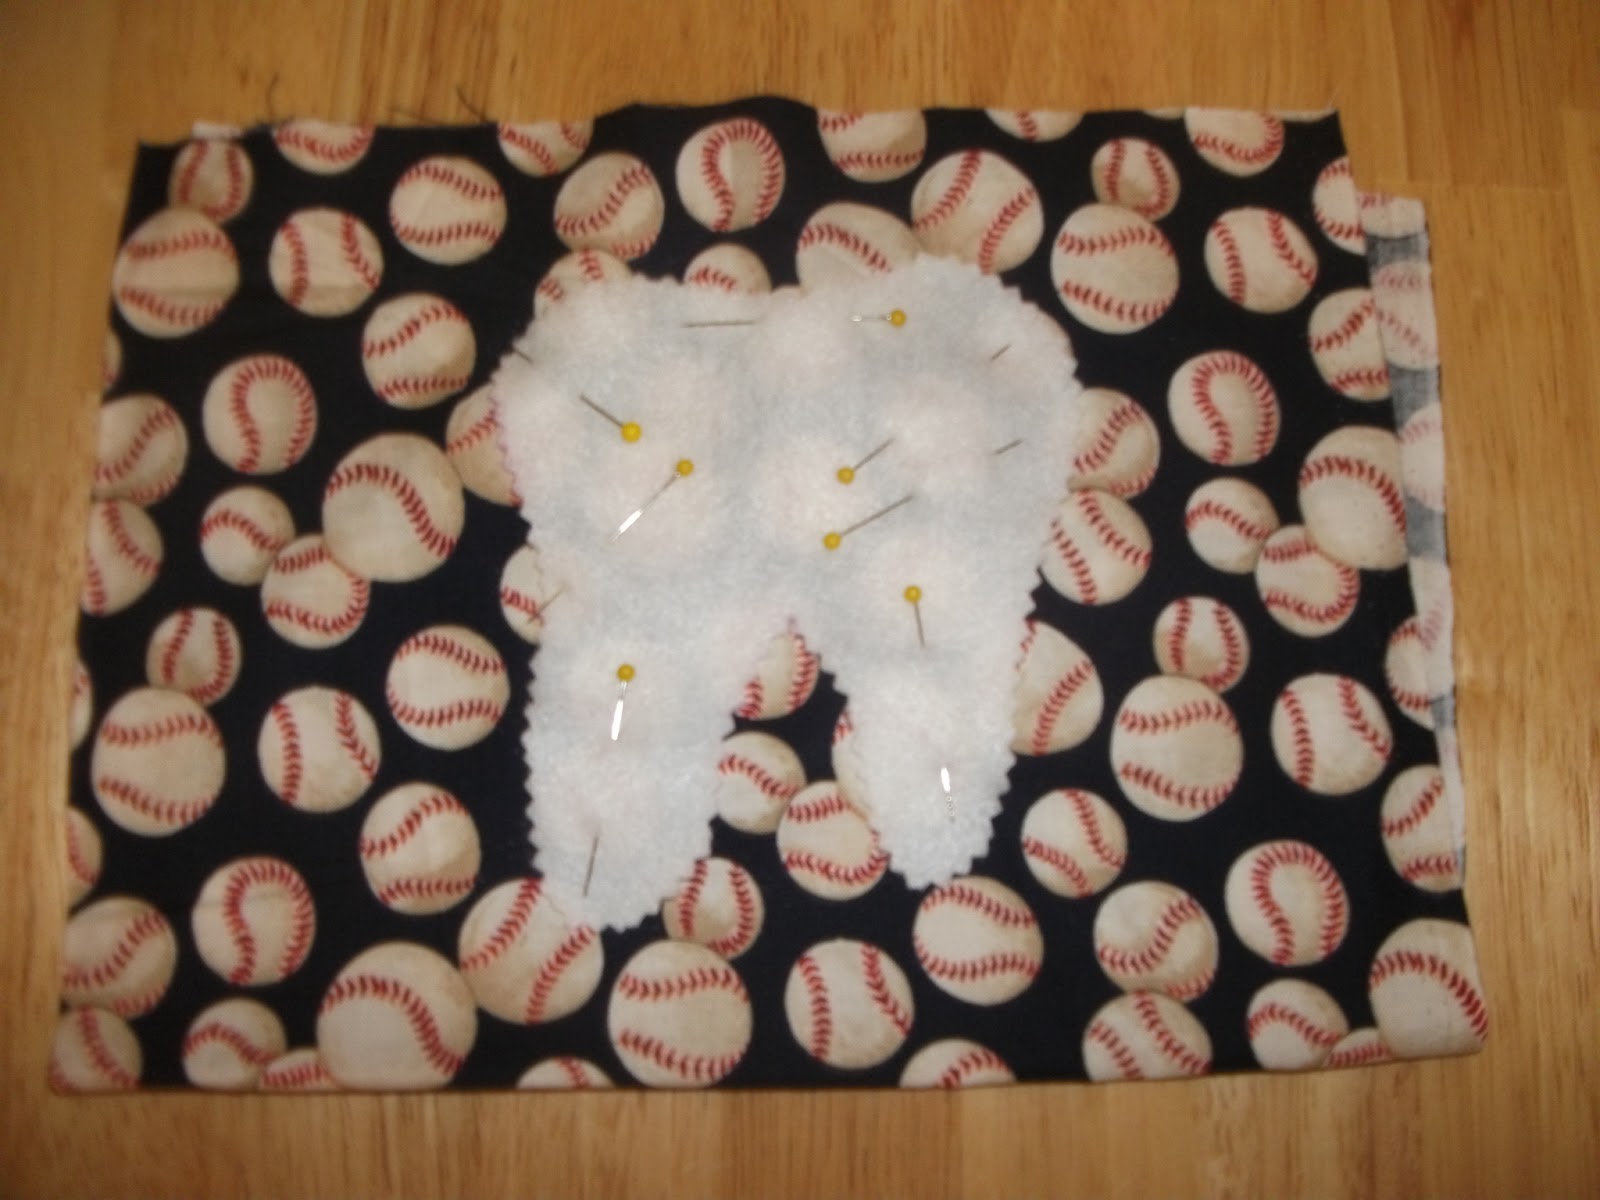
4. Sew around the tooth leaving a hole at the top. Backstitch on both sides of the opening to keep it from separating.

5. Now fold the fabric in half agin with the right sides facing one another. Sew up both of the sides and along the bottom.

6. Pin your ribbon on the interior of the pillow. (I made the mistake originally and pinned it to the outside. Oops! I figured it out quickly when it didn't have anything to hang by). Sew 1/3 of the way into the top from both sides, leaving an opening to fill your pillow.

7. Turn your pillow inside out. At this point I took my fabric marker and added a smiling face to the tooth, but that isn't necessary. Fill the pillow with the polyfil. Close the top by hand stitching or top stitch around the entire pillow.


Here is the finished pillow. You can hang it from a doorknob, or just about anywhere. I know the tooth fairy appreciates taking the tooth from this pillow versus getting it from under the pillow of a sleeping child.

Thankfully, I have a few years before I need to make the girl version of a tooth fairy pillow. I am sure Anna will want it hot pink with lots of sparkle!
I would love to see your pictures if you make your own tooth fairy pillow!


0 comments:
Post a Comment
Thank you for commenting! We read every comment and try to respond back if we can. Thank you for making us feel special with your thoughts!