Welcome!
Thanks for visiting! Please leave us a comment as we love your feedback.
See where we are partying at the bottom and on the sidebar.

Tuesday, February 15, 2011

A "Popping" Good Gift

I wanted to do something special for Ryan's teachers for Valentine's Day.  I saw these cute large popcorn containers and smaller individual ones at the dollar store and had an idea.

Ryan's teachers loved the Caramel Popcorn that I made them for Christmas.  If you missed the recipe for the Caramel Popcorn, you can find it here. I thought I would treat them to a bit more yummy goodness for Valentine's Day!

Here is a picture of the entire set.
I put the Caramel Popcorn in a ziploc bag and included this card in the popcorn container.
Ryan's teachers seemed to really like it and now they can have a popcorn night whenever they want one!  I loved giving a special gift that cost about $6 total to make for both teachers.
This would be great for anyone not just teachers.

I hope you had a great Valentine's Day!


Please vote for us!
Related Posts Plugin for WordPress, Blogger...

Saturday, February 12, 2011

Happy 100th Day of Our Seven Dwarfs!

Today is our 100th day of Blogging!

We are so grateful for our 107 (verified) email subscribers, 138 Facebook friends, and 94 blog followers.

We have shared crafts, recipes, and stories.

We are constantly working to make our blog educational and entertaining.

We share.  In our first ninety-six days of blogging we had 15 giveaways! Just in case you missed any of them, here is a review:

Giveaway 1-A Freezer paper snowman tshirt.  Winner-Jamie N.

Giveaway 2-Treats for Santa-plate-Winner Elizabeth G.

Giveaway 3-A Pair of Christmas Tree Clippies-Winner Jenny S.

Giveaway 4-Christmas Sparkle Wreath-Winner-Lisa M.

Giveaway 5-8 handcrafted, all occasion greeting cards-Winner-Kristen J.

Giveaway 6-Crocheted Cloche-Winner Andrea S.

Giveaway 7-Family Subway Art-Winner-Jessica C.

Giveaway Day 8-We Believe Photoboard-Winner-Amy R.

Giveaway 9-Flocked Christmas Tree Shirt-Winner-Cari L.

Giveaway 10-Christmas Coasters-Winner-Mary M.

Giveaway 11-Crocheted Cloche-Winner-Jessica C.

Giveaway 12-Subway Art-Winner-Dana M.

Giveaway 13-Subway Art-Winner-(through Somewhat Simple) Jennifer I.

Giveaway 14-Heart Clippies-Winner-Leslie S.

Giveaway 15-A "Love" Sign-Winner-Amy R.

Thank you to all of our followers. You've made it all possible.  The possibilities are endless. Stick with us!  There are more great things to come! (Including another giveaway very soon.)


Please vote for us!
Related Posts Plugin for WordPress, Blogger...

Jumbo Stuffed Shells with Meatballs

This is one of my go-to meals for someone in need or just a delicious dinner.  It is one of my husband's and mother-in-law's favorite meals that I make.

Jill’s Jumbo Stuffed Shells with Cheese and Meatballs


1 box jumbo shells
3 cup ricotta cheese
12 oz package Mozzarella cheese
3/4 cup grated Parmesan cheese
3 eggs, slightly beaten
2 tsp chopped parsley
3/4 tsp oregano
1/4 tsp pepper
4 cup spaghetti sauce
precooked meatballs

Cook shells as directed.  Drain and dry in a single layer on paper towel.  Combine cheeses with beaten eggs, salt, parsley, oregano and pepper.  Fill shells with cheese mixture (around 2 Tablespoons).  Spread a thin layer of sauce in 9x12 baking dish.  Place shells in row and then meatballs and alternate.  Cover with spaghetti sauce.  Sprinkle with Parmesan and Mozzeralla cheeses.  Bake at 350 for approximately 35 minutes.  Shells with filling can be frozen for future meals.


Please vote for us!
Related Posts Plugin for WordPress, Blogger...

Friday, February 11, 2011

Valentine Subway Art Mailboxes

I wanted to make my kids mailboxes for a new Valentine's Day tradition.  I want to leave them special love notes and goodies.  I found plain red mailboxes at Target for $1 each.
I started to design a few words to put on the mailbox, when I came across Kaysi's subway art design for a mailbox on her blog Keeping it Simple.  I asked her if she would share her file and she was nice enough to send it to me!  She is super nice and did a fantastic job with the design!  I completely believe you should work smarter not harder.  Why not utilize the talents of others versus racking your brain trying to do it yourself.  Thank again, Kaysi!

Once I had the vinyl cut out, I applied transfer tape and scraped it good so the letters would adhere.
Then I peeled off the paper backing and applied it to my mailbox.  Scrape it good so you can peel off the transfer tape

Here are my finished mailboxes.  I personalized each mailbox for my kids.  I also added a heart to the lid so that it would be decorative from all sides.
I can't wait to write my little sweeties a love note for Valentine's Day!  I hope they enjoy a new tradition!


Please vote for us!
Related Posts Plugin for WordPress, Blogger...

Thursday, February 10, 2011

Homemade Chocolates with flavored Butter-cream filling

I picked up these cute heart gift boxes the other day at the dollar store.  I wanted to make something special for Ryan's teachers for Valentine's Day.  I got these boxes, but didn't have a clue what to put in them.  Then I remembered something I made last year, Homemade Heart Chocolates with Strawberry Butter-cream filling.
Here is the box filled with these yummy sweet treats!
My friend Faith gave me this recipe a few years back.  I had never thought of making my own chocolates.  That was completely foreign to me!  She made them for a party and they were delicious!  I have since made them for at least our Valentine get togethers.

Butter-cream filling:
3 tablespoons softened (slightly melted) butter
1 cup powdered sugar (add more to stiffen the filling, if needed)
1/2 teaspoon extract or flavoring (I've used strawberry, peppermint, and raspberry.  You can use any flavoring or extract you can find or desire).

Mix together butter and powdered sugar.  Continue to add powdered sugar until the filling is thick and paste like.  You will want it where you can mold it into a shape or ball.
Then add your extract.  If it smooths out too much, add some more powdered sugar.
For a Chocolate Butter-cream:
Follow the same instructions as above but use vanilla extract plus about 3 tablespoons of cocoa and reduce powdered sugar by about 3 tablespoons.

Chocolate
1 package Chocolate Bark Coating or 1 package melting chocolate (found in the craft area of larger supermarkets).  You can also mix these for a nice combination.
Double Boiler

Place about 3 bars of bark coating in your double boiler.  Stir frequently with a spatula.  Be careful not to scorch.
Take off the heat when chocolate is almost fully melted.  If it starts to harden, put over heat again.
Pour a small amount of chocolate into your mold, just enough to shape the bottom.  Tap down once all the spots have been filled. (I am using a mold from IKEA, which is not meant for chocolate candy making.  The normal plastic candy making sheets will help make the candy shiny, which you will notice mine is not).
Here they are a little less than half full.
Roll a ball or log shape and place in each spot.
Fill the remainder of each spot with chocolate and tap down again.  It will be fine if it is slightly under filled or over filled.
Place the mold in the freezer for 8 to 10 minutes.  If you use the candy making sheets, only put it in your freezer for 3 to 4 minutes.  Don't let the chocolates stay in the freezer too much longer or it will be hard to pop them out of the mold.

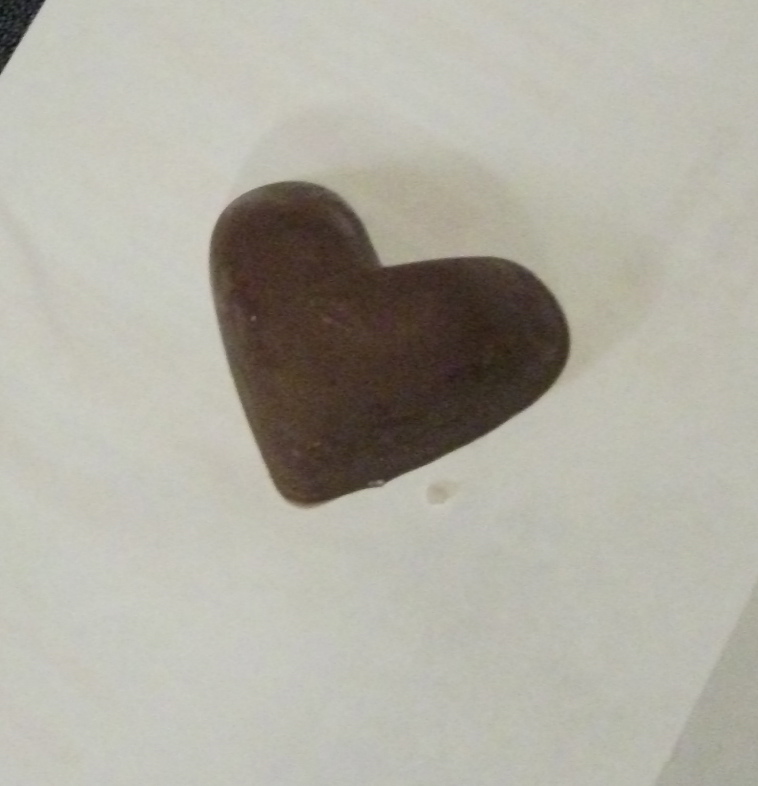
Pop the hearts out of the mold and place them in a container to store.  Here are my hearts in the gift box and picture of one by itself.
These are great to make for any holiday or for a simple gift for someone.  You can also fill them with peanut butter and other types of fillings.

Make this sweet treat for those you love this Valentine's Day!

Enjoy!


Please vote for us!
Related Posts Plugin for WordPress, Blogger...

Wooden Conversation Hearts Tutorial

It's not too late to make some last minute Valentine gifts!   Here is an easy tutorial for Wooden Conversation Hearts!
I picked up three large wooden hearts from Michael's on my browsing day (the same day as my heart picture frame day).  I drilled a hole at the top of each heart.  I then painted each heart a different color (red, purple, pink).  Then I realized that two of the hearts needed a second hole drilled at the bottom on the heart. (not shown)
I used my fabulous Silhouette and cut out the words "Hug Me", "Kiss Me", "Love Me."  I peeled away the excess vinyl.
I covered each set of words with transfer tape.  Make sure to scrape the transfer tape well on the words so they adhere to the tape. Peel off the paper backing from the letters and tape.
Center the letters over your heart.  Scrape the letters down onto the heart.  Carefully, peel off the transfer tape.
I connected each of my hearts with white satin ribbon.  You could also hang these individually.  If you do this, only drill a hole at the top of the heart.
One more Valentine decoration is finished!  My house is starting to look festive, with only a few days left before Valentine's Day!


Please vote for us!
Related Posts Plugin for WordPress, Blogger...
Ebates Coupons and Cash Back