
Another repost!

The finished pot with a Shamrock in it!
Don't you love crafts that are completed in less than an hour? I do. Especially when I can get my kids involved!

You'll need a clay pot, green paint, a paintbrush, a large washer (metal), sandpaper, gold paint, black grosgrain ribbon, and a hot glue gun. (A cute cheerleader in the background never hurt anything either.)

Paint your pot green. (Or, have your assistant do it.)

We painted the inside rim of the pot so it would look finished.

Now, we're ready to paint the washer. (This is the buckle on the leprechaun hat.)

Sand it so paint will stick.
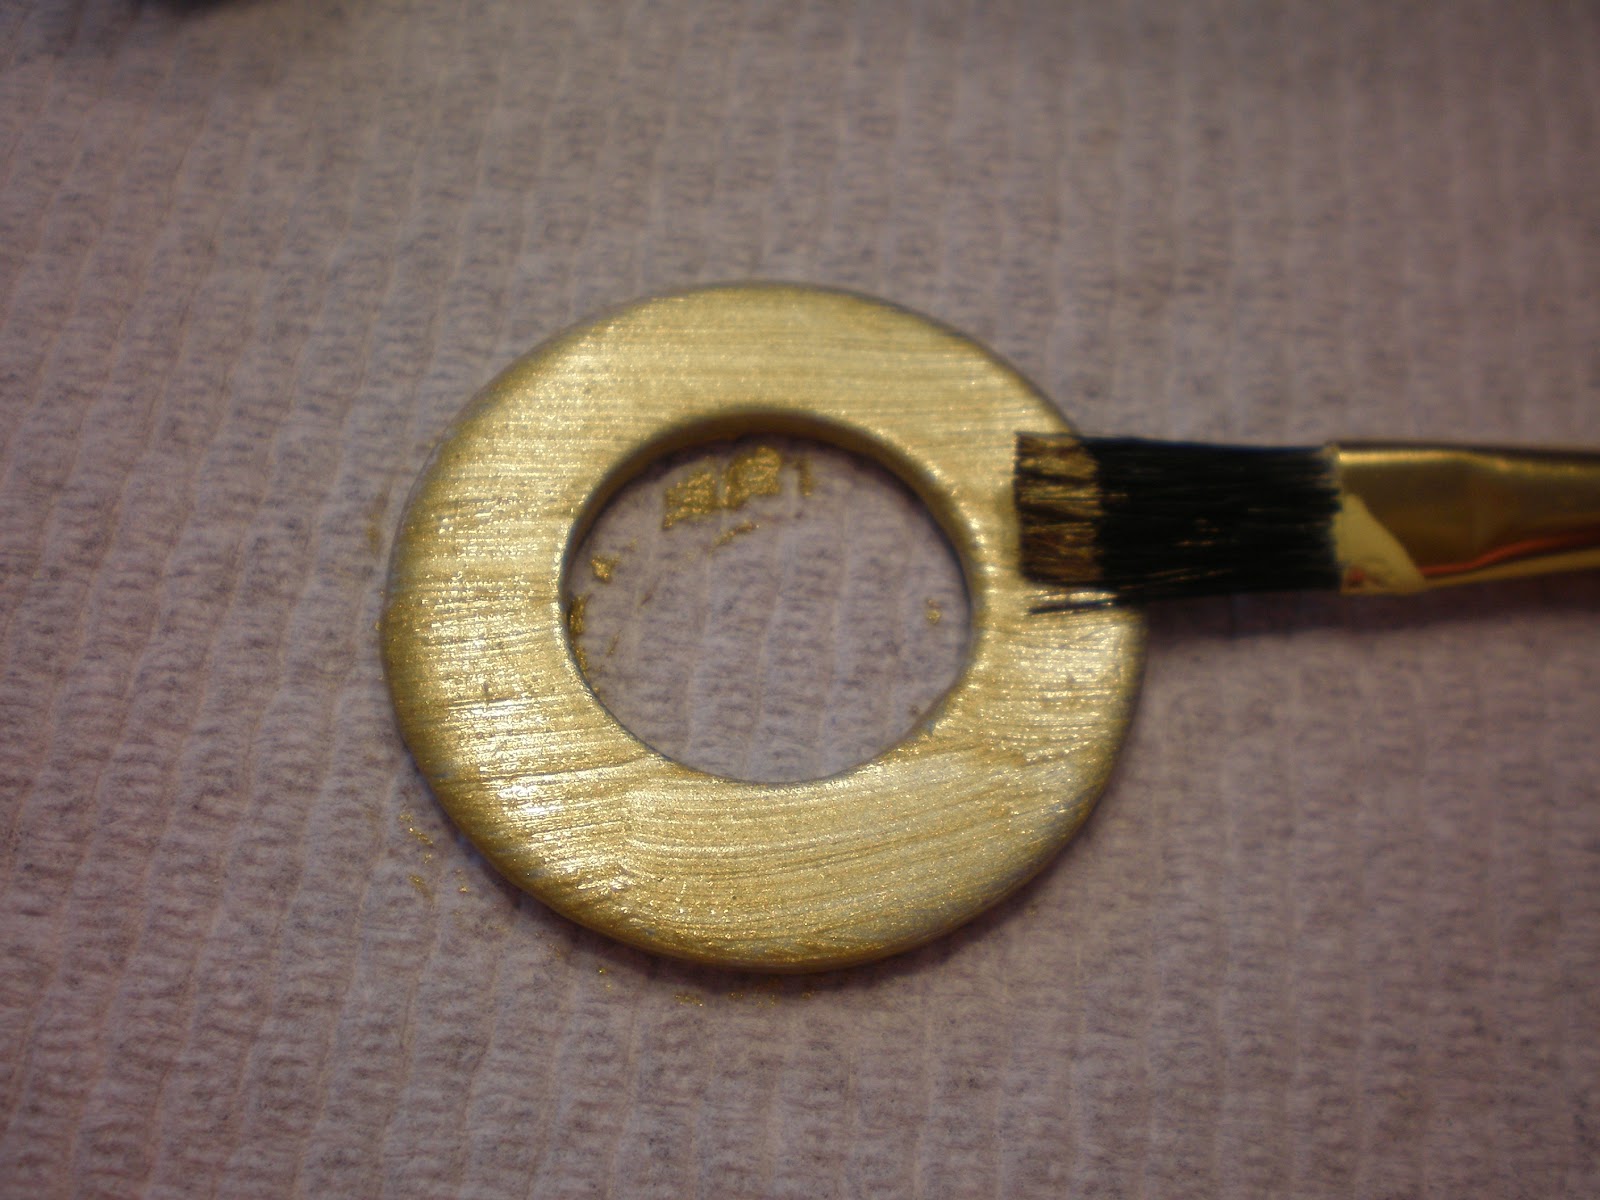
Paint it gold. I like the look of the brush strokes.

When the washer and pot dry, assemble them. (Wow, I forgot to take pics!) I hot glued the black ribbon around the pot. Then I hot glued the washer on top.

This is the mostly finished pot. I wanted to show it to you with a clover planted nicely inside. Unfortunately, after trips to 5 different nurseries in search of one, and a scan of my yard, I gave up. Apparently, they aren't in season yet. I need to check sometime next month. What! Next month St. Patrick's Day will be over with and I won't want a clover in a Leprechaun hat as a decoration. With all this spring weather we're having, I'm hoping one will pop up in the yard any day now.
Does this remind you of the pilgrim hat planter I made? http://www.oursevendwarfs.com/2010/11/copycat-crafting-4.html
or the Santa hat?http://www.oursevendwarfs.com/2010/12/santas-hat-tutorial.html


Love the assistants!
ReplyDeleteThis is GENIUS! I love it!
ReplyDeleteThanks for linking up to Making It With Allie! I can't wait to see what you have for next week!
AllieMakes.Blogspot.com
Of course you love your assistants! They are helpful!
ReplyDeleteThank you, Allie! So easy and cheap.
that is the cutest thing! i could see this as a pilgrim's shoe for thanksgiving...or is that too weird, lol!
ReplyDeleteDarling! Thanks for sharing it on Thrilling Thursday @ Paisley Passions. I hope you stop by again soon!
ReplyDeleteI fell in love with those Santa Bellies everywhere this past Christmas...this is too cute for St. Patty's! Love it!
ReplyDeleteIf you have a moment, please link this up to share with my readers!
Creative Juice Party
I love to craft with my daughter and this is a great project for that! Thanks for sharing!
ReplyDeleteWhat a great idea. I think this would go great with my St Patty's day decorations as a candy dish. Thanks so much for sharing!
ReplyDeleteThats super cute!!! Love how it turned out and such a GREAT helper you had!
ReplyDeleteSo clever! I am too lazy and commend you for painting the washer gold, I would have left it silver! lol!
ReplyDeleteStopped by from Sugar Bee!
Rachel @ cookscleansplayswithpaper.blogspot.com